build a raised bed garden in just 31 easy steps
It's spring and time for planting here in the Pacific Northwest. Which also means time for preparing the garden beds. Last spring, I built two new 4ft by 6ft raised beds from around $140 worth of cedar and way too many screws. You can do this too.
Our backyard in Portland is hard-packed clay that few things other than trees can grow in. Seriously -- I could probaby screen the rocks out of it and throw a pot. But this means that, to grow vegetables, I need raised beds. And I needed them to be tall, 16" or more. I also wanted a trellis at one end of each bed, to hold peas or cucumbers.
My construction was built around the fact that we have a cedar lumberyard in East Portland: Custom Cedar Products at 162nd & Sandy. This means that cedar fence planks, in particular, are really affordable (like $3 each) making them the best base material for my beds. So, to make two beds like I did, head out to the cedar mill and get:
- 8: 2' long 4"x4"s
- 4: 2' long 2"x4"s
- 12: 6' long 6" wide cedar fence board
- 12: 4' long 6" wide cedar fence board
- 8: 4x4 fencepost caps
You'll also need, from the hardware store:
- About 150 #8 brass 2" screws (see below)
- 2: 8' x 42" concrete reinforcement grids
- 4: 4' rebar pieces
- 1: 100' roll heavy garden plastic or heavy duty plastic dropcloth
- At least 2 dozen 1/2" hammer-in staples
- Staple gun and at least a full box heavy-duty 3/8" staples
- 4-8 heavy-duty metal tent stakes, steel garden stakes, or 2' pieces of rebar
- 16: 6" heavy zip ties
- About 50 feet of 2' wide ground cloth (or, more likely, cut 8' ground cloth into strips)
- 8-10 cu ft of bark or multch
Tools you'll need to have are:
- Staple gun (see above)
- Drill, either corded or 18v+, with 3/16" drill bit
- Phillips driver bit
- Angle drill guide
- Quick-change hex bit holder (optional, but super-useful)
- 6' x 3' or larger work table
- 3: 2' or longer bar clamps
- Large T-square
- Heavy-duty wire snips or small bolt cutters
- Table saw or large rotary saw (optional)
The brass screws on the shopping list are an expensive item (I think that's like $50 in screws), but I wanted to make sure that I would be able to take the beds apart again even after years of weathering. If you don't care, use the cheaper zinc screws.
So, here's how assembly goes. Apologies for not having more photos of the process, but I was working alone.
If you have a saw, trim the 4x4s and the 2x4s to be 4" shorter, so that they don't stick up so much above the raised bed.
on a large worktable, place two of the 4x4"s 4 feet apart and
parallel. Place 3 of the 4' fence boards across these two, starting to be flush with the bottom of the posts, and flush against each other, and almost flush with the edges of the 4x4s.Clamp the boards into place using the bar clamps as best you can.
Set up the angle drill guide to drill a 1.6" hole.
Drill two holes in the end of each board into the 4x4, for 6 holes per 4x4.
Switch to the phillips driver (without the angle guide) and drive in the screws.
Repeat with the other set of 4' boards.
Arrange the 6' boards flush against each other with spare 2x4s propping them up on the ends. The cedar 2x4 you're using goes under the center of this set of boards.
Drill two holes in each board into the 2x4, then fill with screws.
Repeat with the other set of 6' boards.
You should now have two 4' panels (with 4x4s at the ends) and two 6' panels (held together by 2x4s in the middle).
On a flat patio or driveway, stand up the two 4' panels on their ends, 6' apart. This is where I got my sweetie to help, but stablizing the upright 4' panels.
Put one of the 6' panels across the two.
Drill 2 holes per board (a set of 6, again) and add screws.
Flip the whole U-shaped assembly over so that you can attach the other 6' panel. Again, you'll need more hands for this.
Attach the other 6' panel.
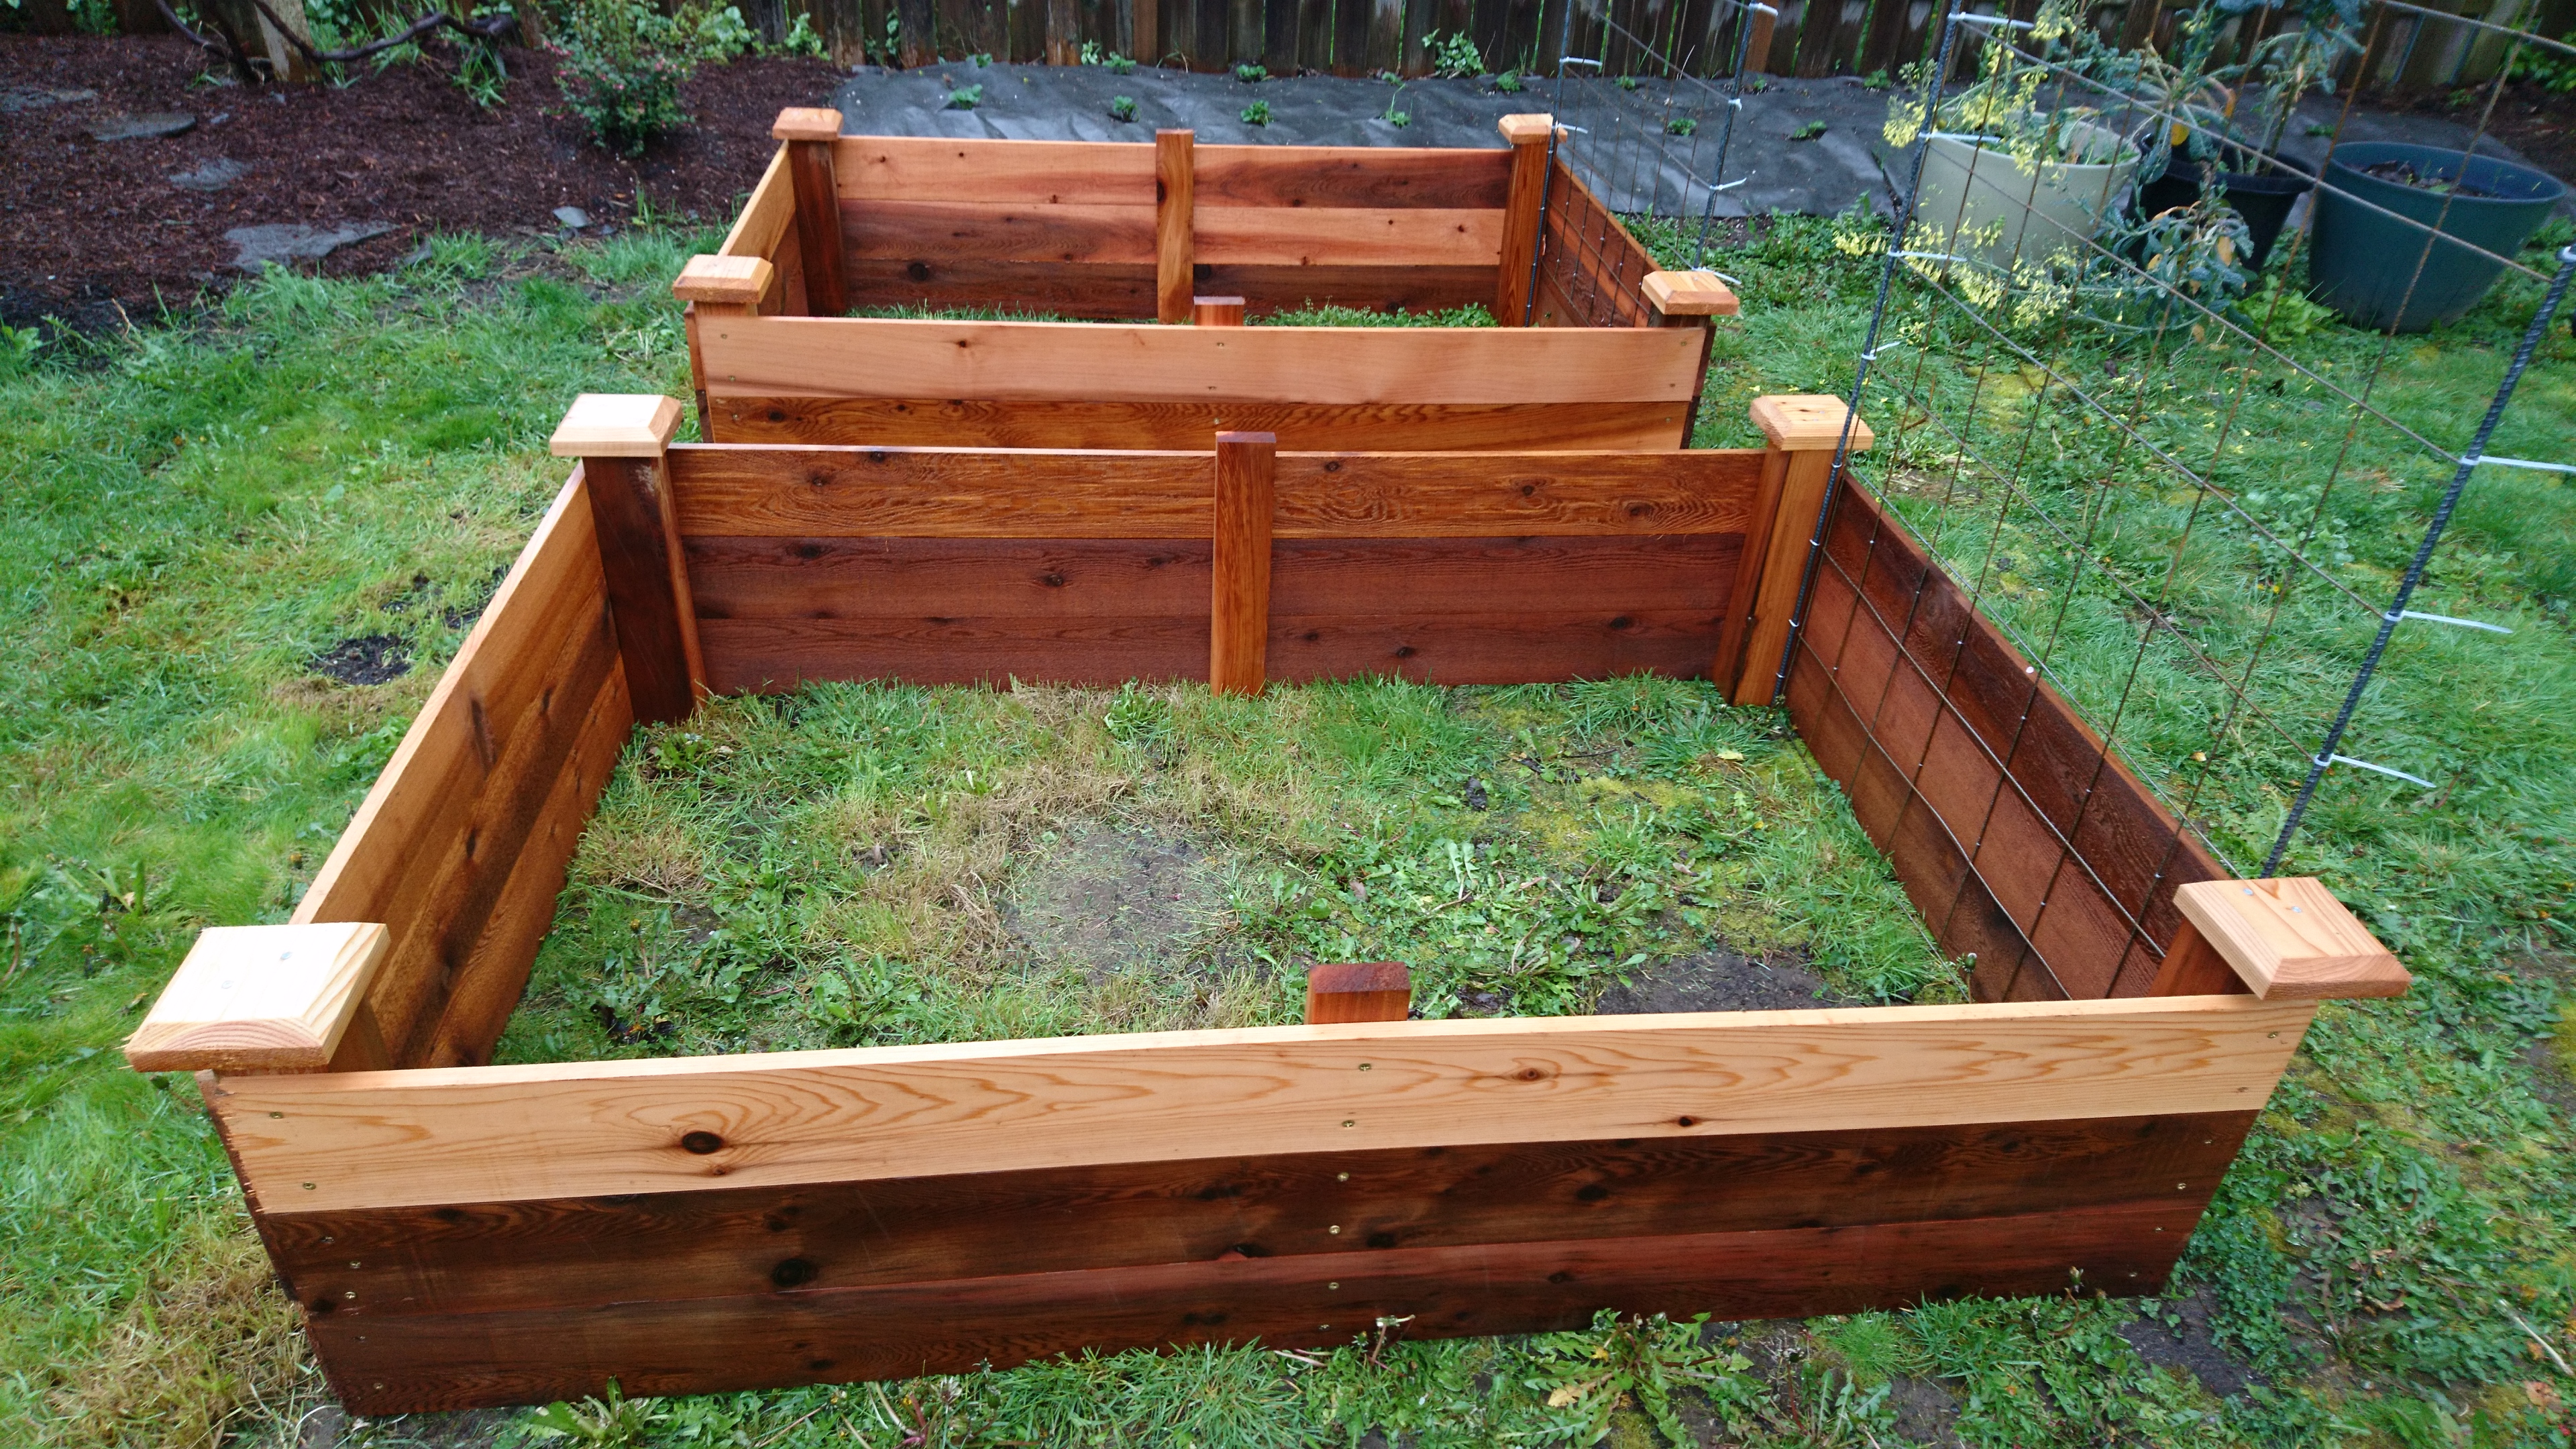
You now have a rectangular raised bed frame. Repeat with the other frame.
Put the raised bed frames where you want them.
Optional: Dig a small trench (like a 1/2" deep groove) for the bed walls to rest in. I ended up not doing this; on my hard clay, it wasn't necessary.
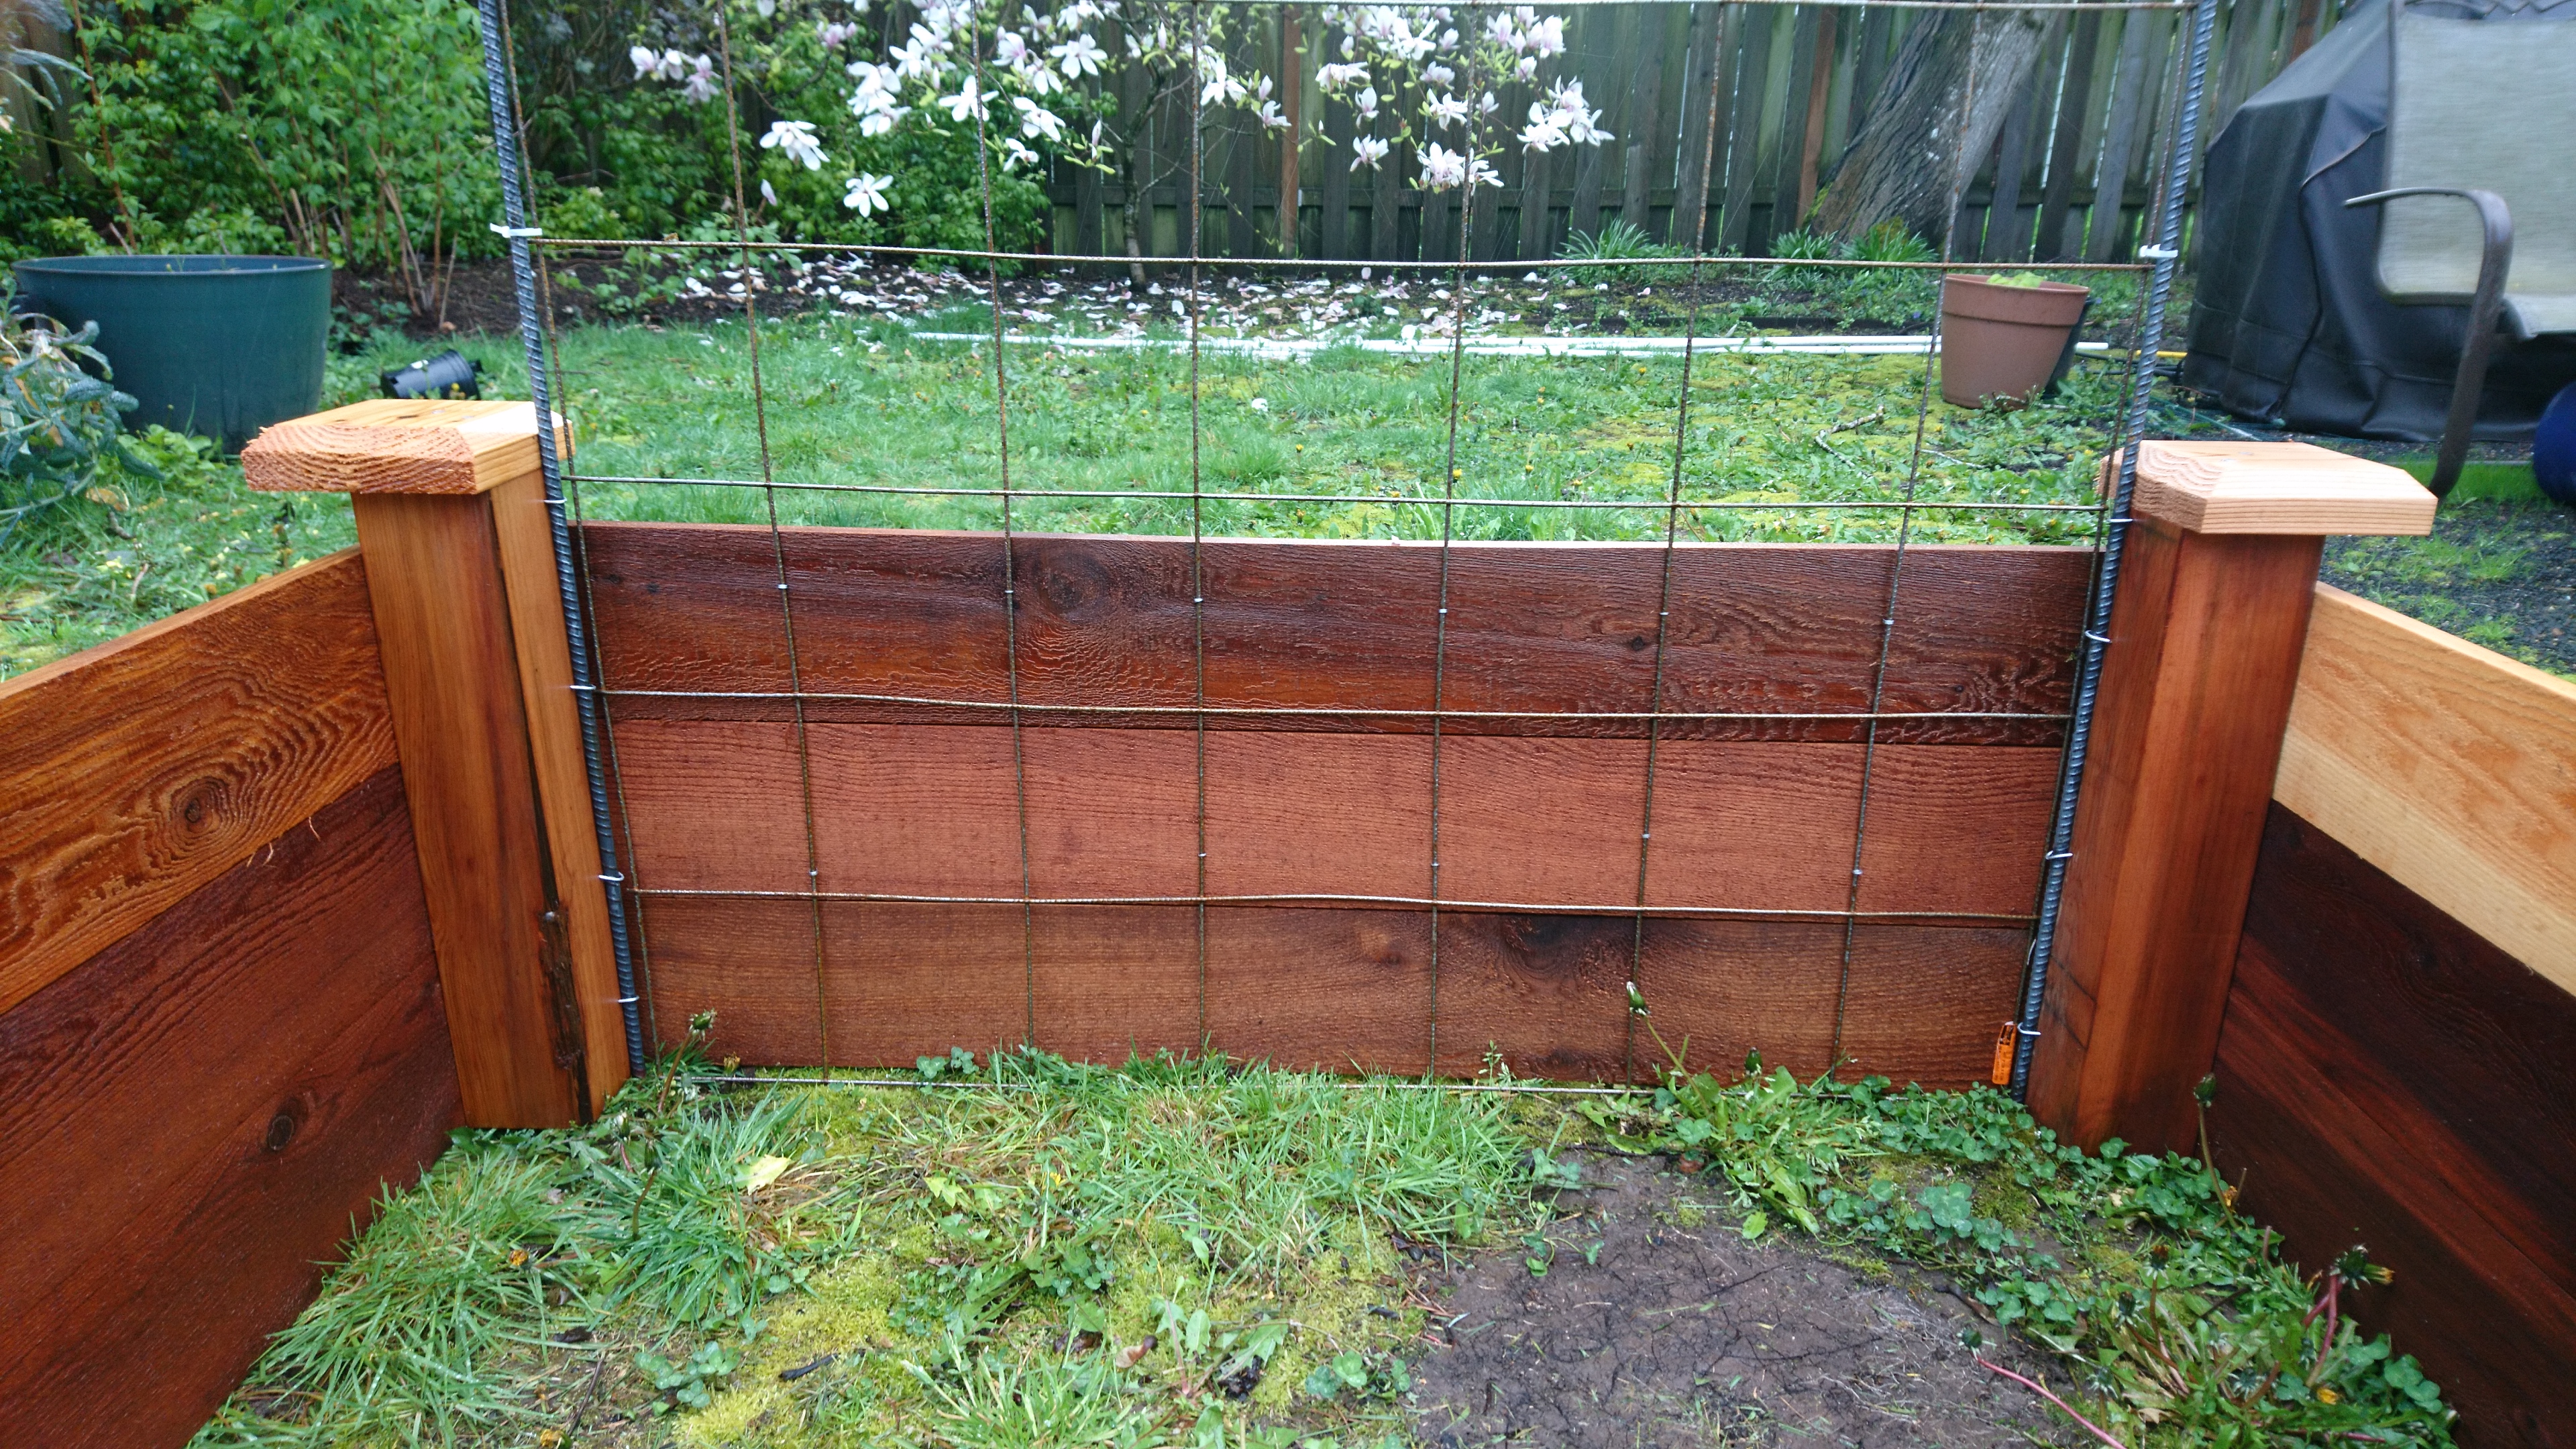
On the 4' side where you want the trellis, attach 2 rebar pieces to the inside of the 4x4s using the hammer-in staples, about 1/2" out from the boards.
Slide the concrete wire down into the slot thus created. As standard width for concrete wire is about 42", it should exactly fit.
Trim the wire grid down to the height you want it, probably about 6'.
Fasten the concrete wire to the rebar using zip ties. Reenforce by stapling the wire to the boards behind it. It should now look like this:
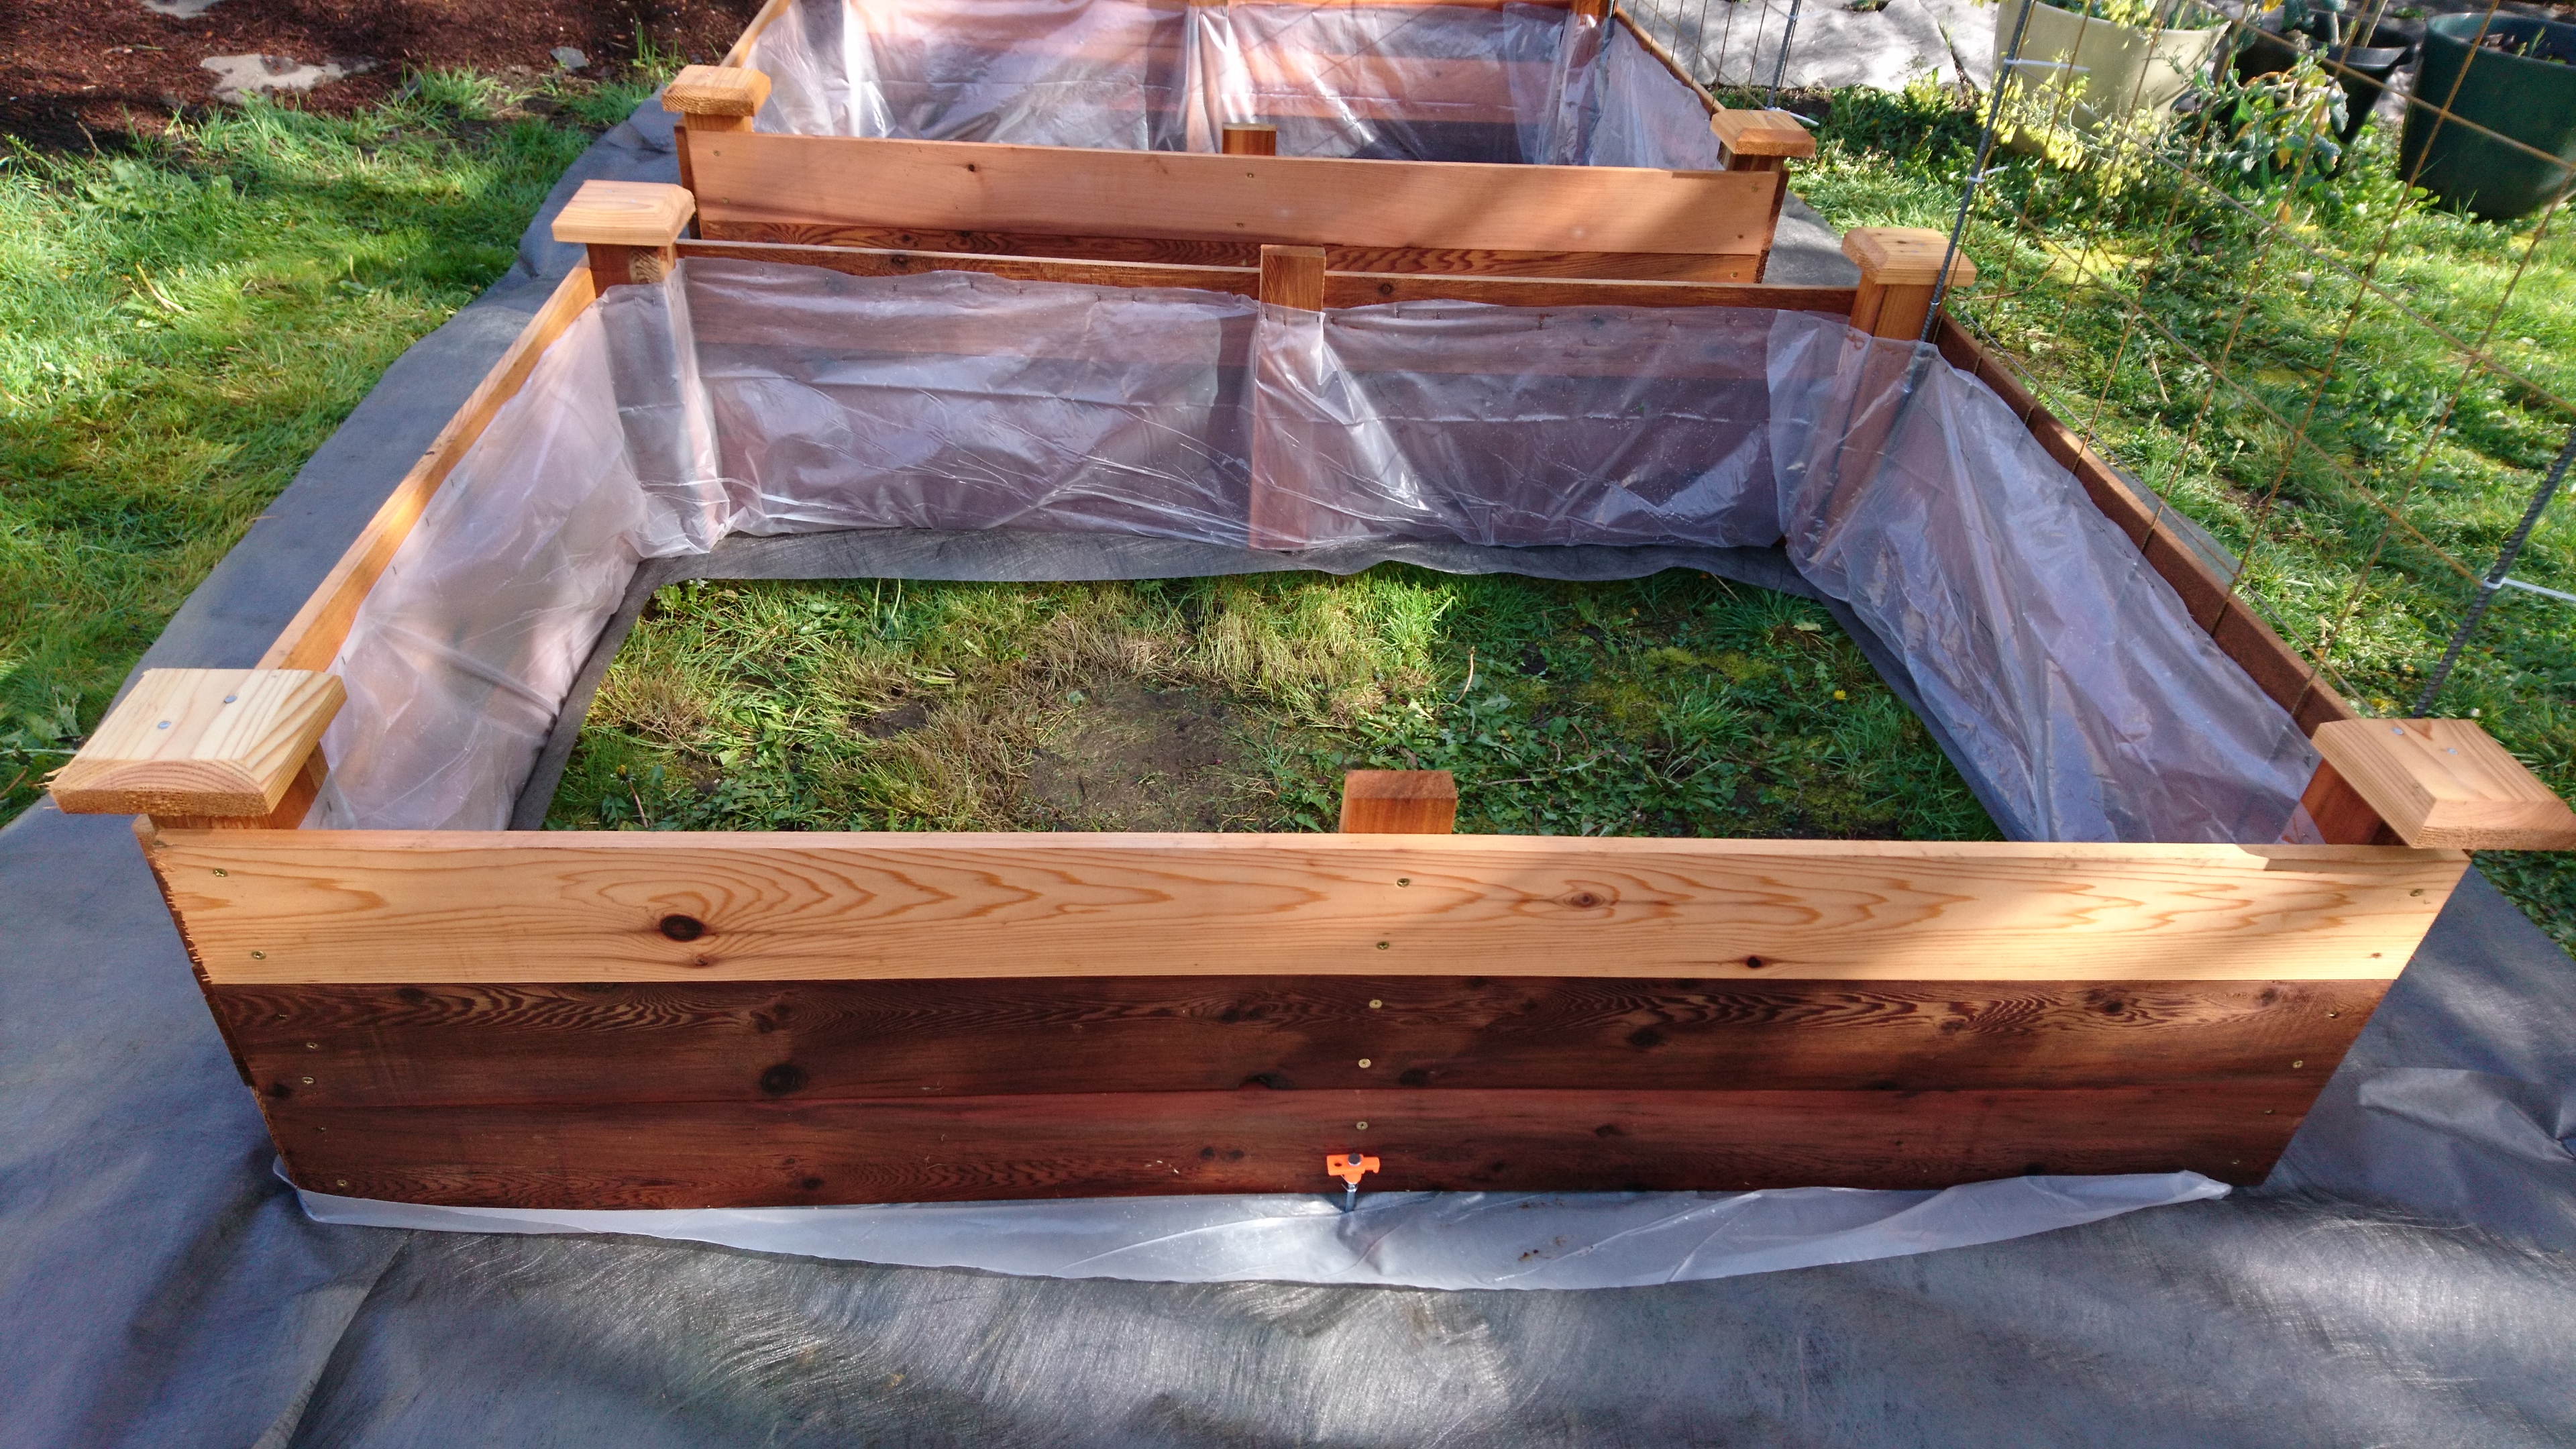
cut the lawn plastic into a strip about 20" wide and 20 feet long.
Staple the plastic just below the inside top of the boards, all the way around the inside of the raised bed. It will be about 4" too long and bunch up.
when finished stapling, tip the bed so that you can pull the excess plastic under the wood, cutting it at the corners to spread. This protects it from rotting due to ground seepage.
Put the bed in its final spot.
Hammer in the tent stakes on the outside, next to the 2x4s in the middle of each 6' side. Use 1 or two each depending on how heavy they are. Hammer them until they are only 4" above the surface, and tight against the wood. These are there to prevent bulging and cracking when you fill the beds with dirt.
Add the caps on the exposed 4x4 tops, attaching with screws. Optionally, also make a "cap" on each 2x4" with the scrap bits from your earlier trimming.
Make a 2' "skirt" around each raised bed with groundcloth strips. Cover these with mulch or bark. This will prevent weeds from surrounding your beds. Here's a photo of the plastic and the skirt:
Fill the raised bed with a good raised bed mix. It will require about 1 cubic yard of dirt for each raised bed.
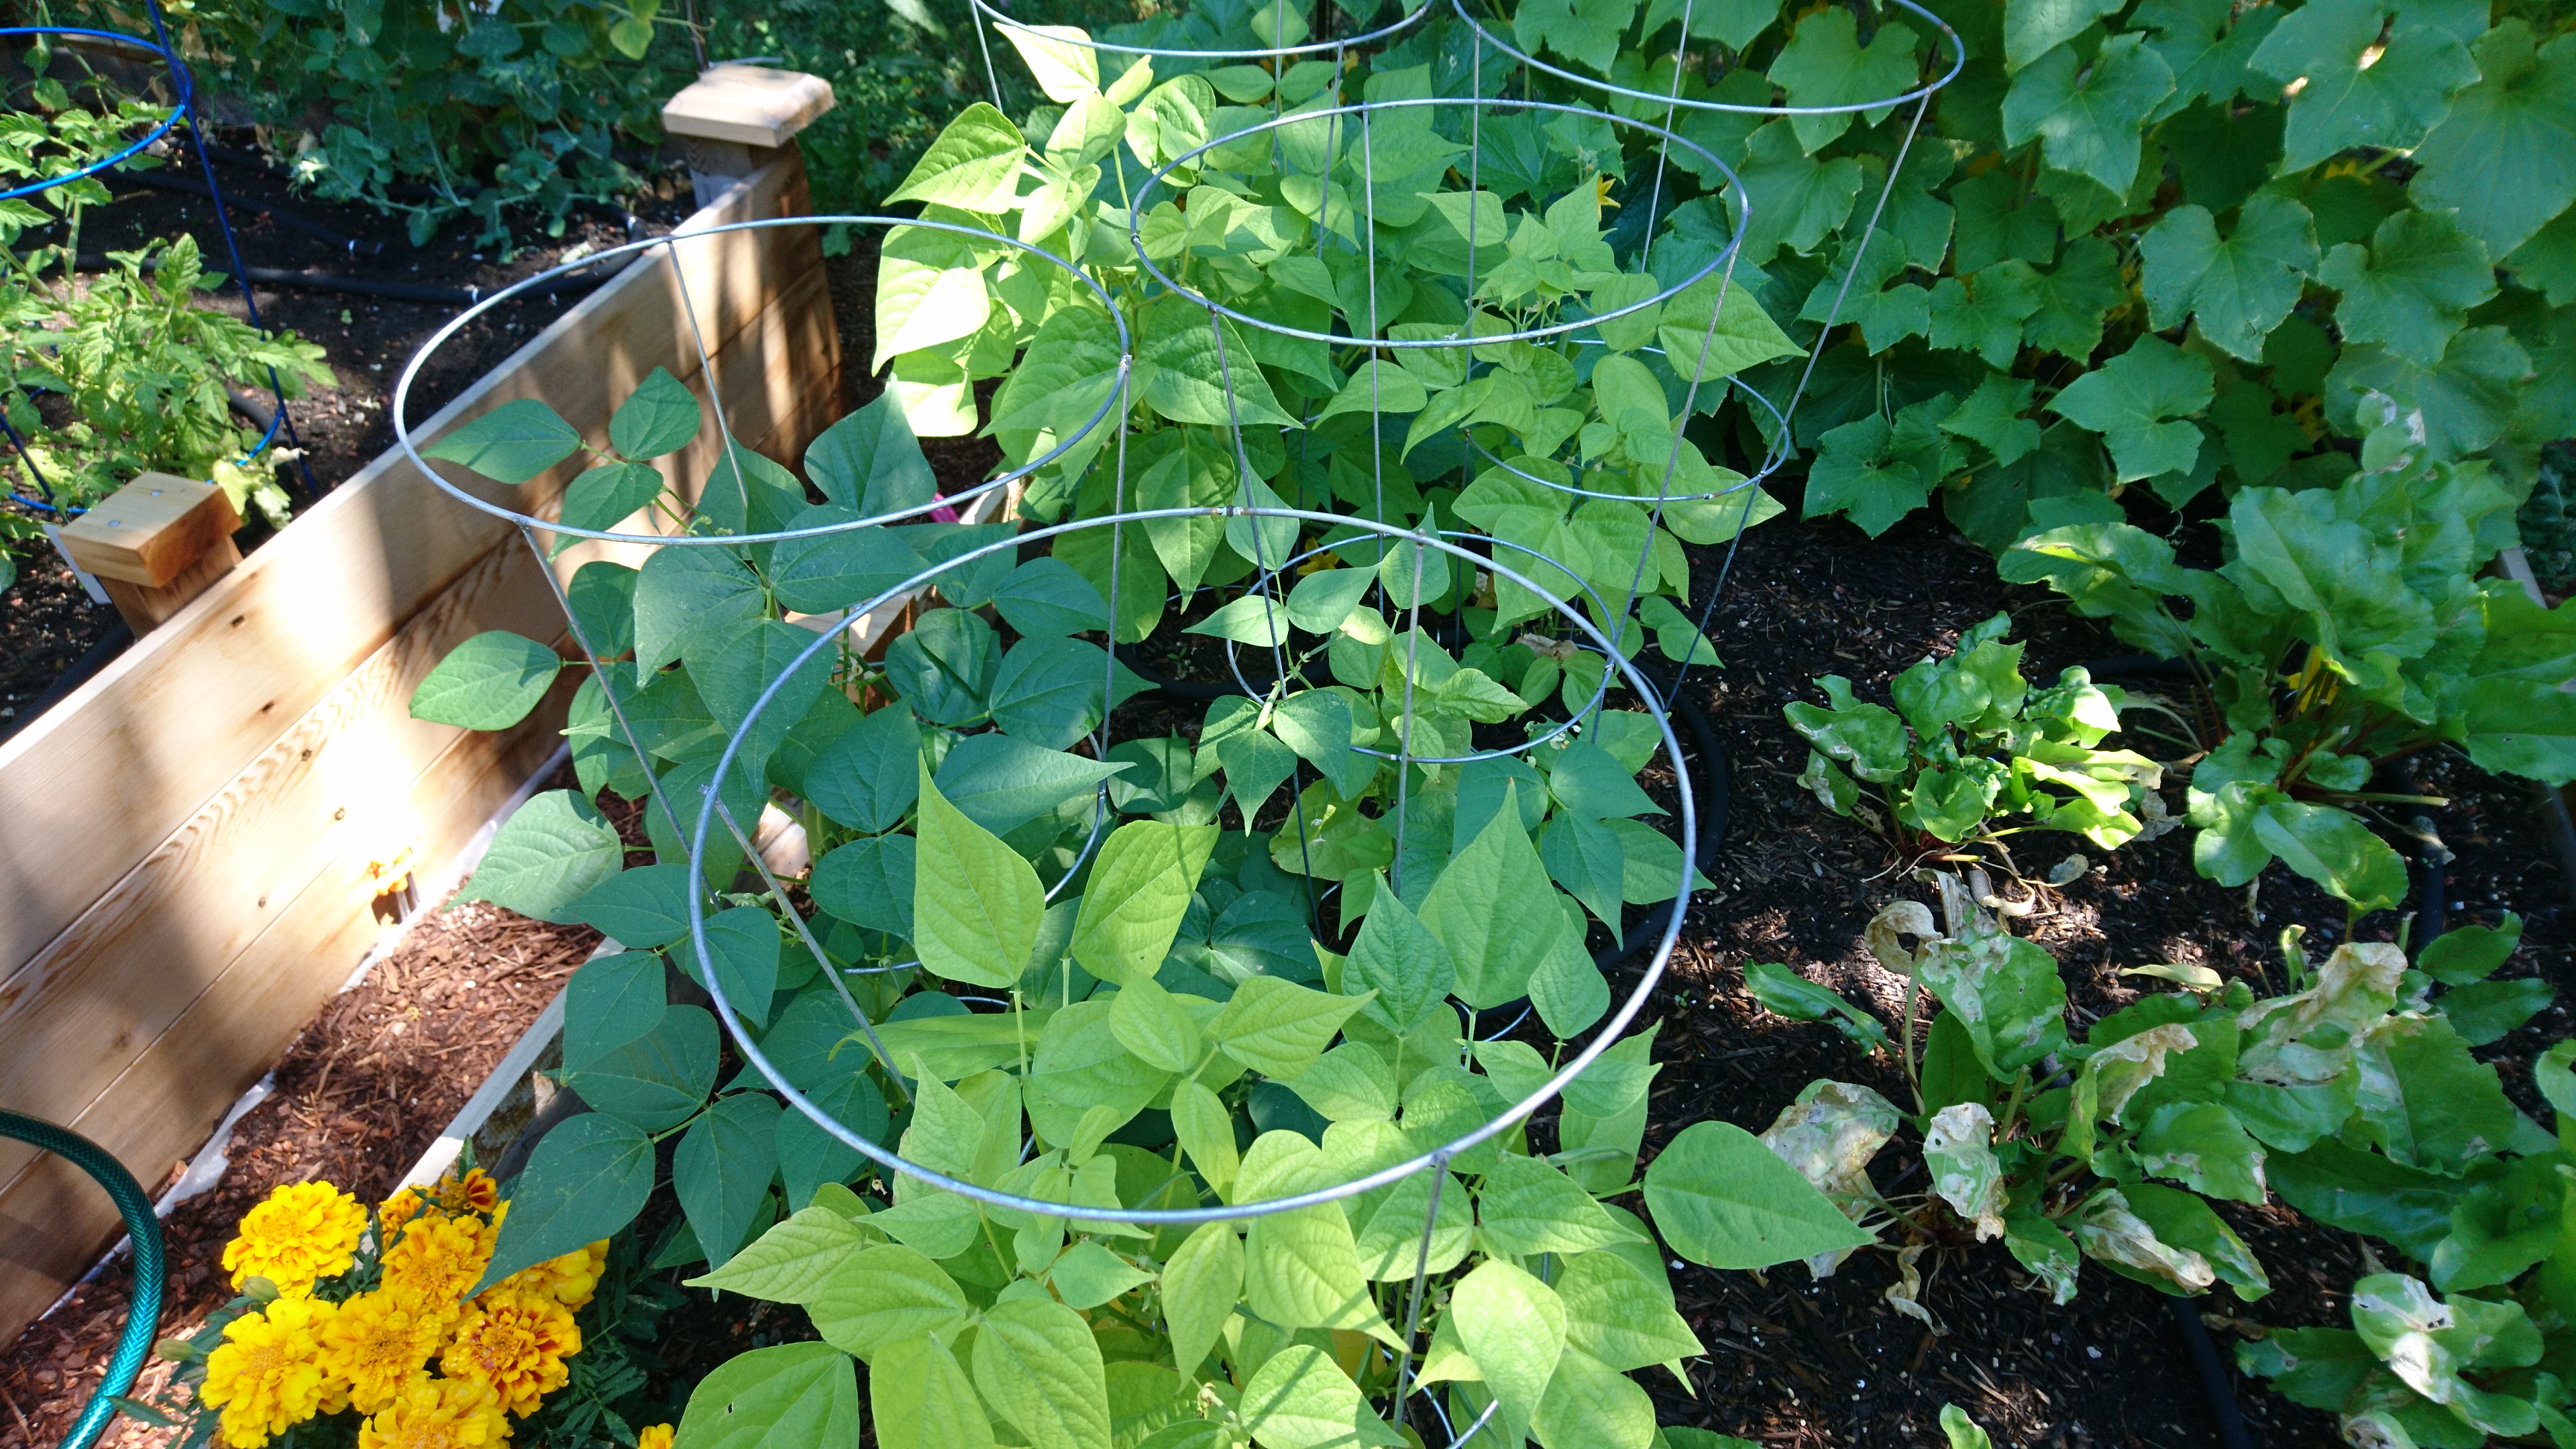
You are now ready to plant. Well, after you test the soil for plant nutrition.