test tiles, 3d prints, and extruder hacks
One of the reasons I bought a 3D printer was to start printing my own clay extruder dies, for a variety of purposes. I've made my own extruder dies before in my father-in-law's metal shop, but I'm not that good at milling and as a result the shapes I can make are quite limited. With a 3D printer I can make any plate I can reasonably design.
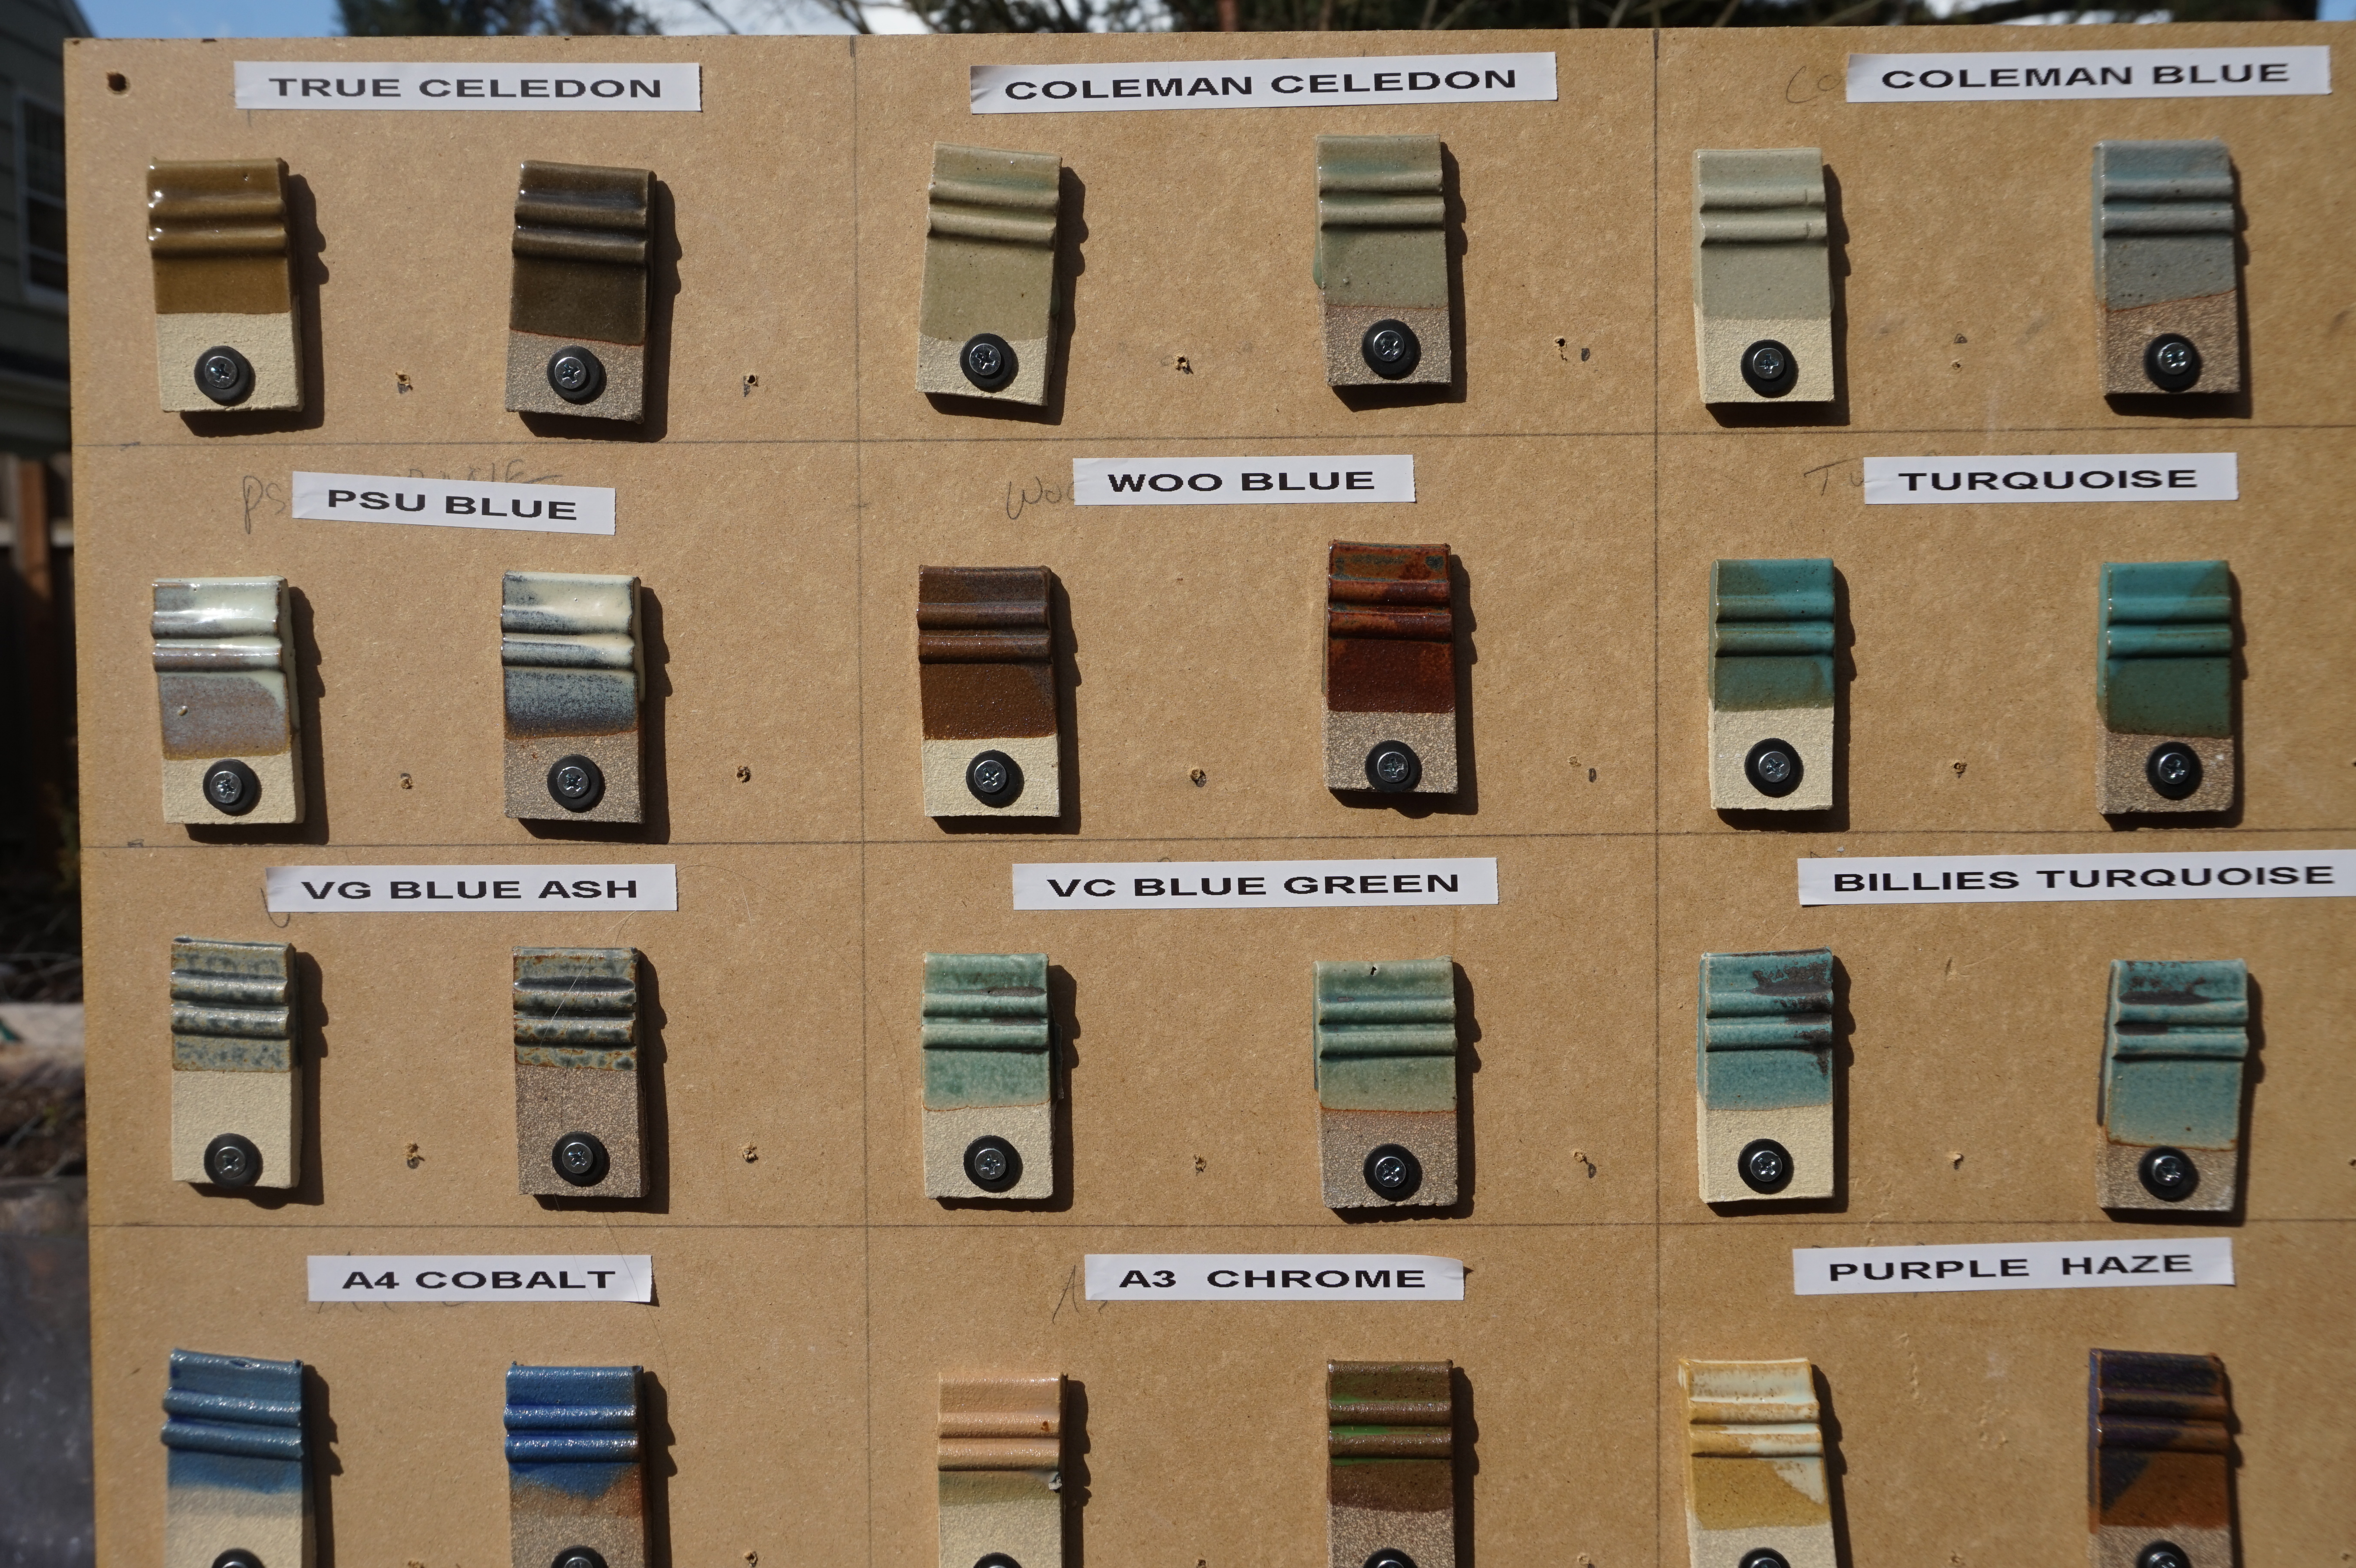
So, when I realized that I was going to need a lot more test tiles to create a reliable seashell pink in cone 10 reduction glaze, it became time to print some plates. Two plates -- one for the test tiles, and one for the test tile holder. Why I need a holder will become a lot clearer once you see the design. But first, I needed to design the plates.
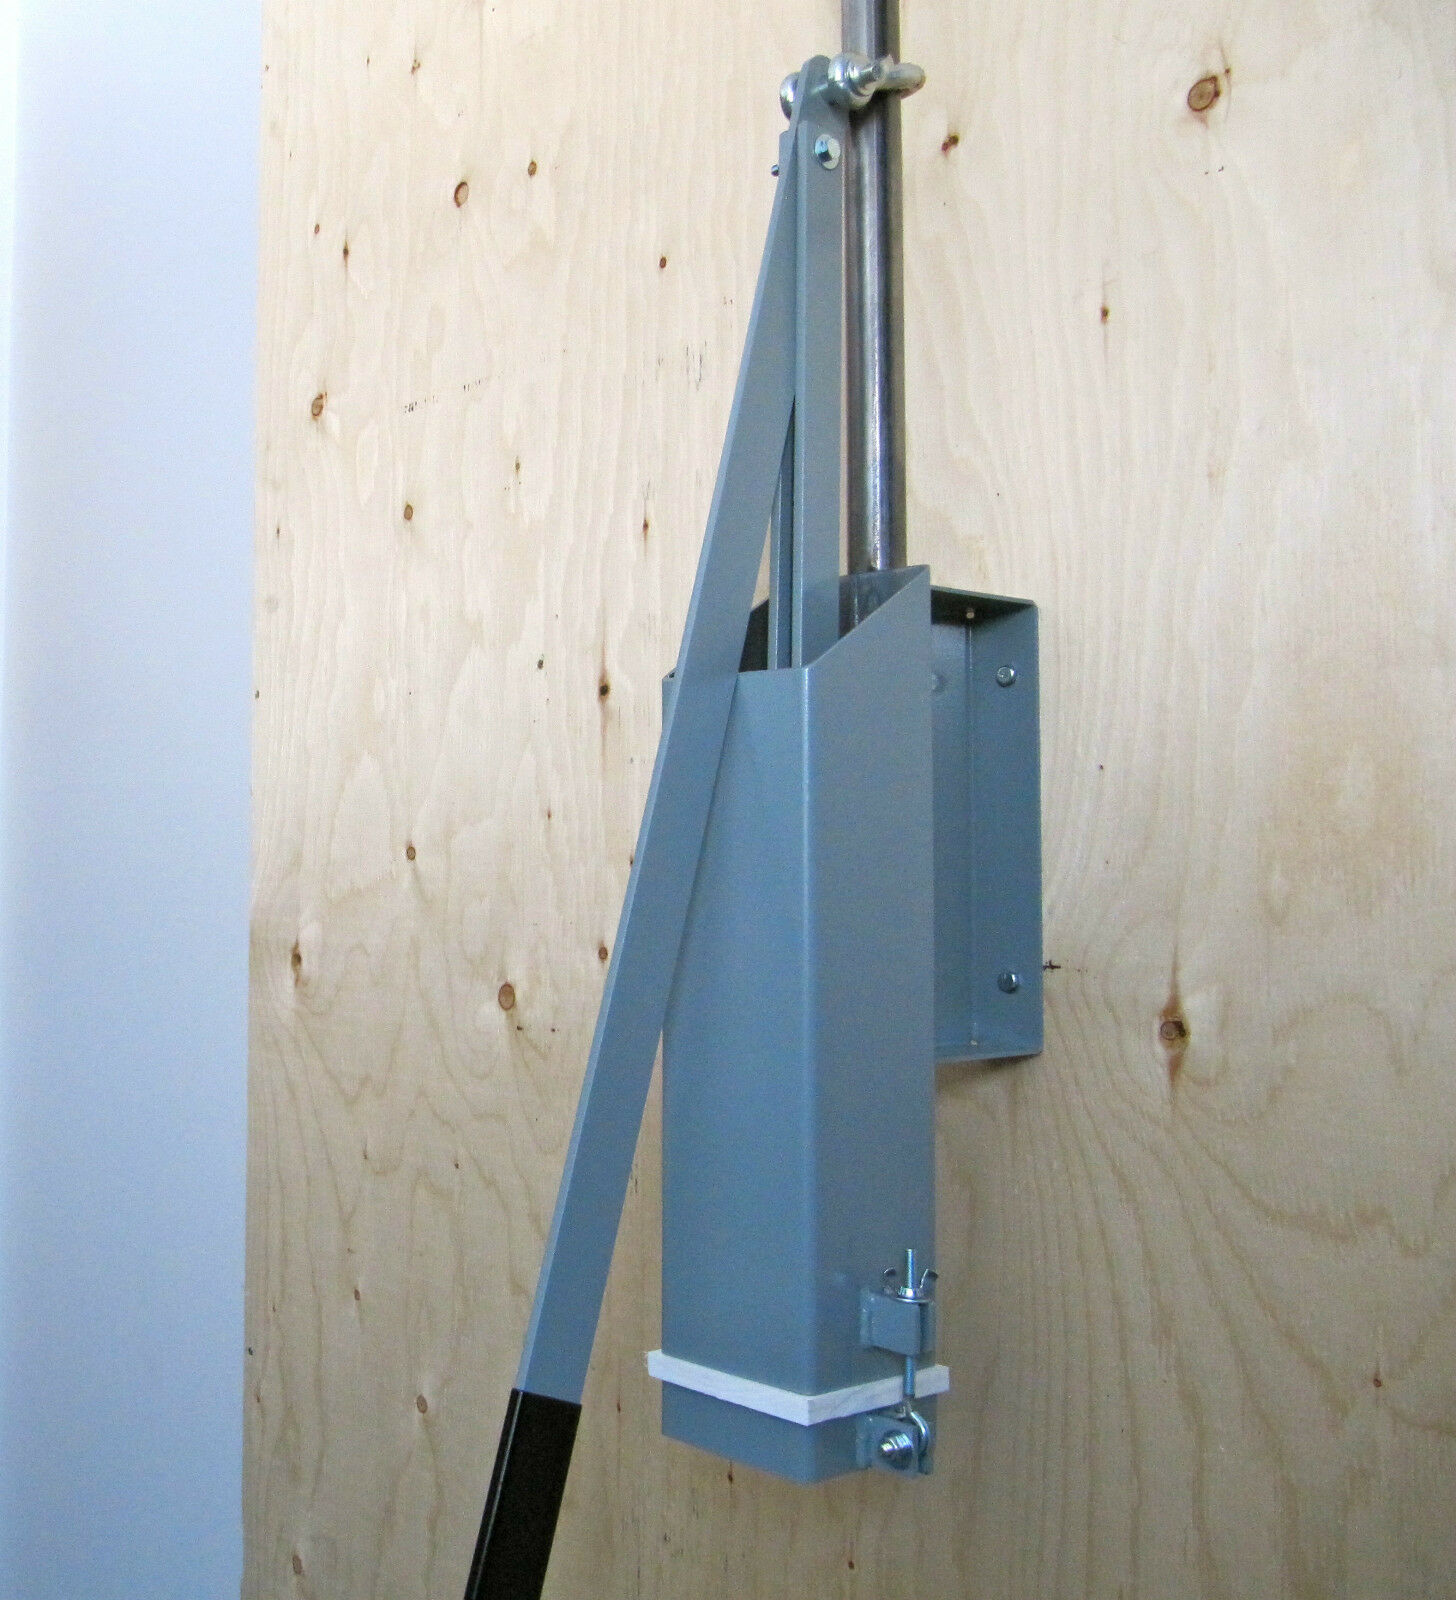
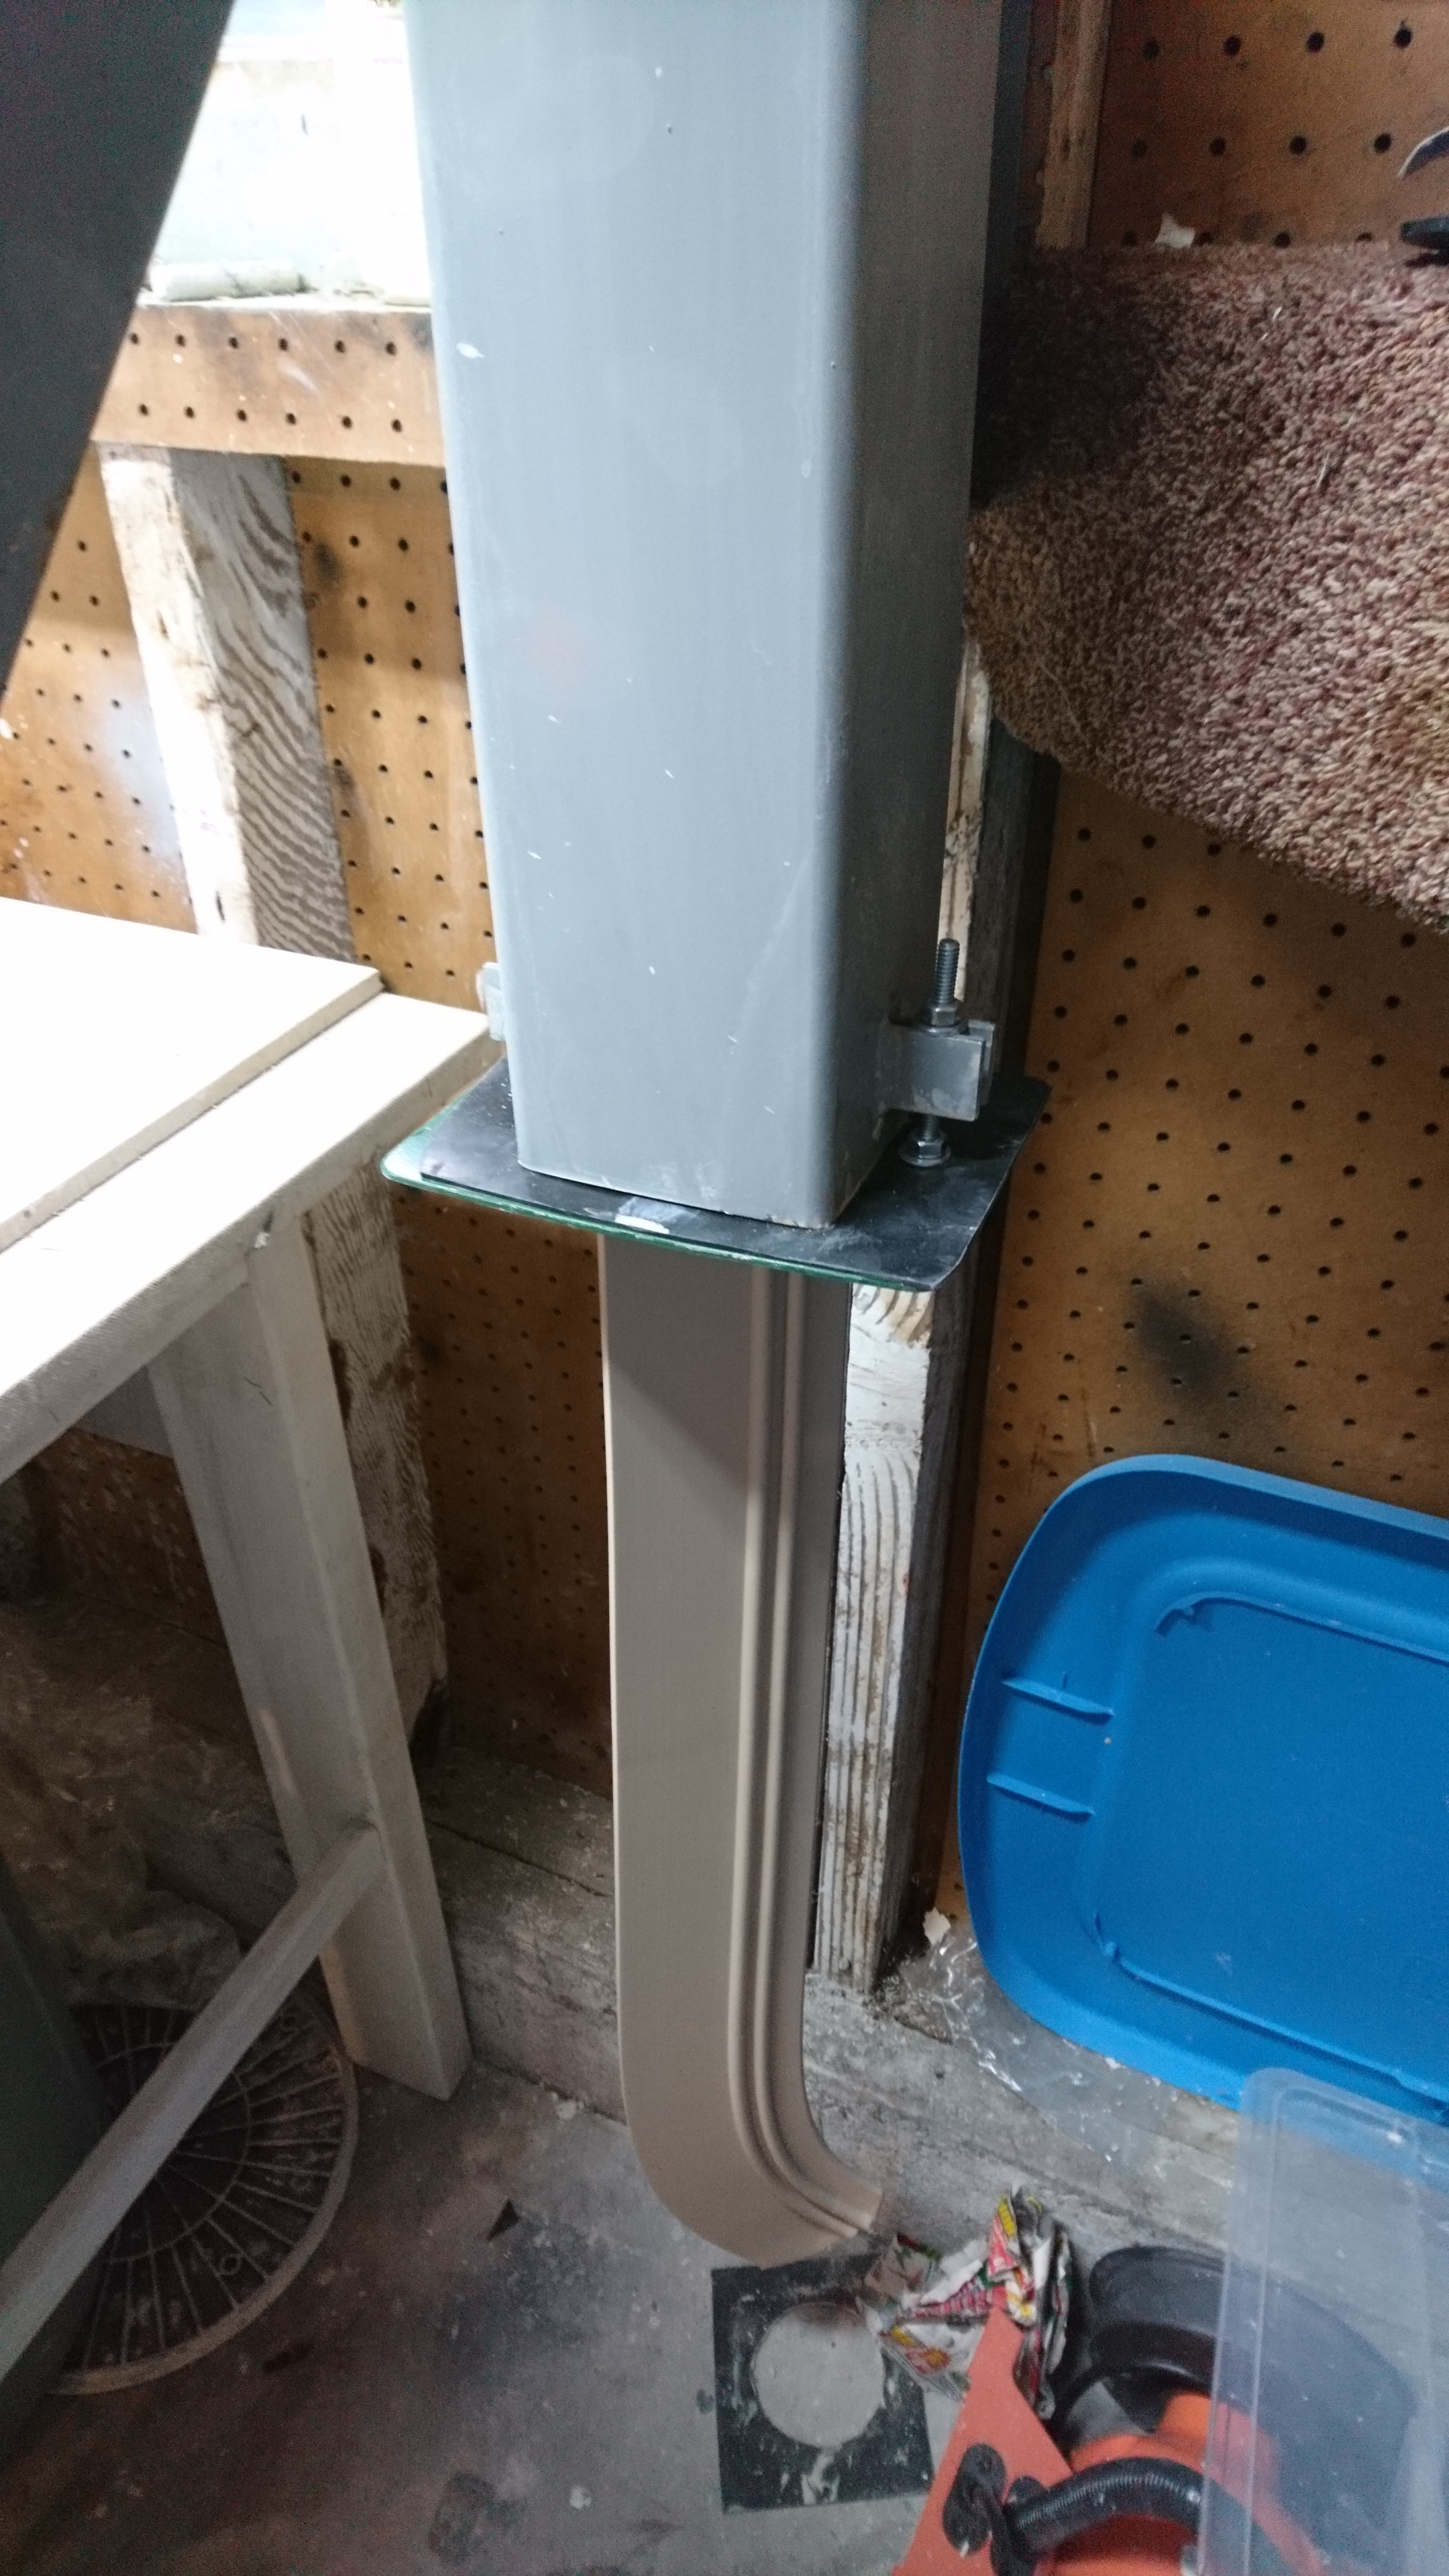
I have a TA Metalworks extruder. It's a similar design to the popular North Star Extruder (and my plate designs will probably work for both). This model of extruder has a long square tube, and normally the extruder die is clamped between this and a square retaining bracket below.
There are two problems with this design. First, you tend to get a lot of clay squishing out the sides between the end of the tube and the die. More importantly, though, this means putting a lot of clamp pressure on the die, which would force me to make my 3D printed plates with 100% fill to make them sturdy enough, and even so the PLA might crack. If I made a die that fit inside the extruder tube, instead, I wouldn't be clamping the die between two pieces of metal, and I could then use a gasket which would limit clay squeeze-out.
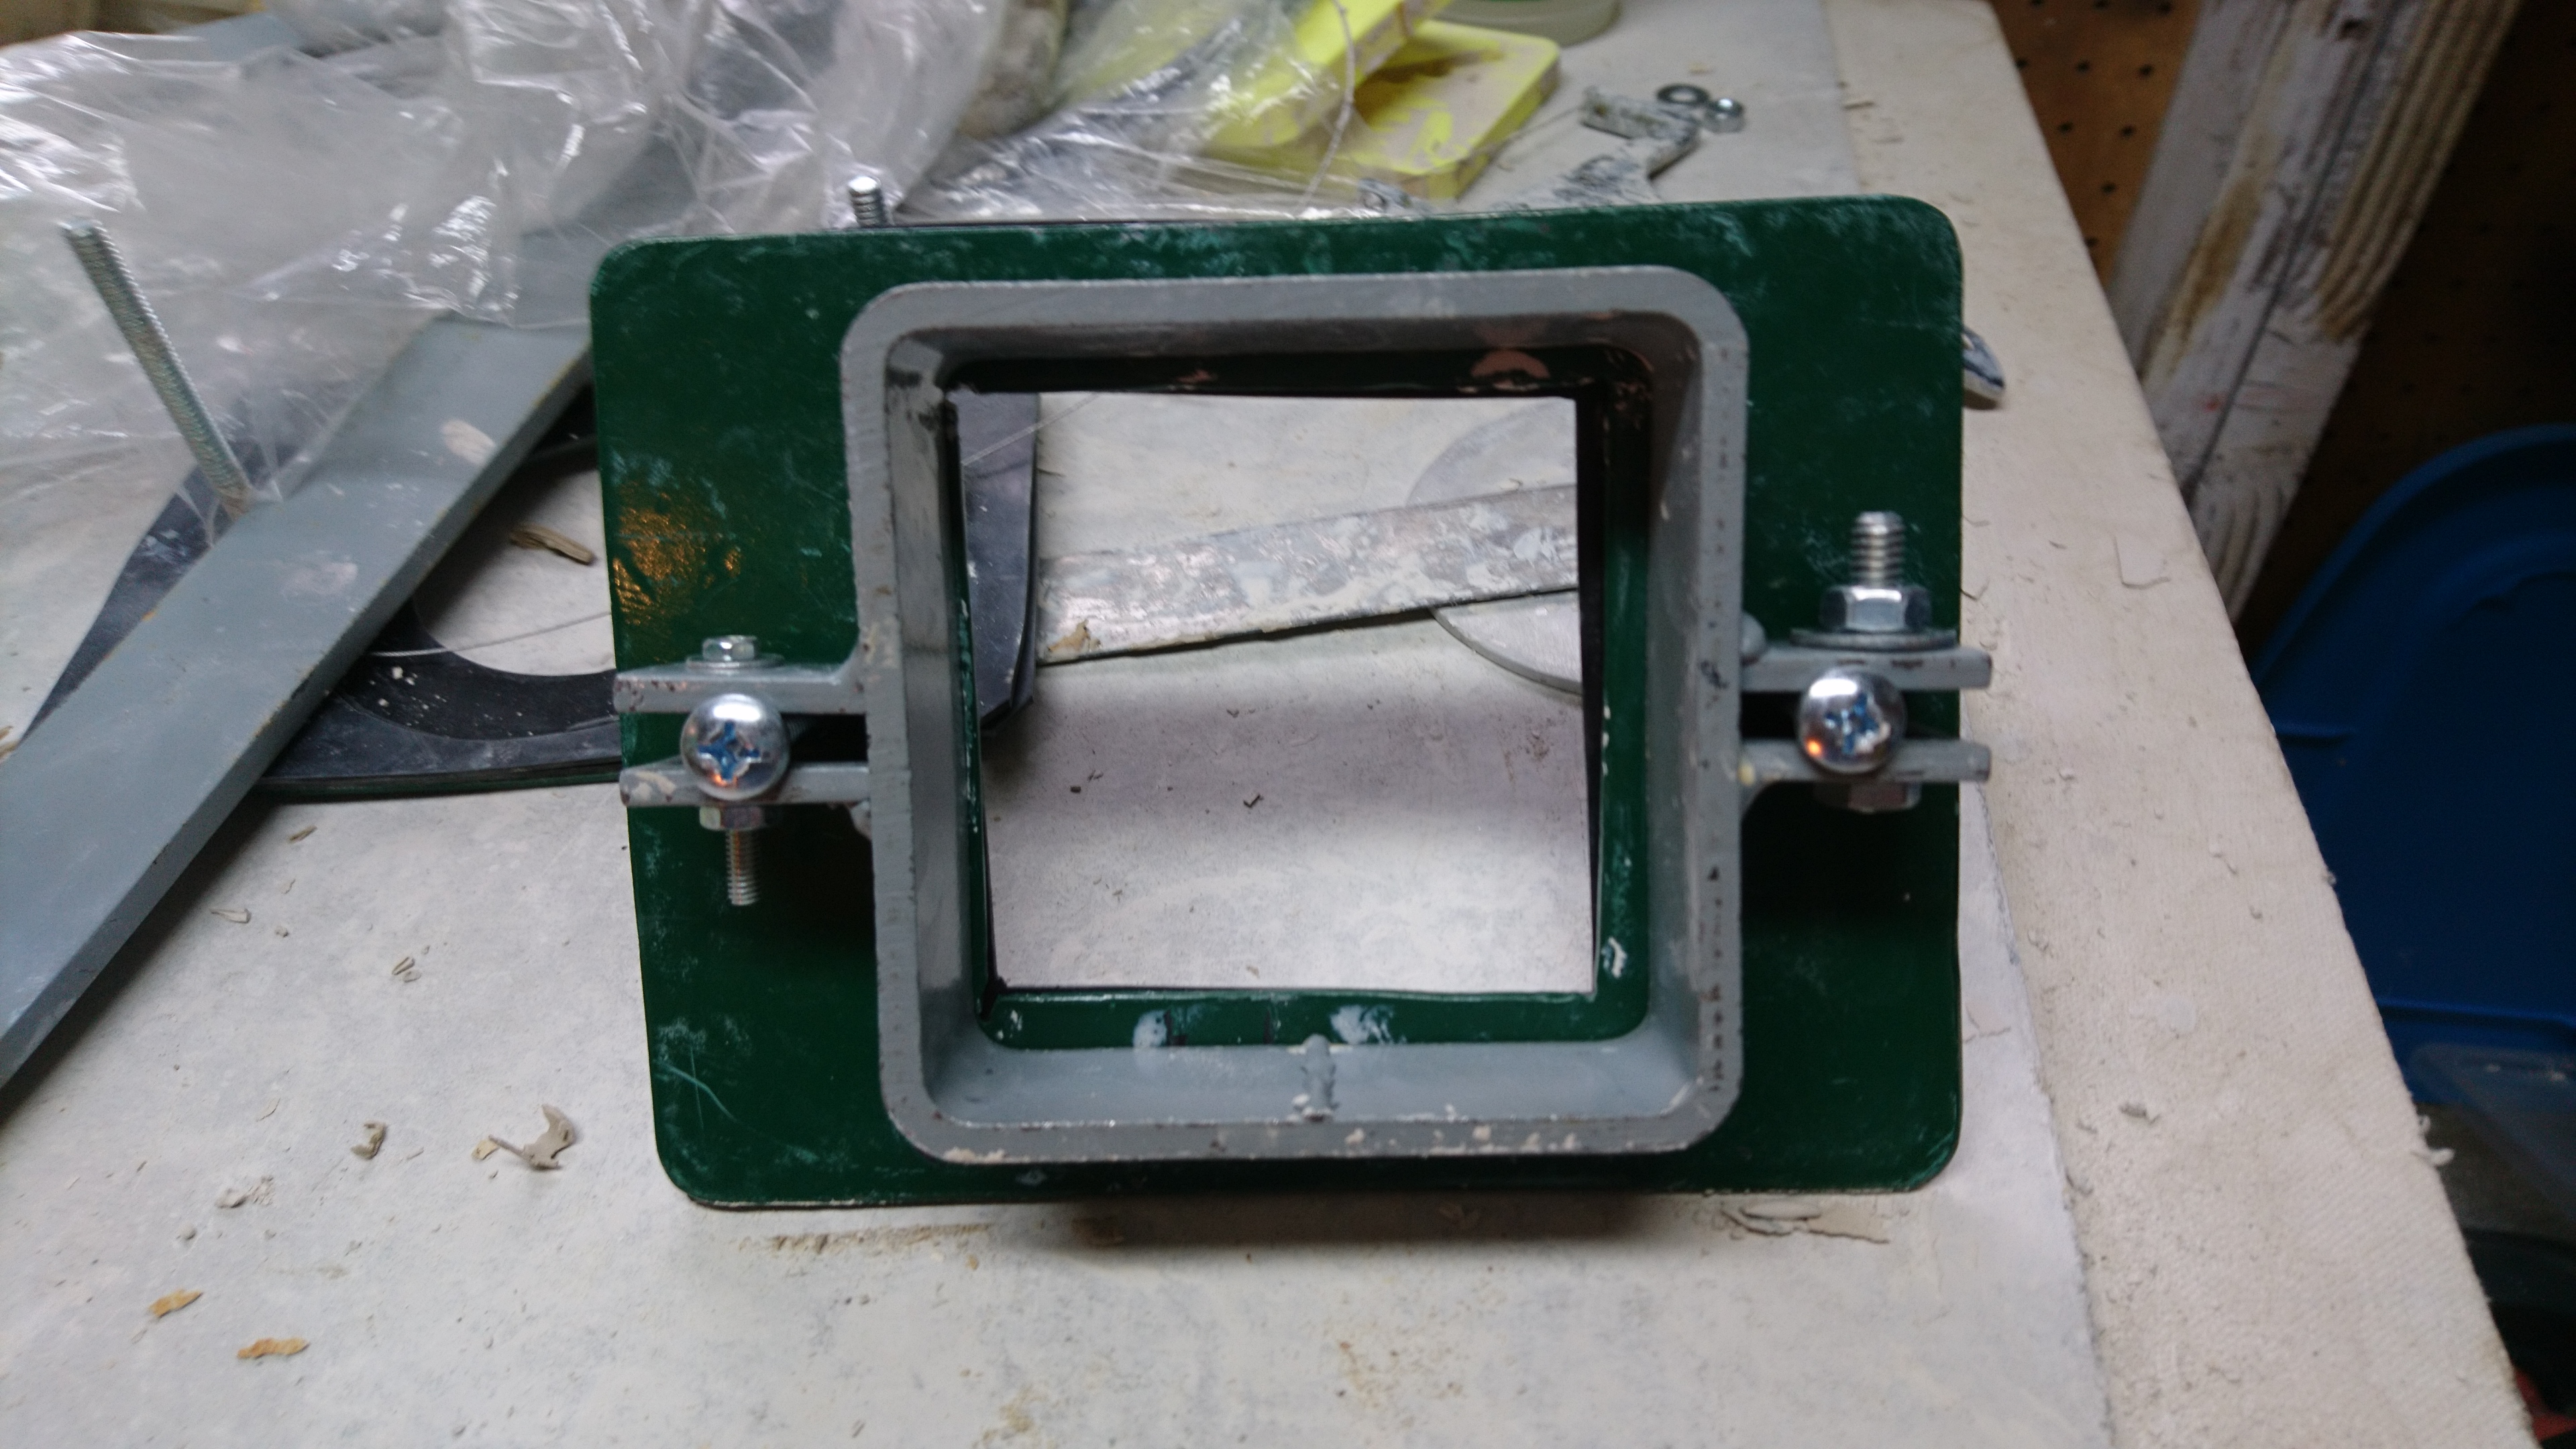
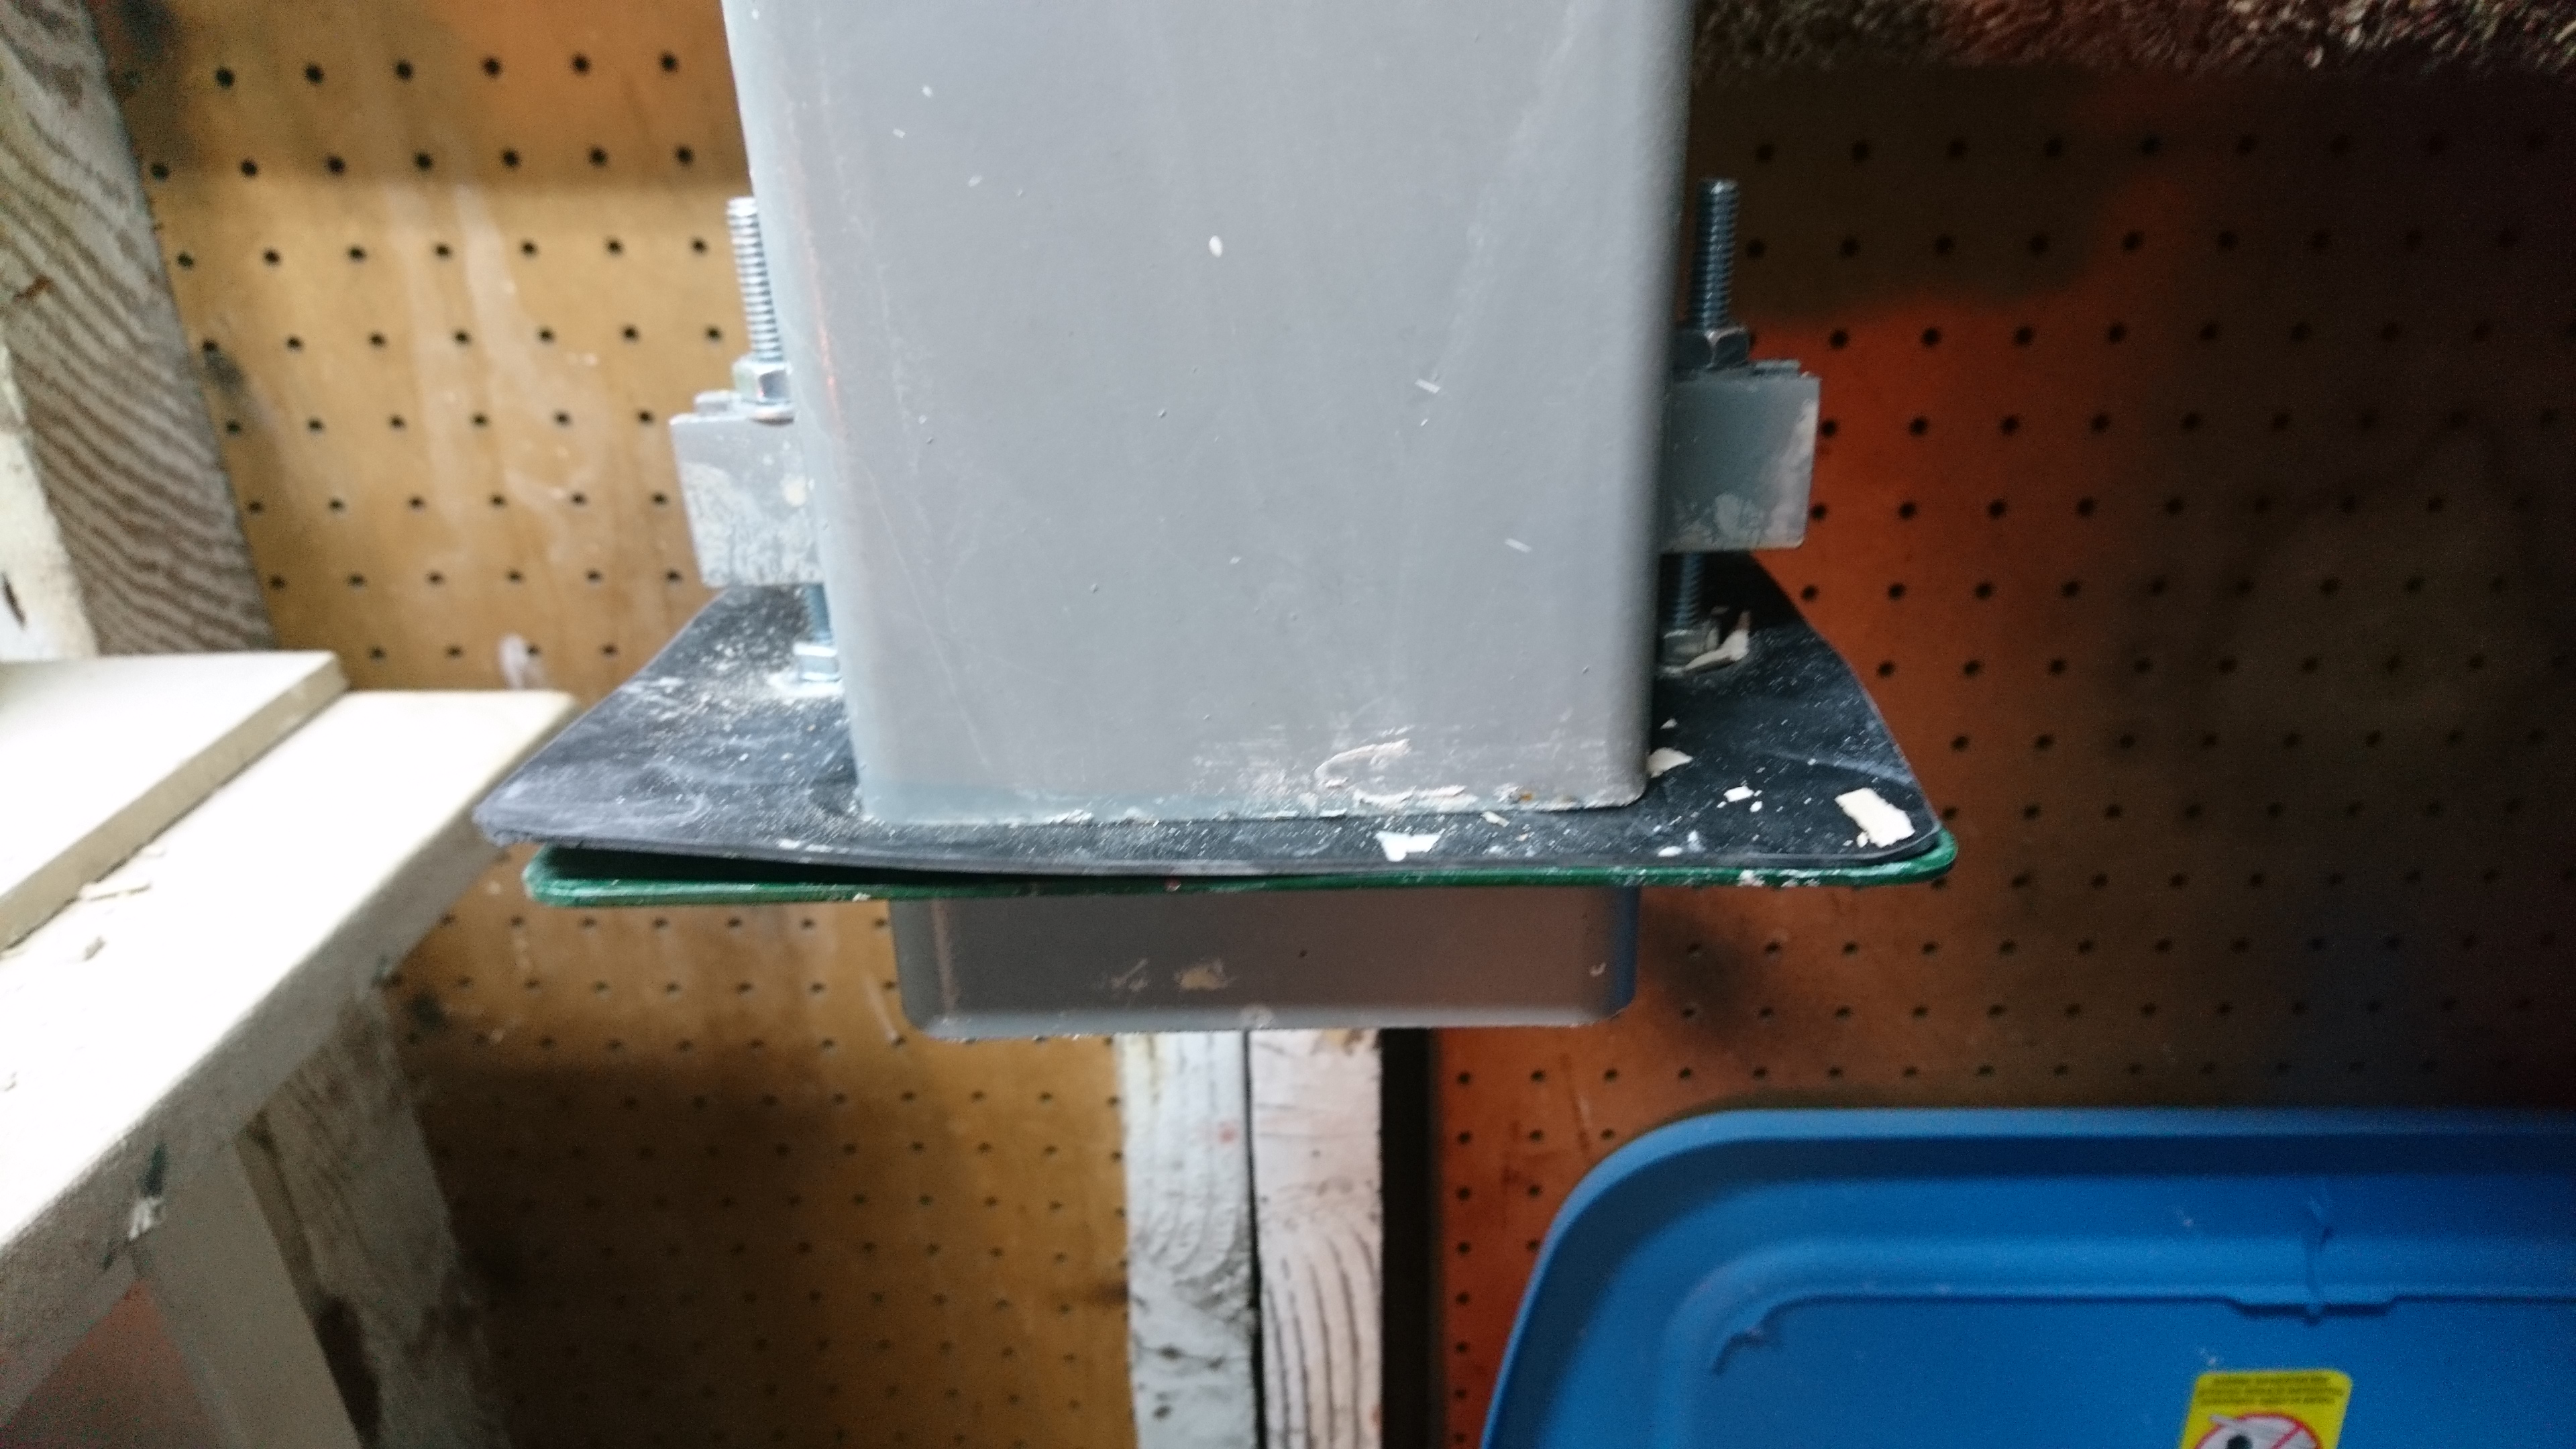
So, I first made a metal retaining plate with a square hole that was 1/4" smaller than the tube. I then screwed this together with the retaining bracket for the extruder. You could also do this by welding 1/4" metal plates to the inside of the retaining bracket if you wanted, or you could use heavy wood instead of sheet metal. I put some gasket rubber over the top of this to make for a good seal.
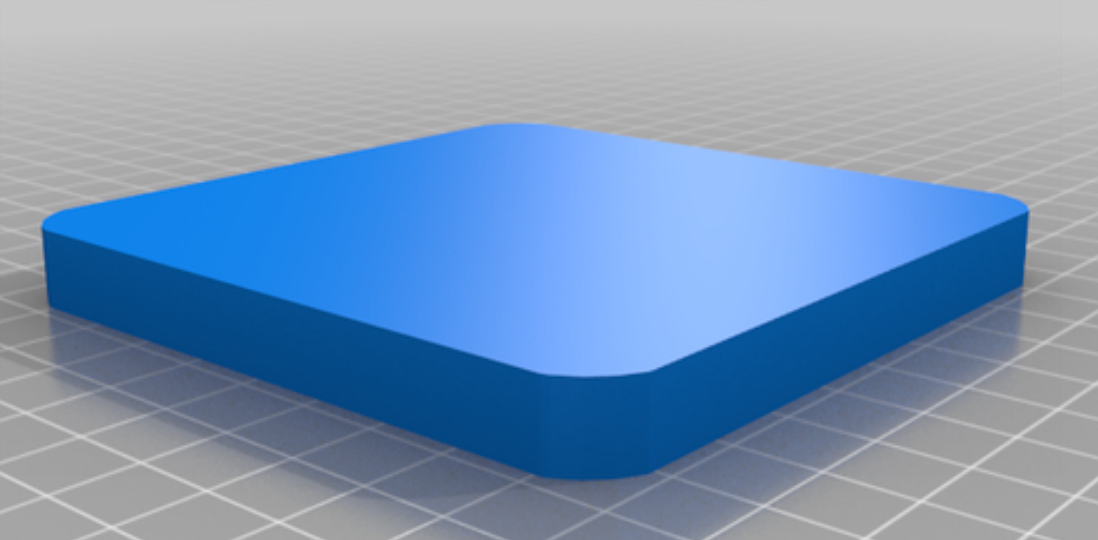
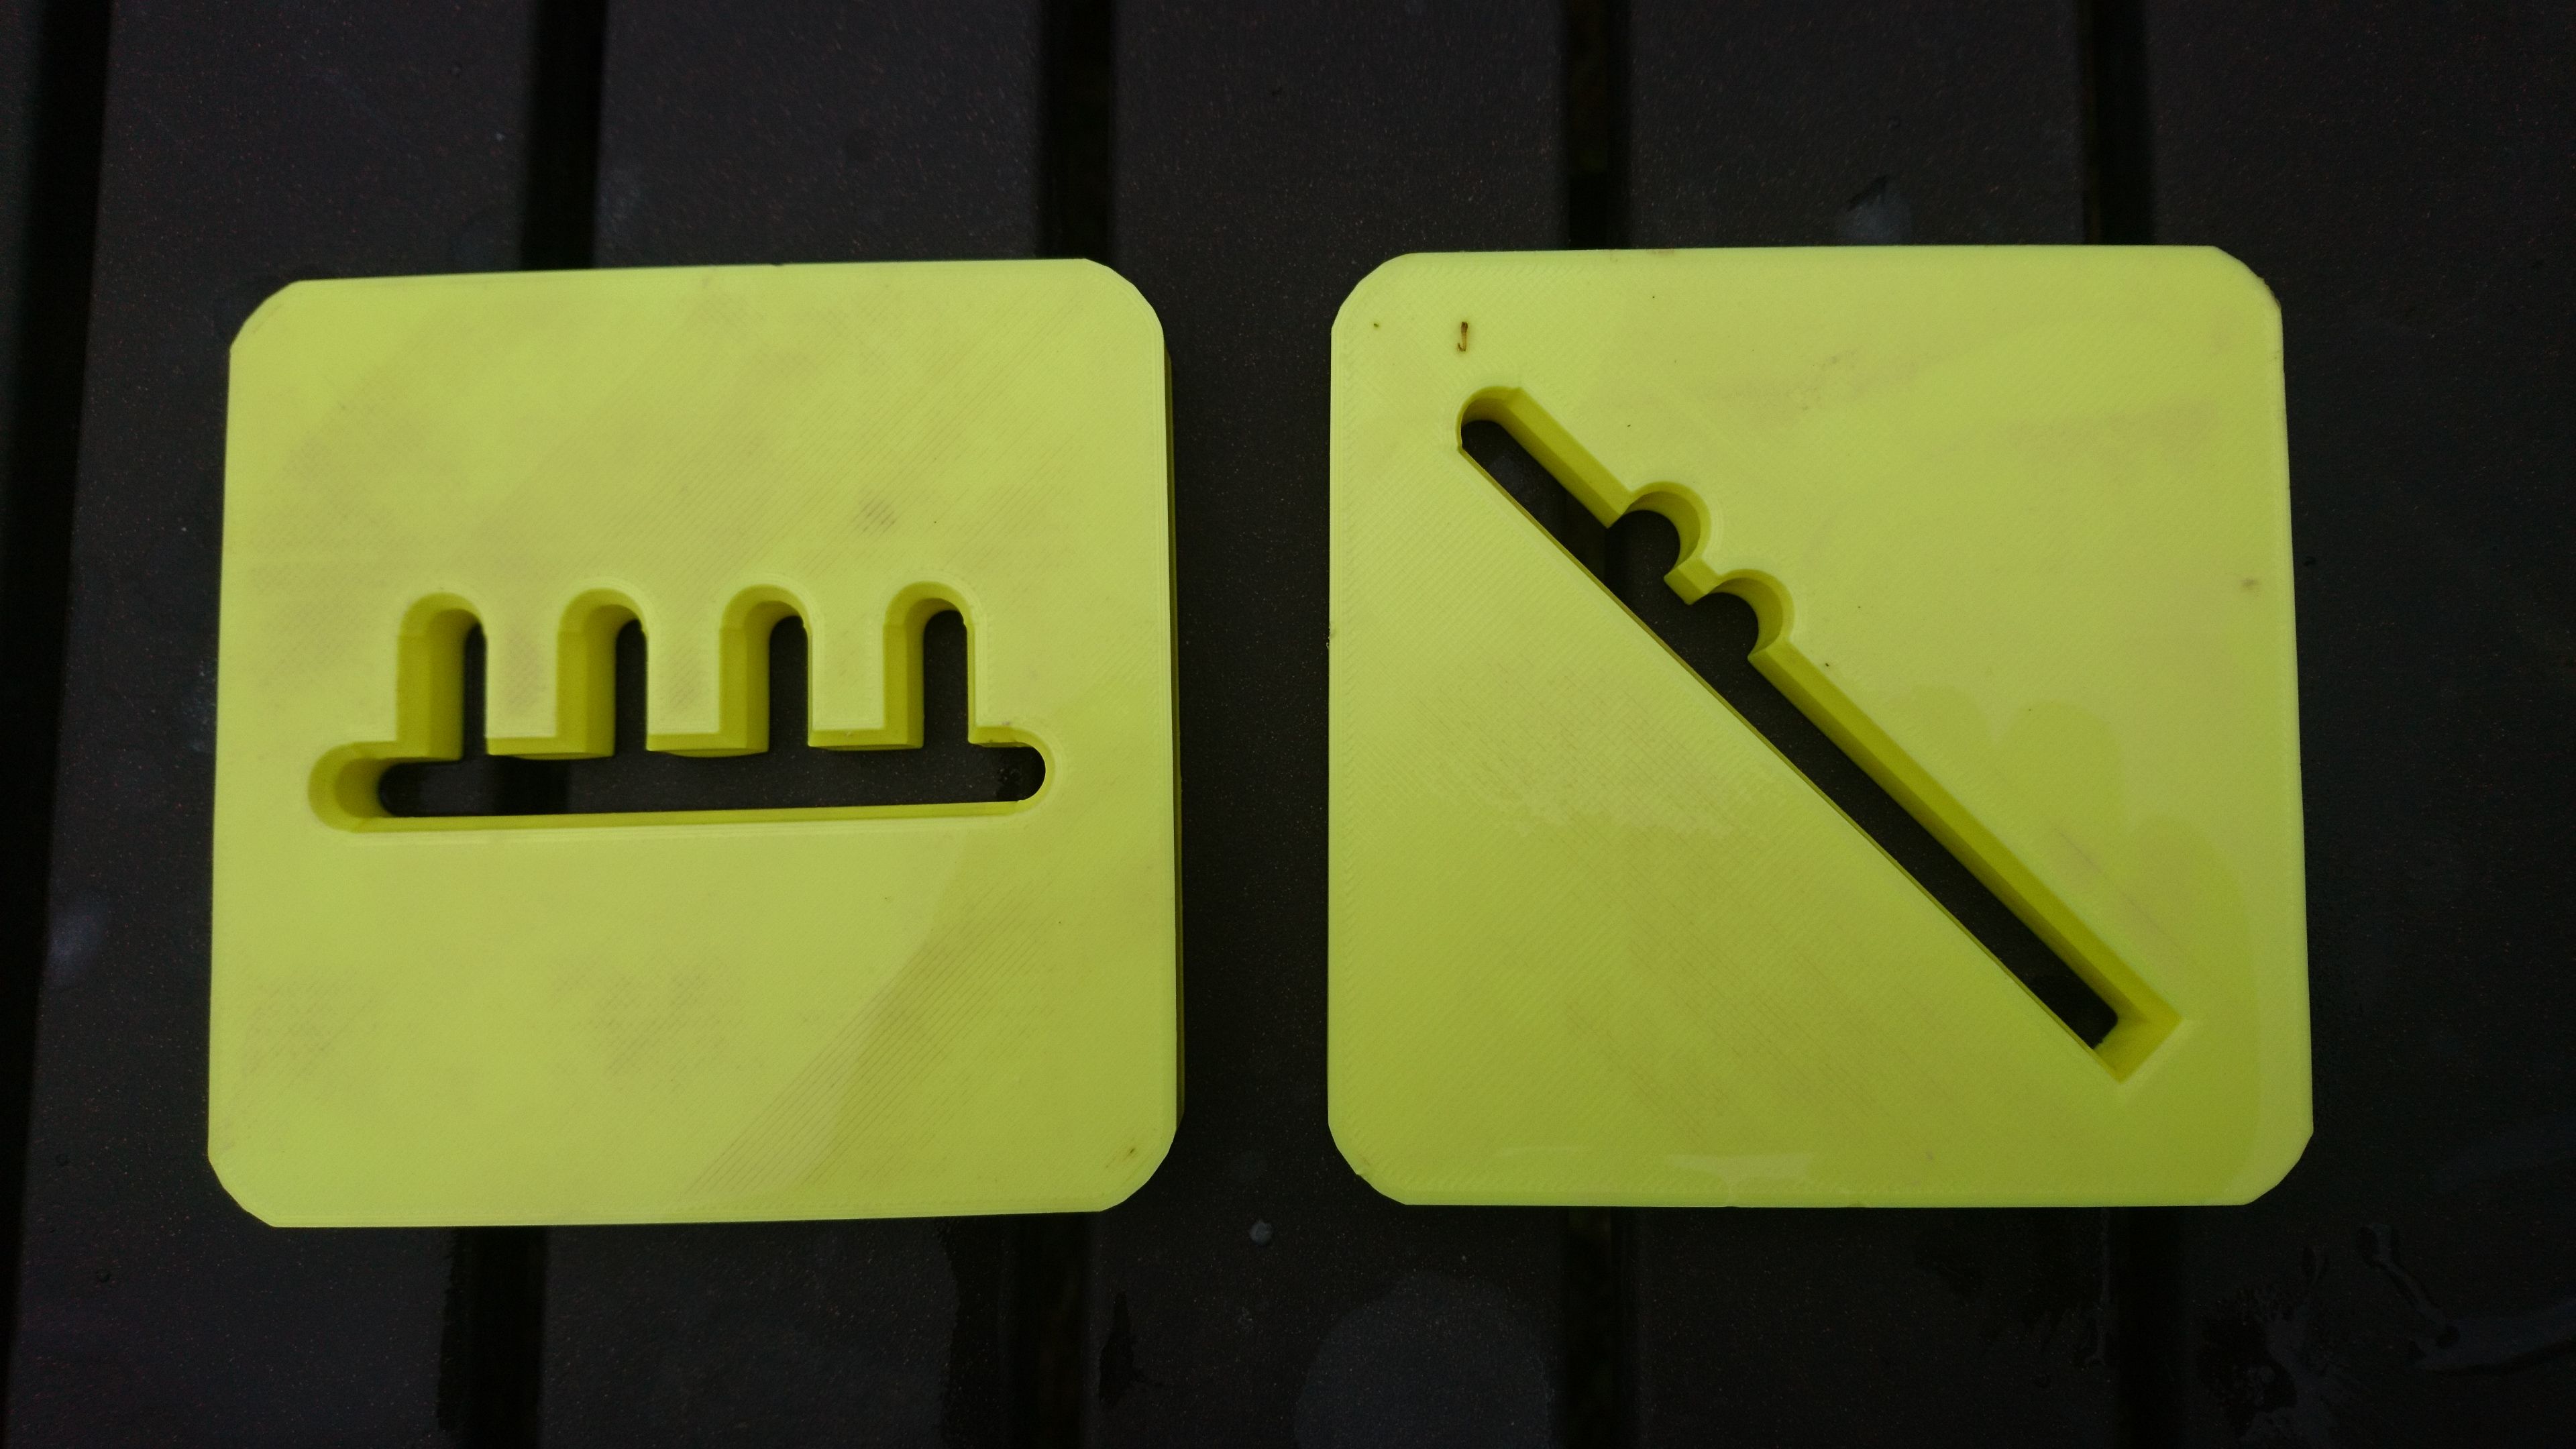
Next I carefully measured the inside of the extruder tube and designed a blank extruder die that exactly fit, as tightly as possible. I made it 1cm thick so that it would be strong enough, and then went to work on my designs, using TinkerCAD.
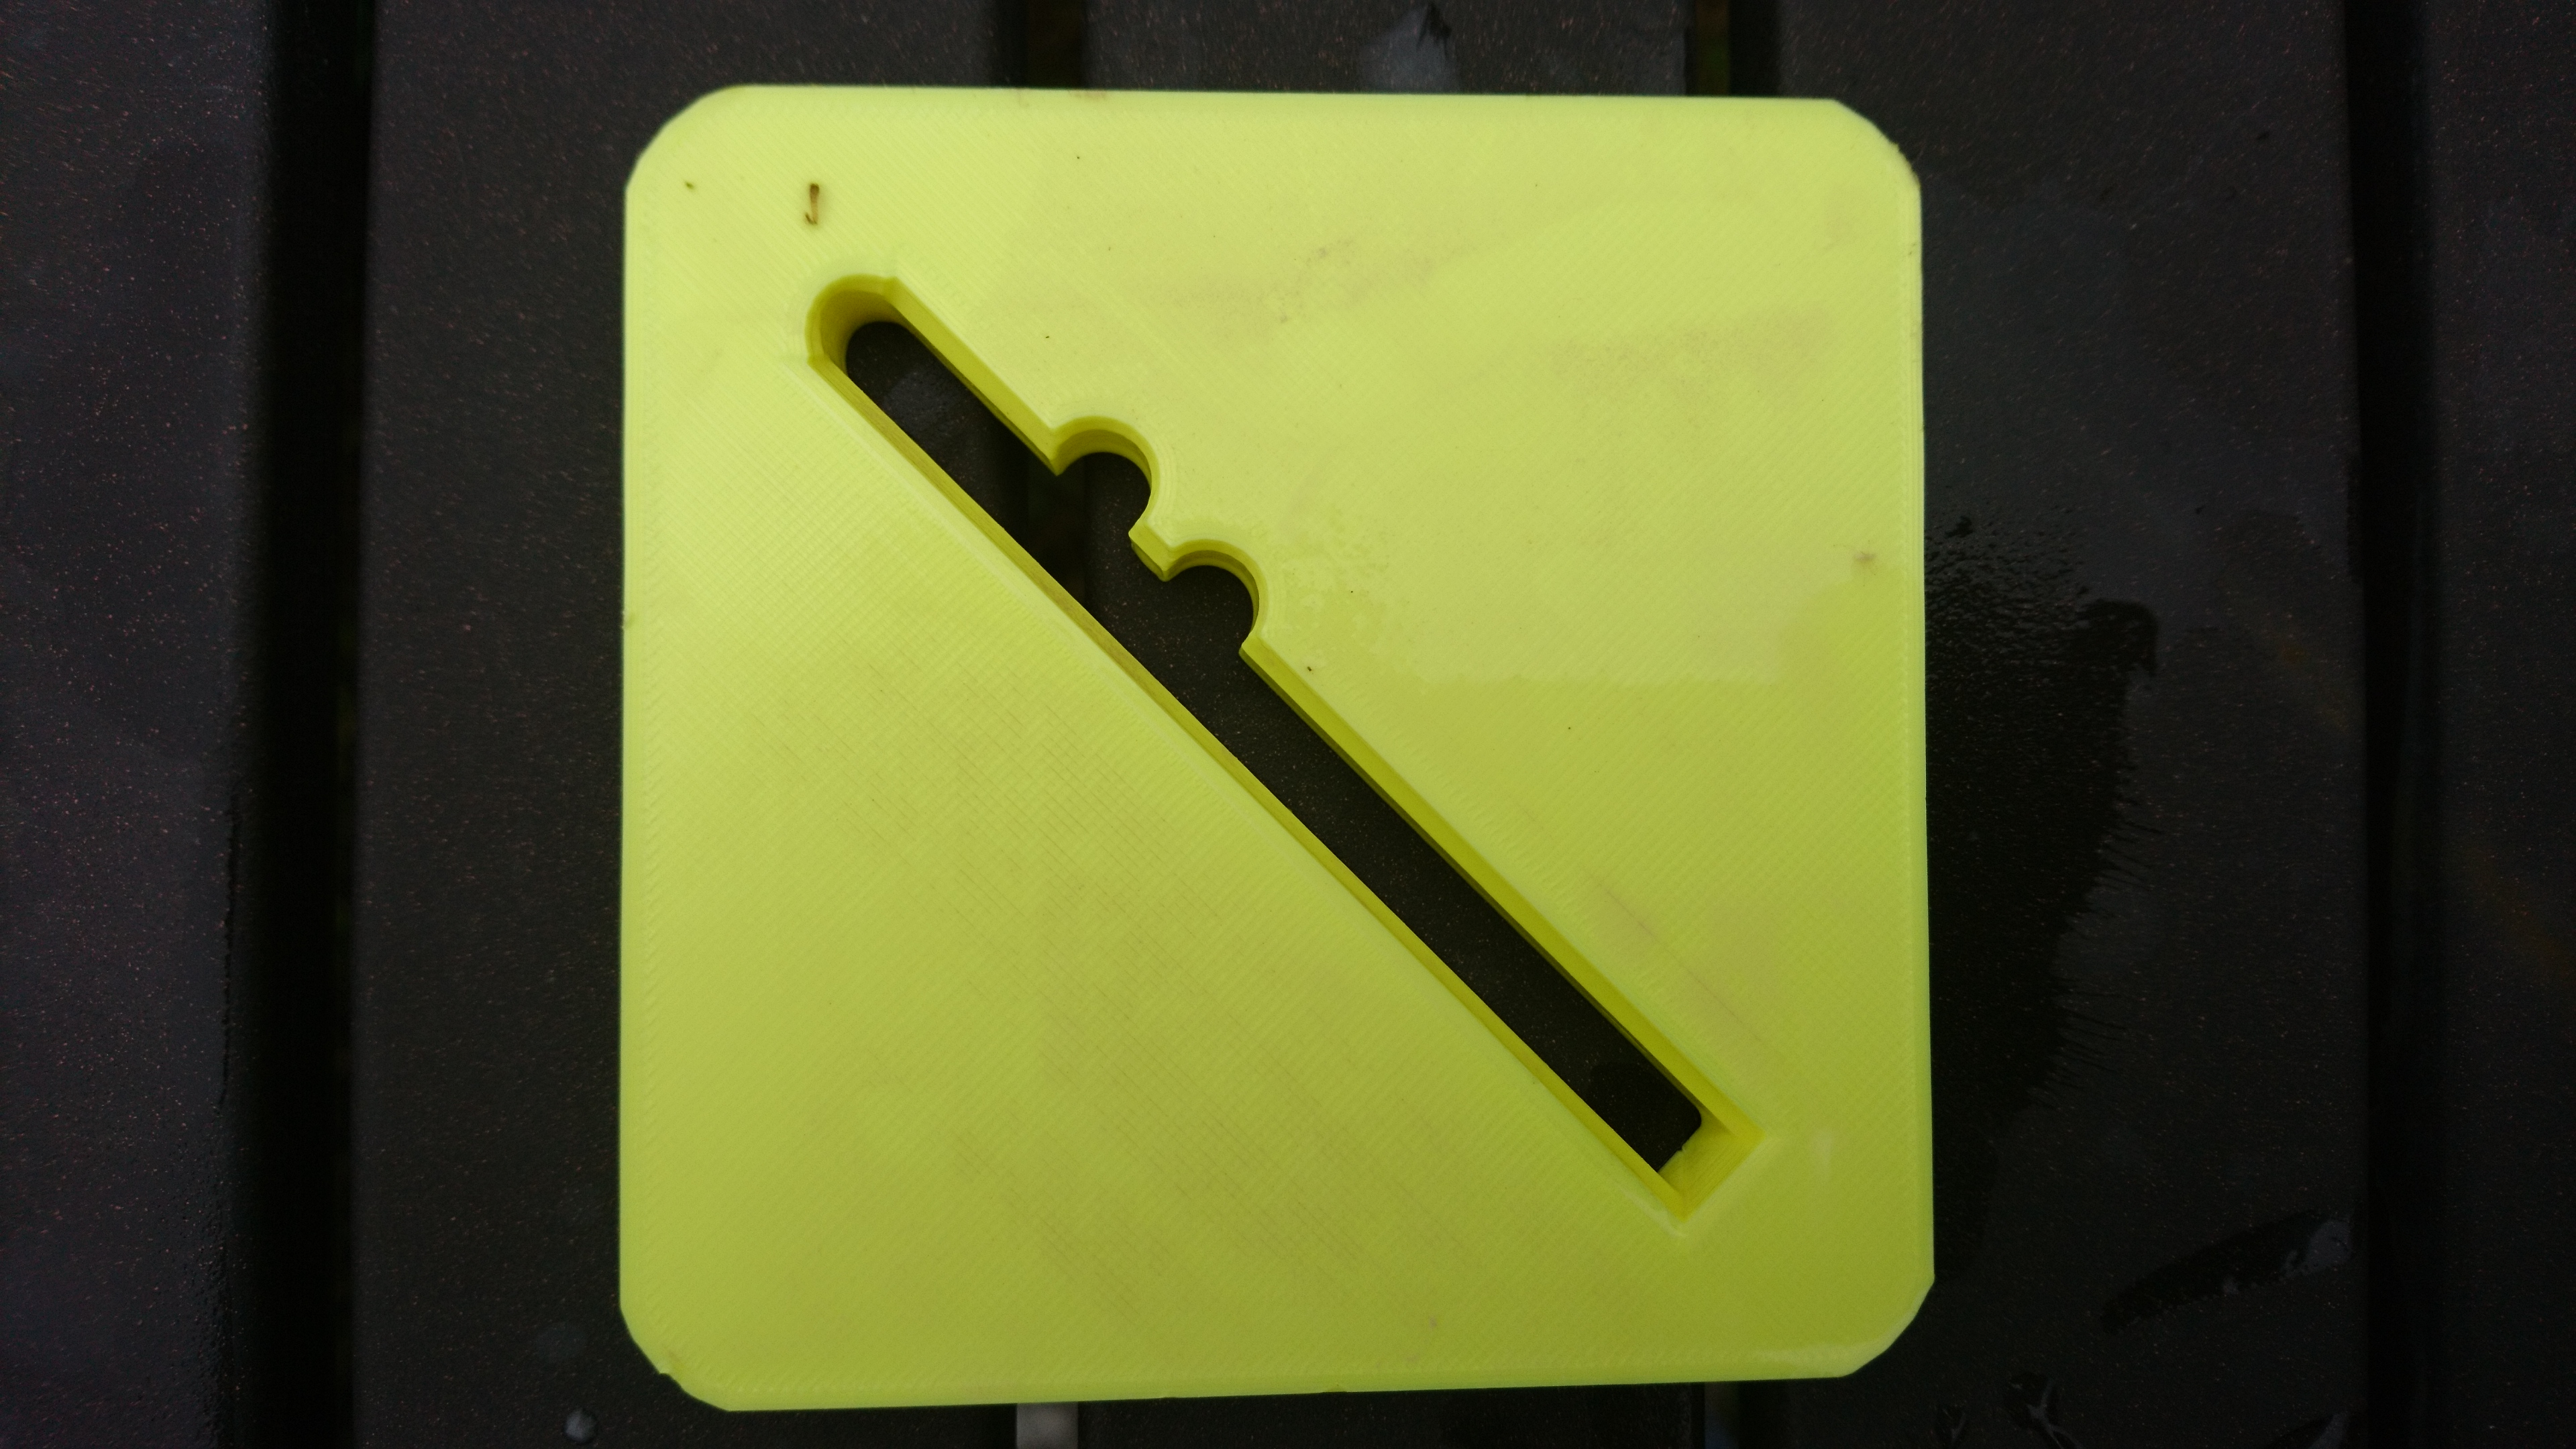
Designing the die for the test tile was easy enough; it's an 8cm long flat tile, with two raised semicircular bumps in order to check glaze texture breaking and pooling. This is a shape I've been using for ages, and this 3D printed plate replaced a rougher metal plate I made on the milling machine.
I printed my dies using Crealty Silky PLA, with 50% infill printed in a gyroid pattern for strength. So far, I have yet to have a die crack, even when I used clay that was a little too hard. The main funny thing about 3D printed dies is something you'll notice when you clean them: they float!
You'll notice, though, that my tiles are not self-supporting. That's on purpose, because after I'm done firing them I like to screw them onto a board for display and quick reference. But it does mean I need a holder to keep them standing upright in the kiln.
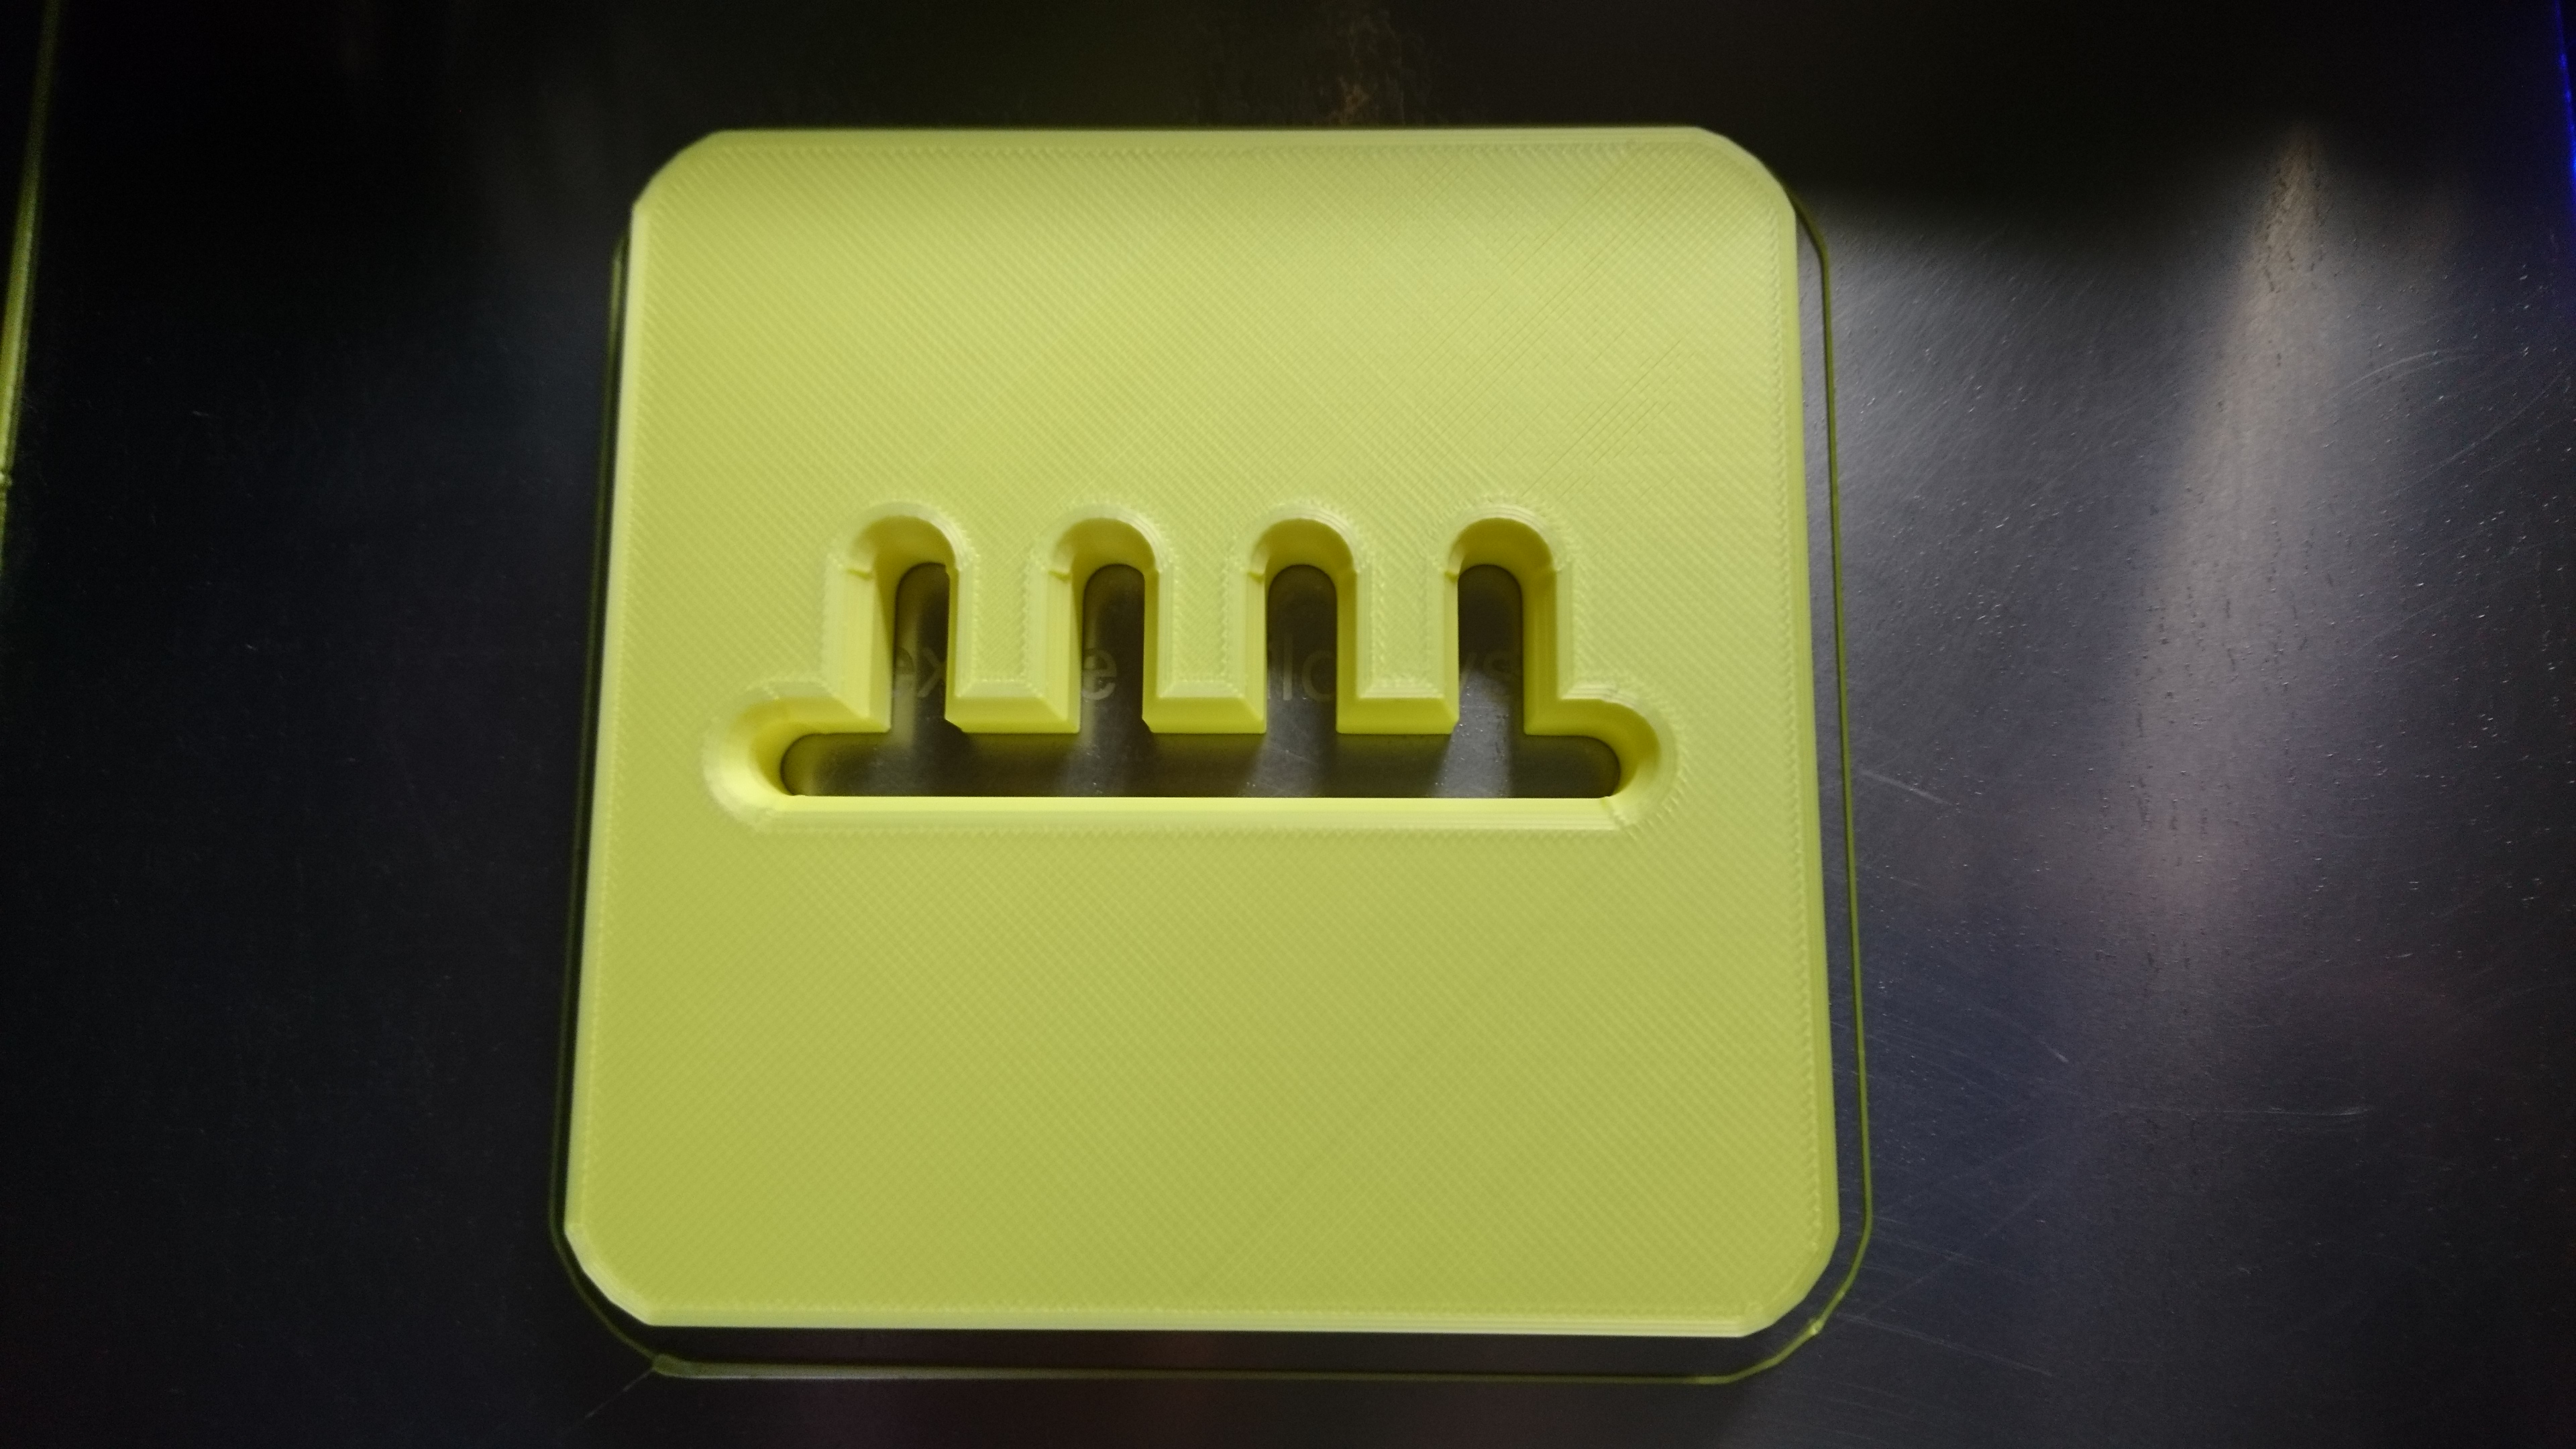
So, I created this extruder plate for holding test tiles upright in neat rows in the kiln. Theoretically you can have three rows of tiles in it, but because none of them can touch it's more often two.
Time to do some extruding! I assembled everything and pushed some Tacoma MAC10 white stoneware through. Works great! And notice -- no clay squeezing out of the sides.
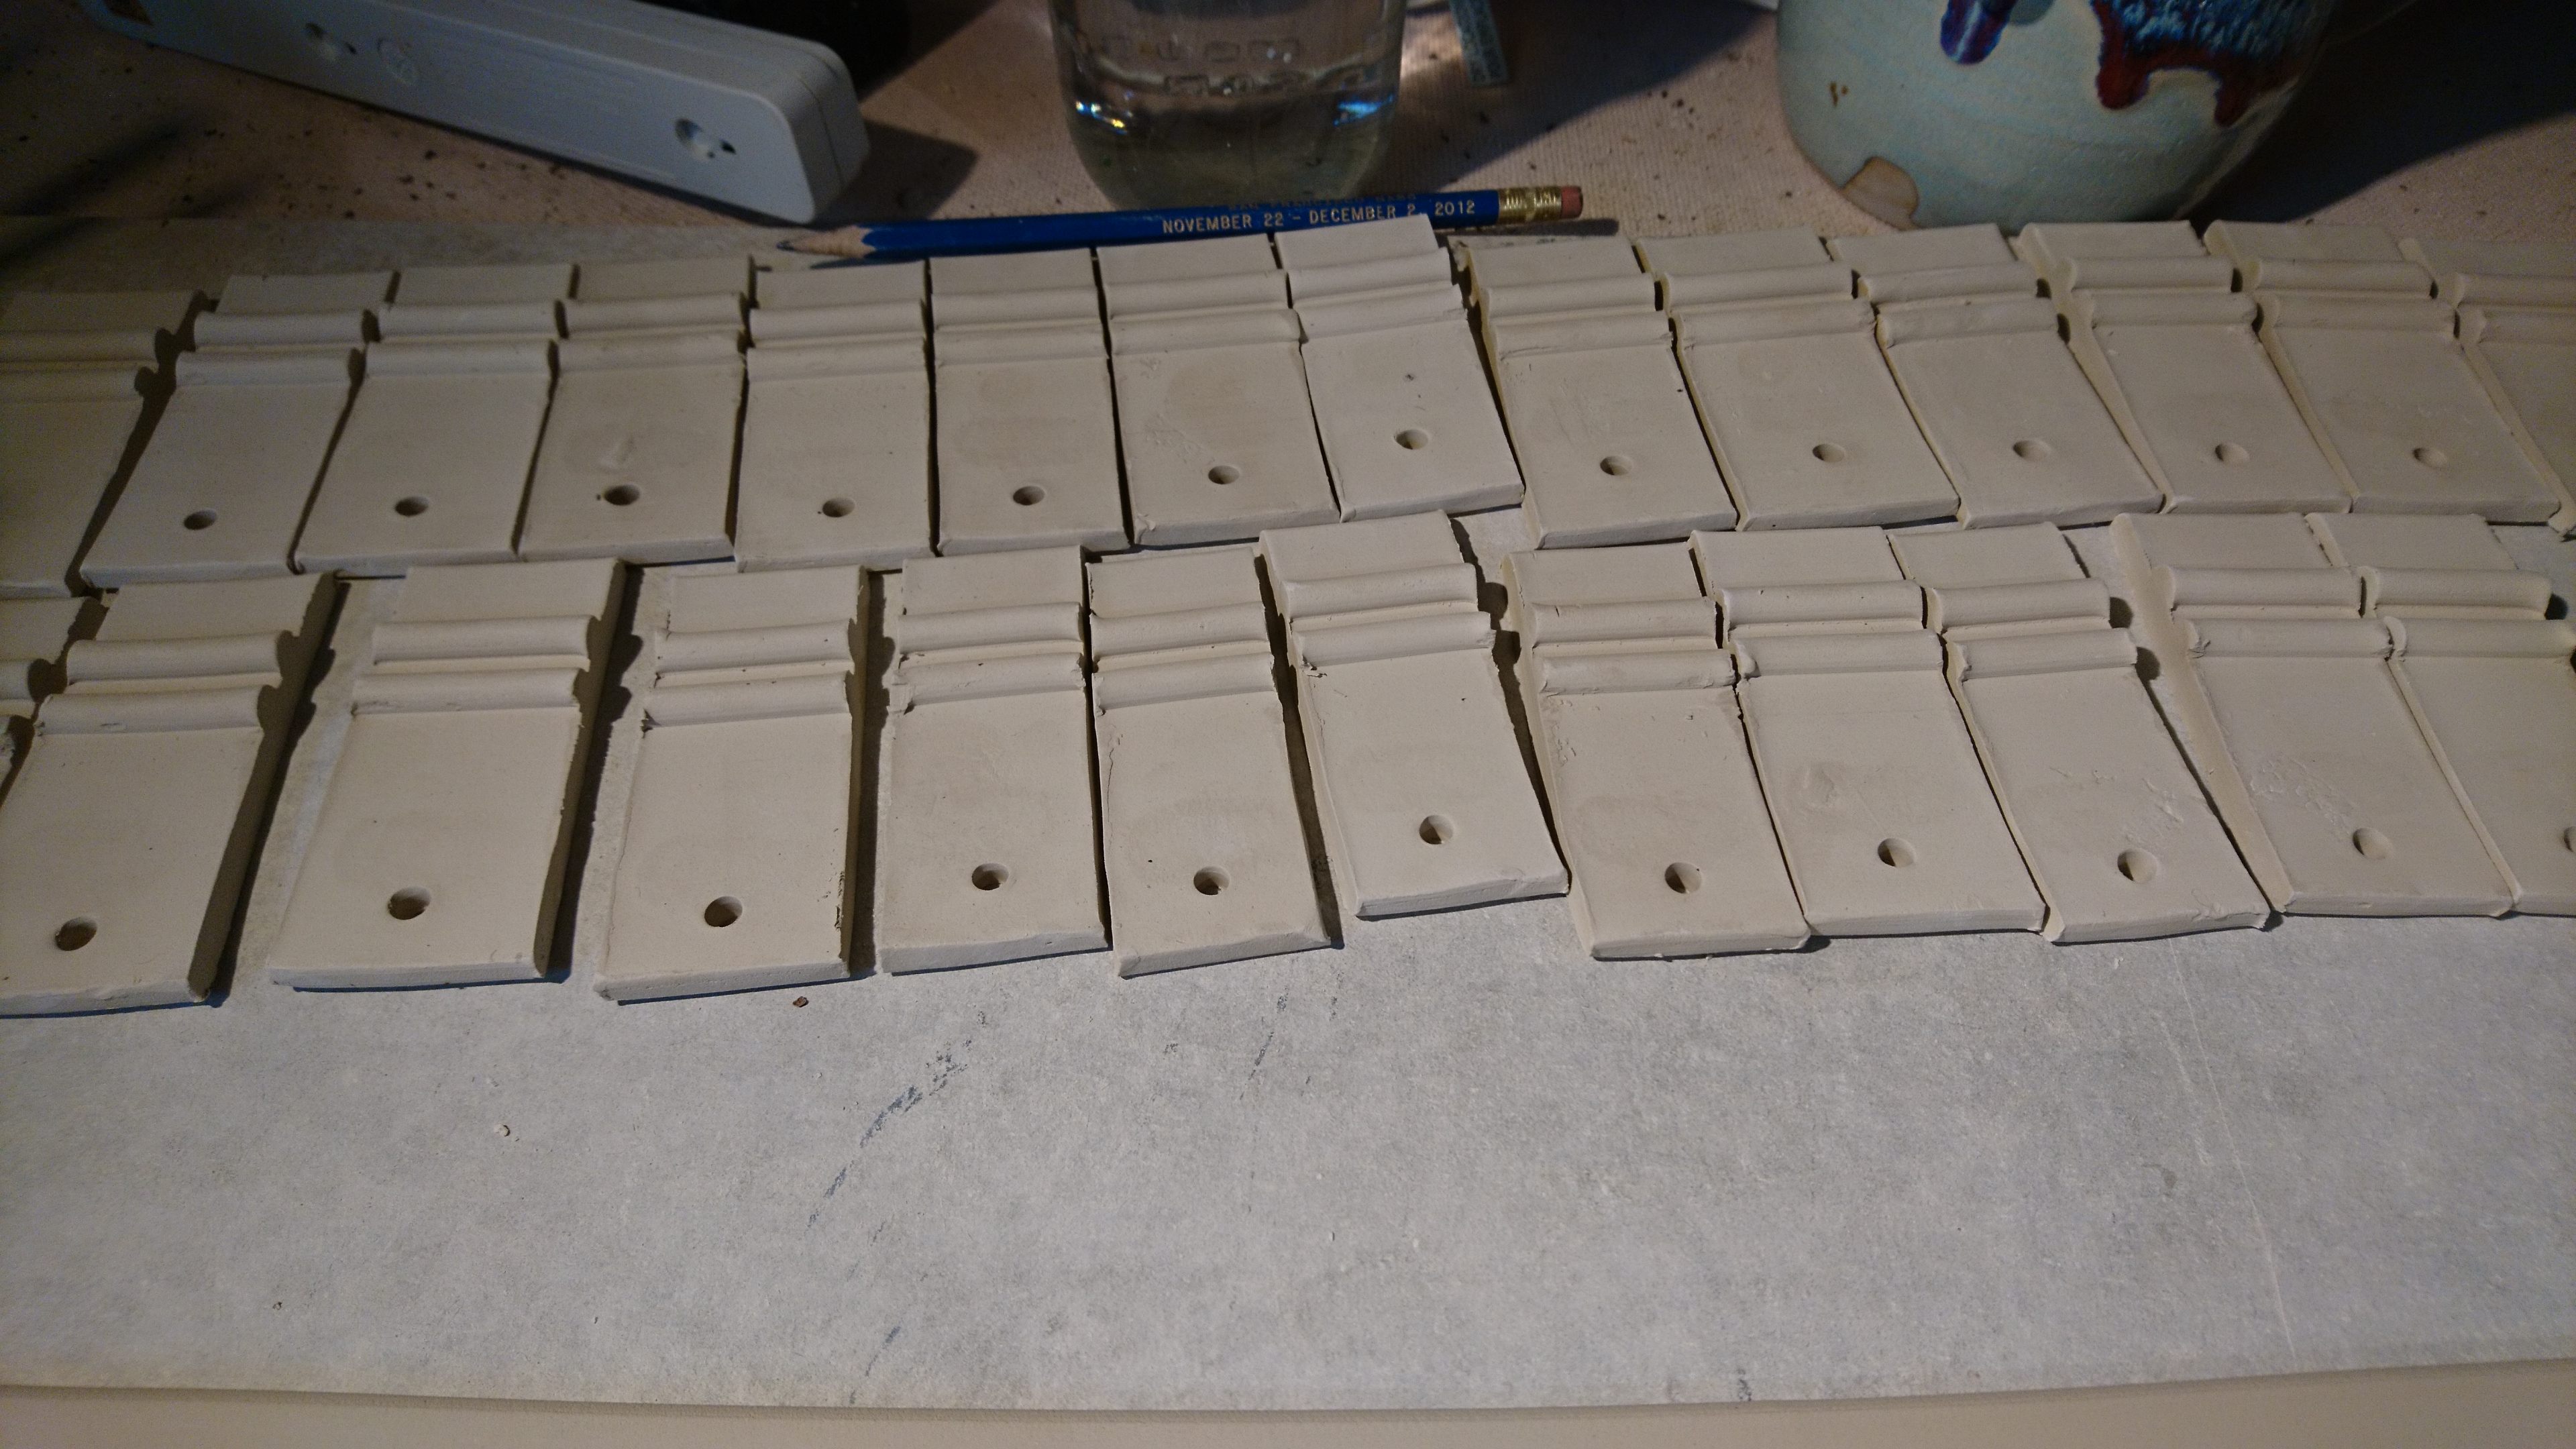
I then took the long strips of test tile, cut them into individual tiles, and added holes in the bottom for eventual screws.
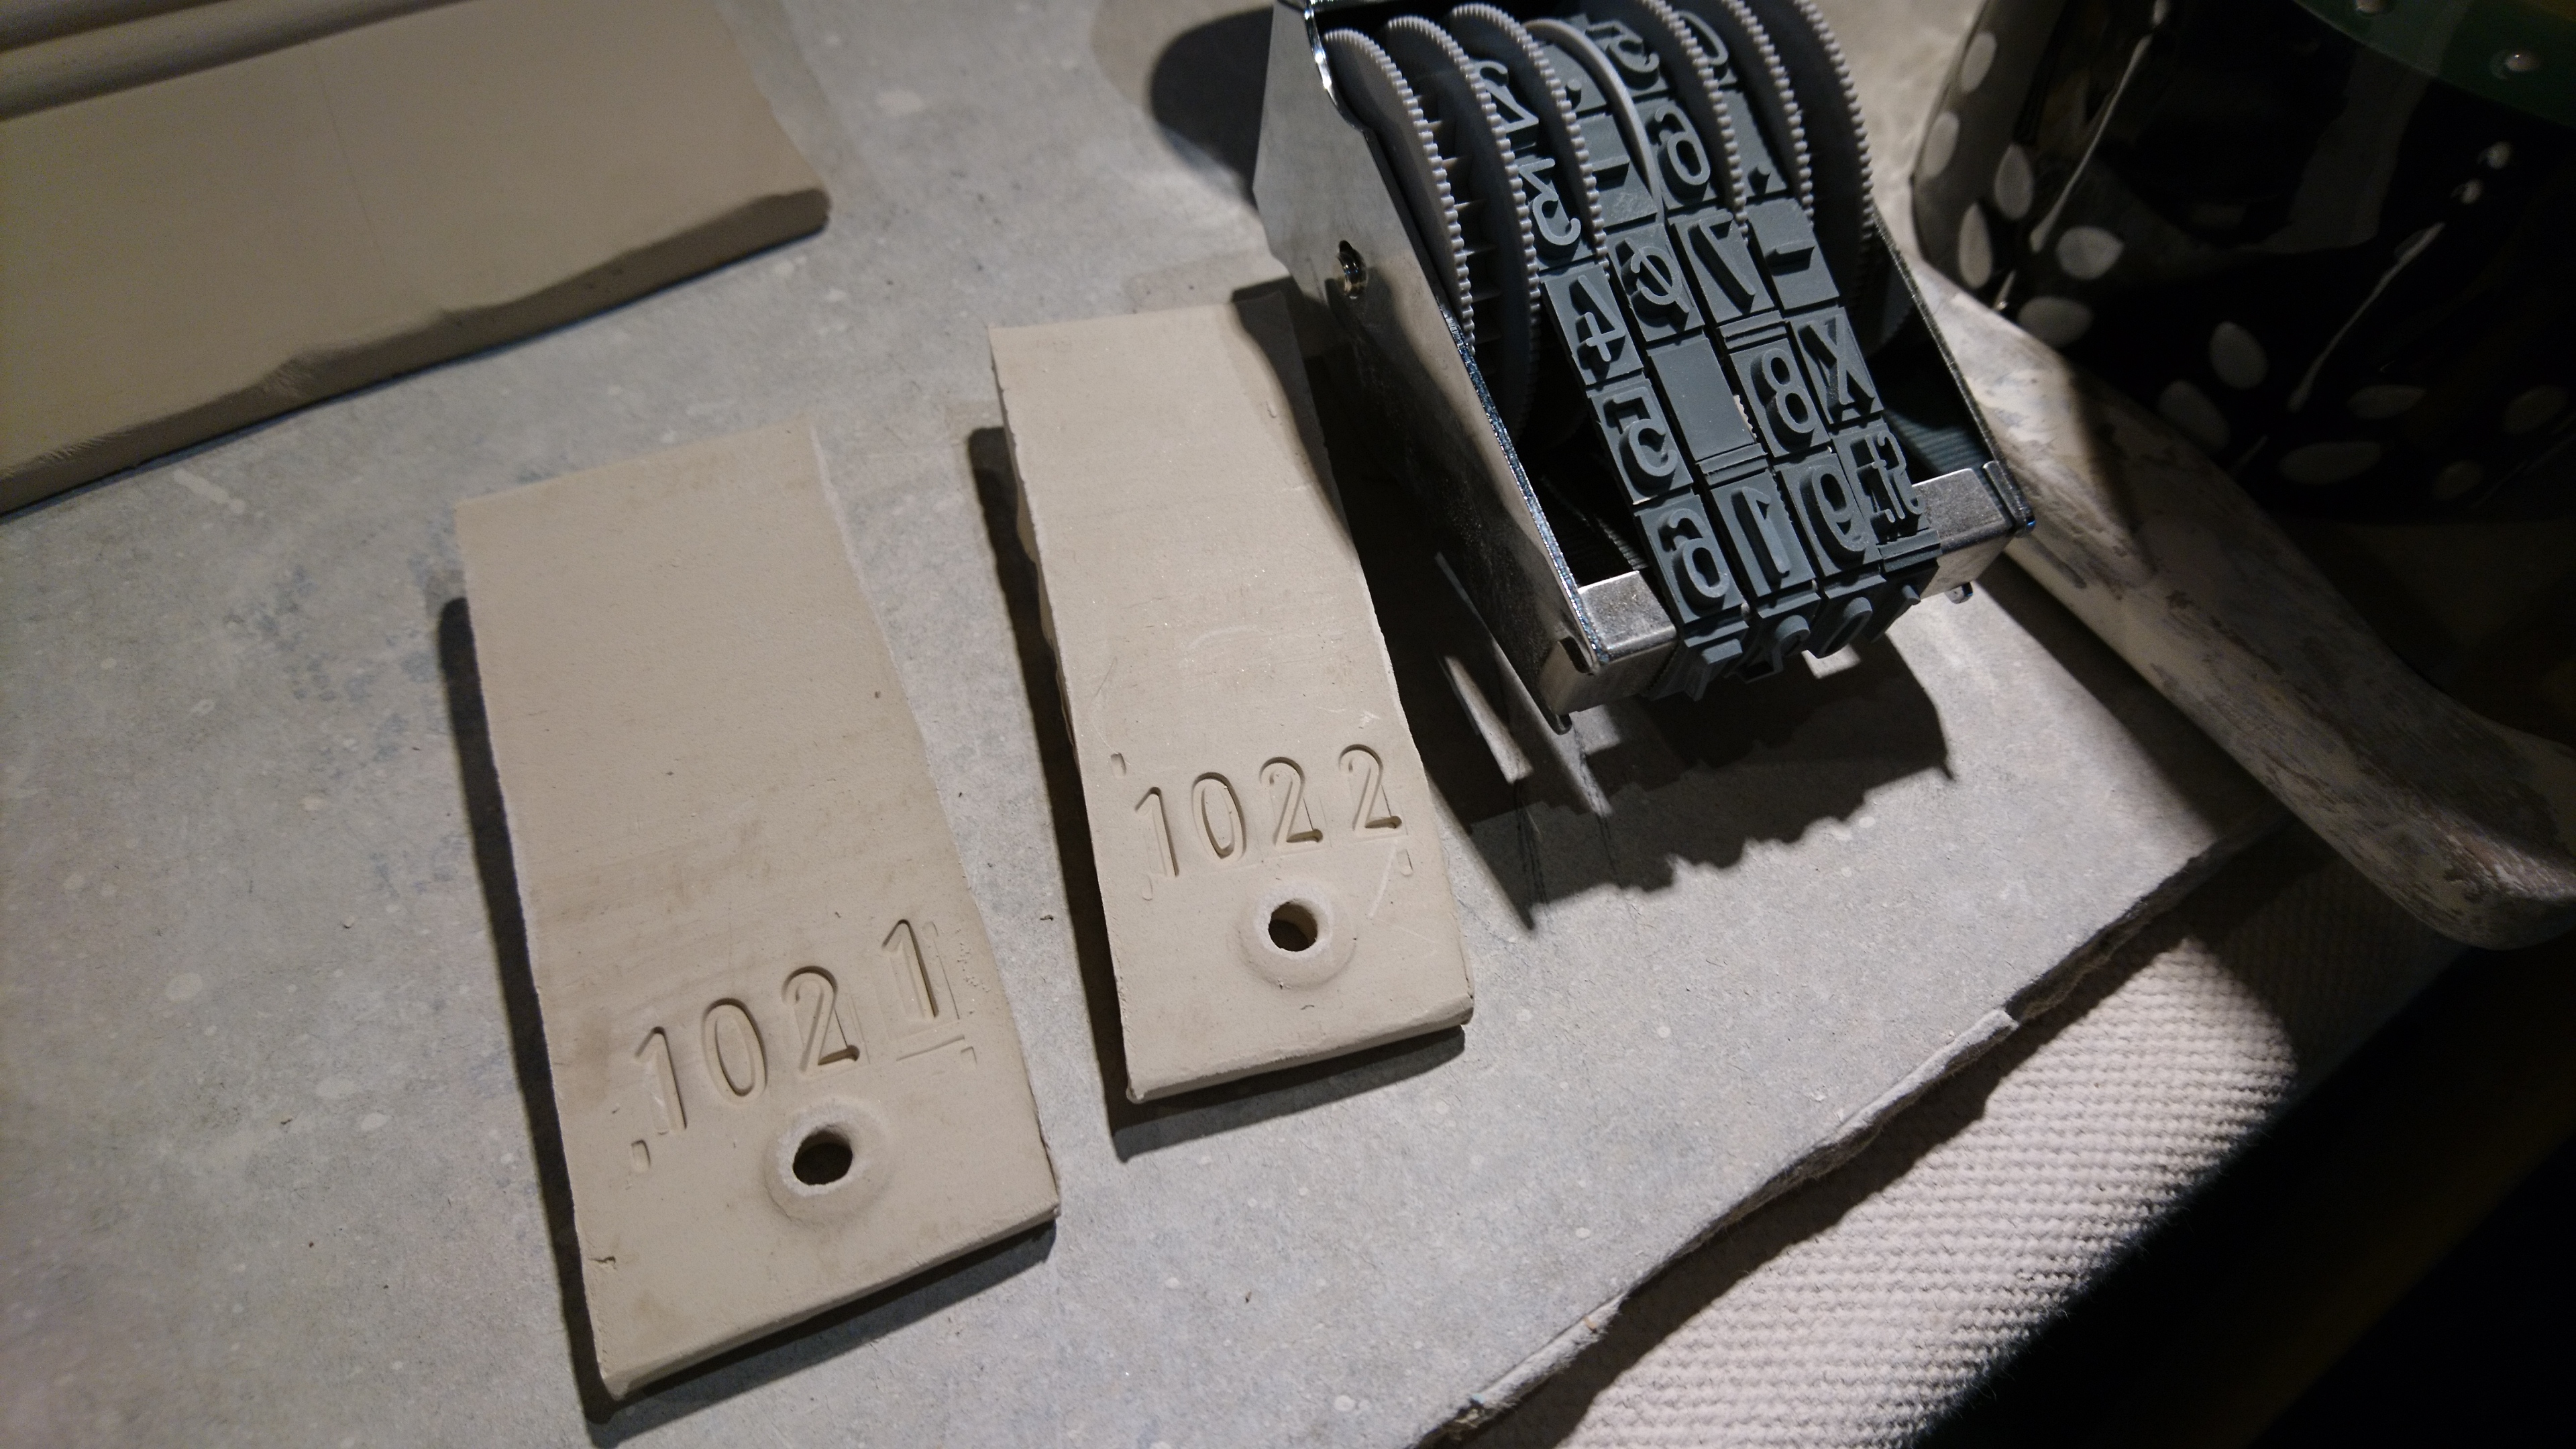
Turning them over, I use a numbering stamp to number each of them so I can track my tests.
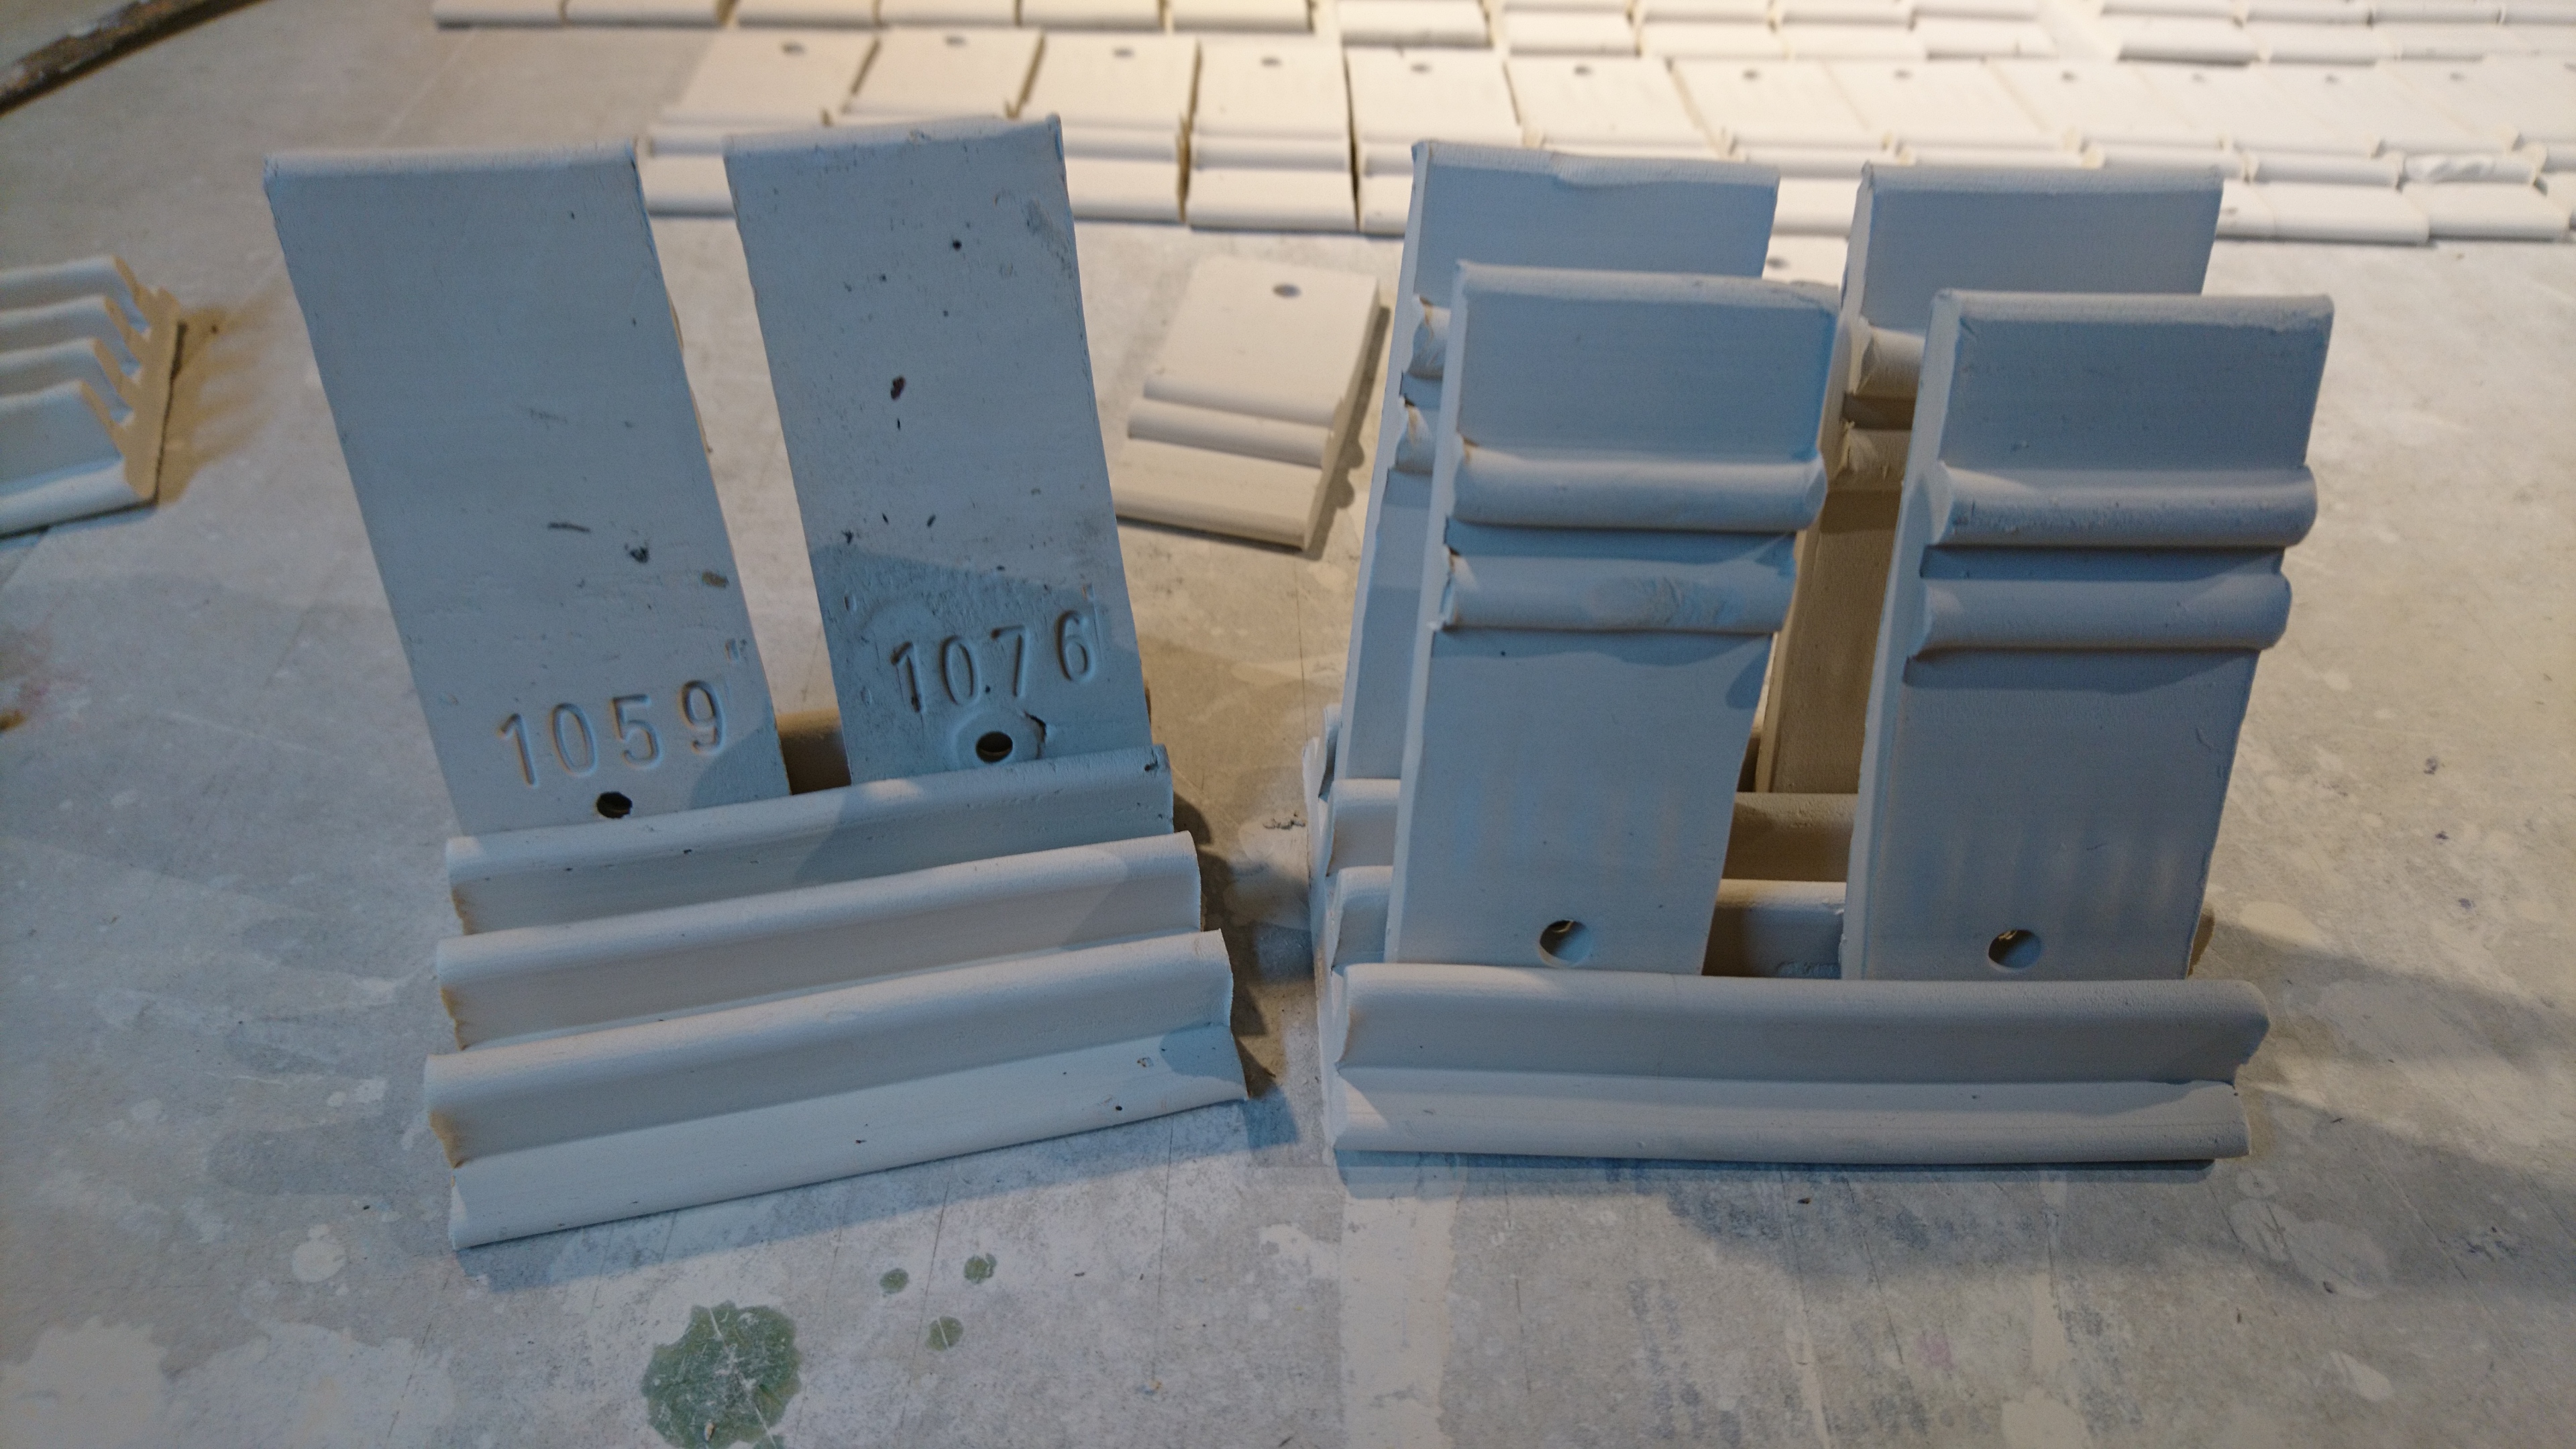
Here's the full deal, awaiting bisque. You can see how the test tiles will go into the kiln once I'm ready to use them for glazes.
My 3D designs are all up on Thingiverse if you have a TA or Northstar extruder yourself and want to try out making your own dies. The software I use is TinkerCAD and OpenSCAD for designs, and Prusa Slicer for slicing. I do my printing on a Creality Ender 3 Pro with a WhamBam print surface.