a new design for hollow extruder dies
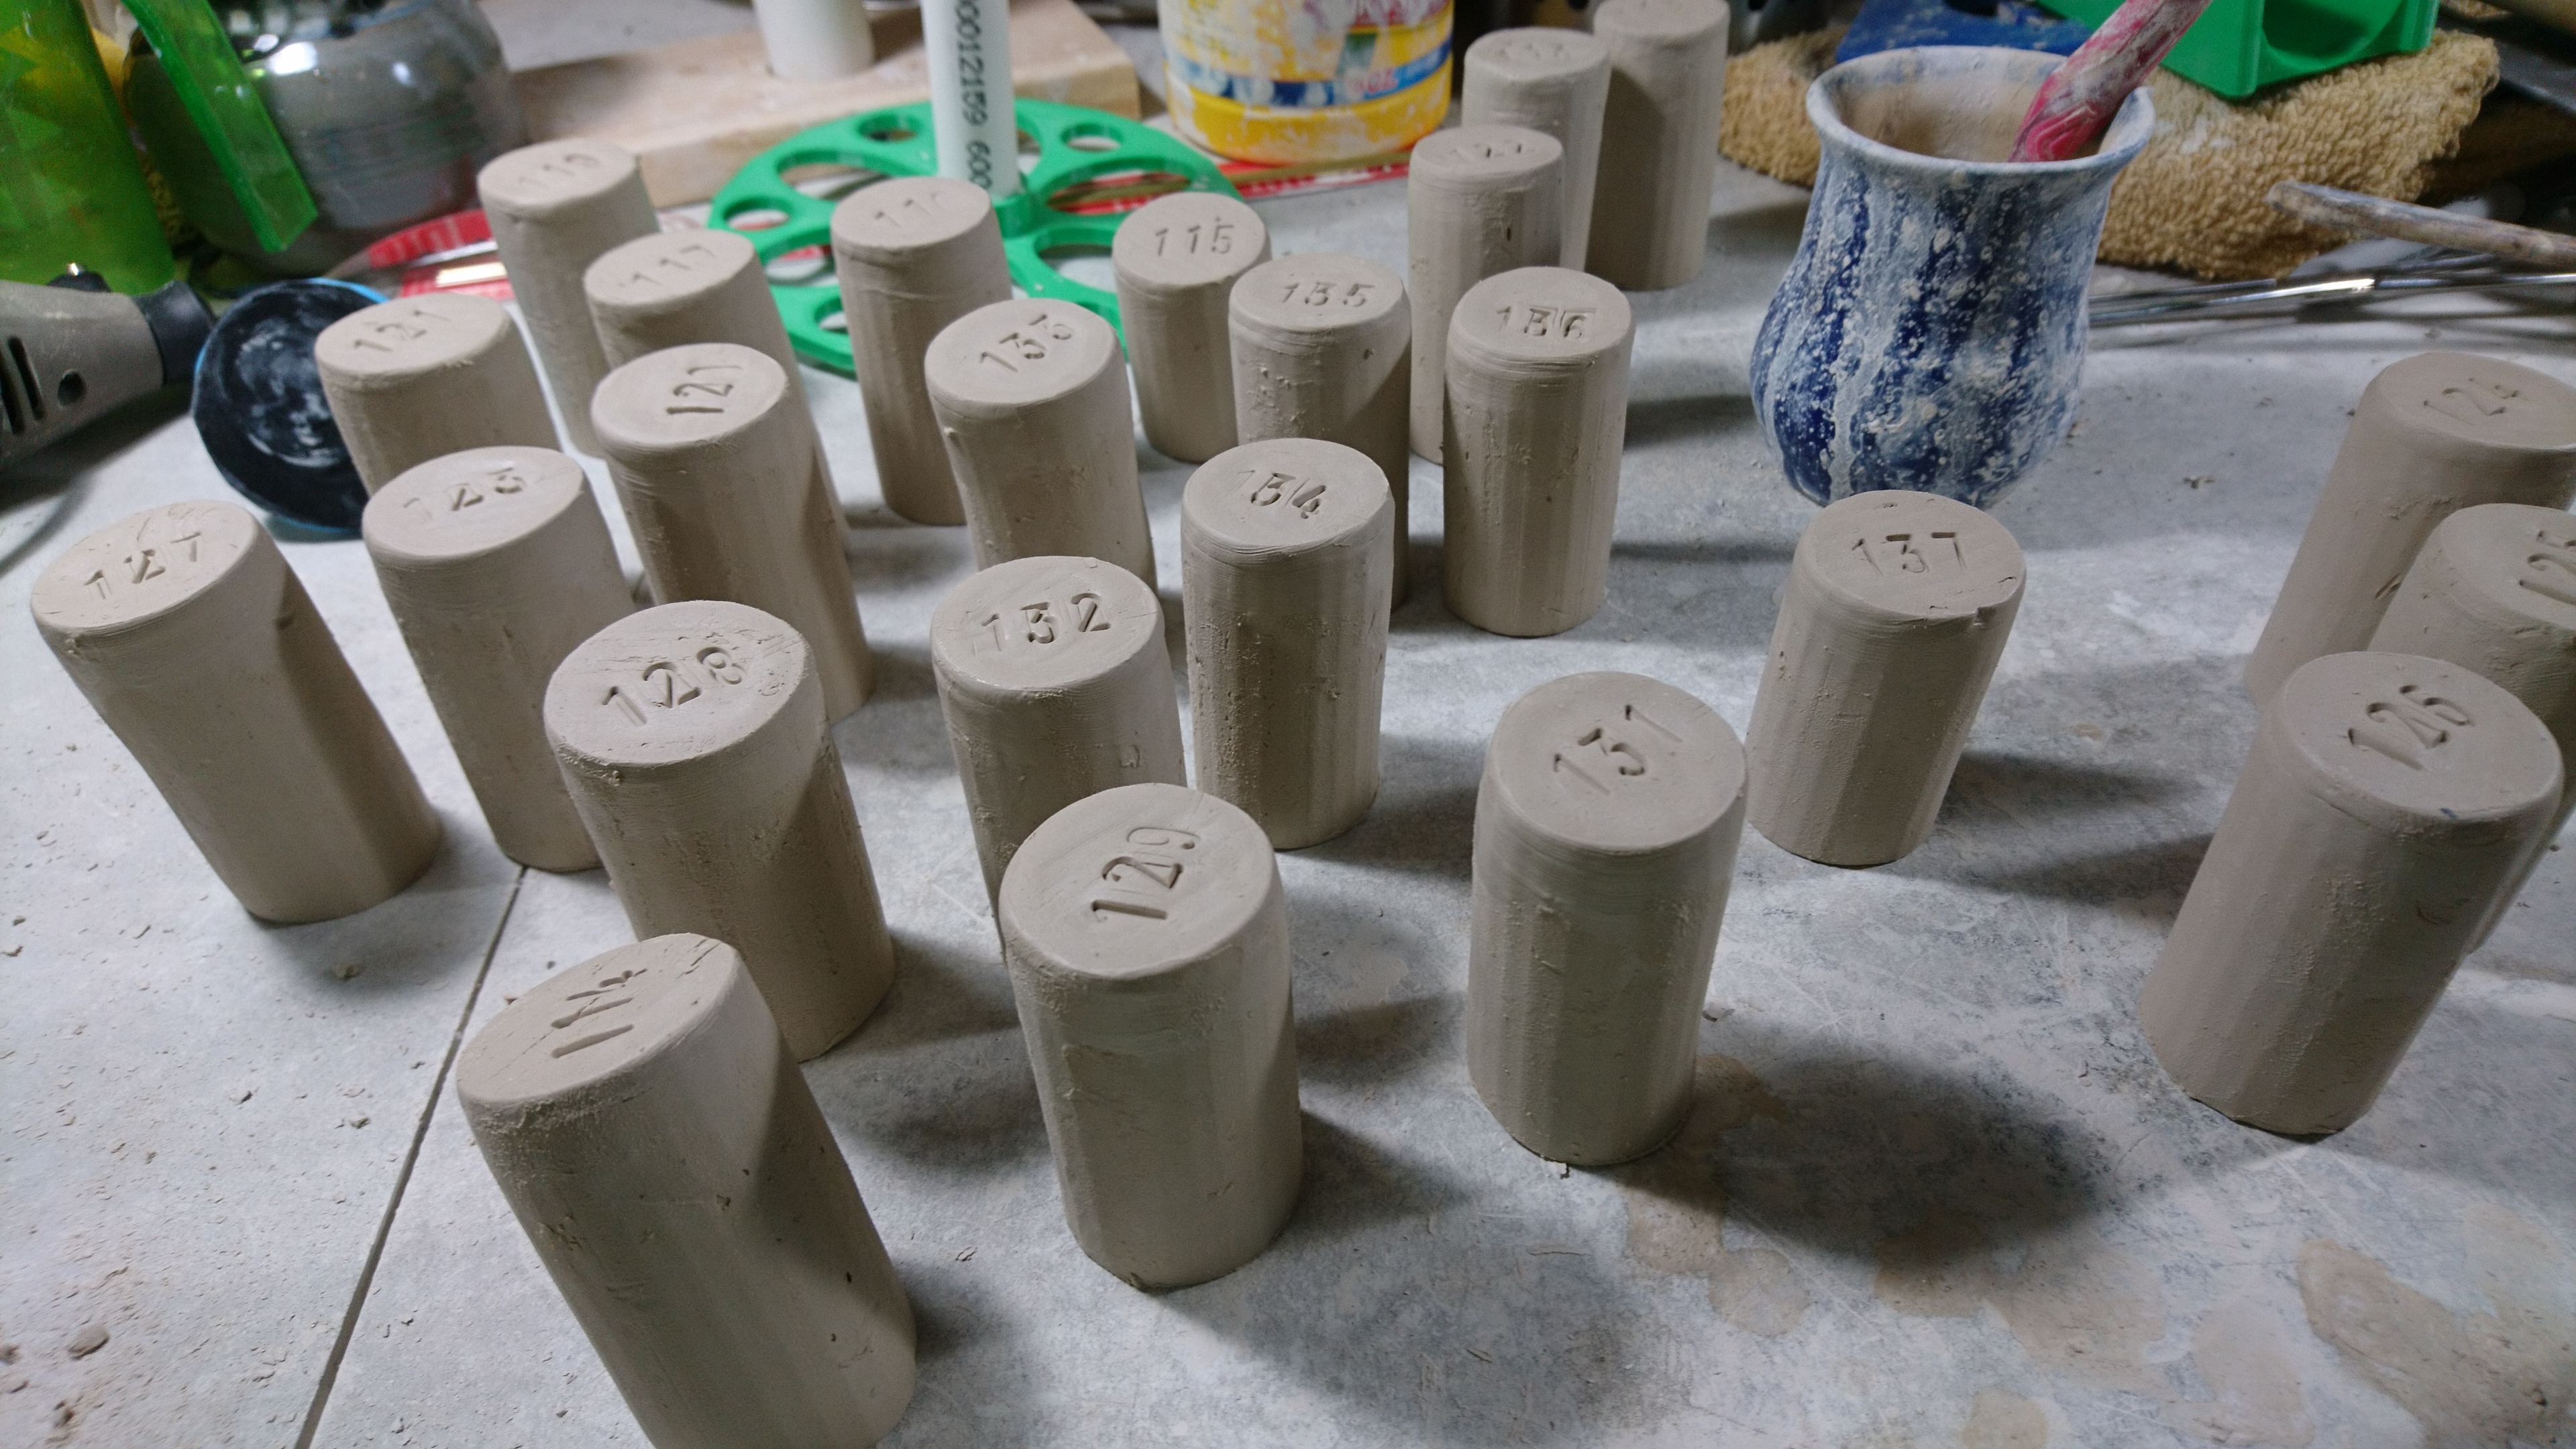
I like to make "shot glasses" for doing glaze tests, and to sell off as a $2 item. Given how disposable these are, though, I can't be bothered with throwing and trimming them, so I turned to my trusty extruder to just extrude a tube, cut it into short bits, and cap them off to turn them into little shot glasses. Easy, right?
But, I quickly found that the commercial hollow extruder plates created a tube that was way too thick and asymmetrical to boot. The problem is the design; standard hollow dies are made by having a metal "bridge" holding the center piece in place. This doesn't permit careful, exact placement to make nice 3 or 4mm thick walls. Since I 3D print my extruder plates these days, that got me thinking about printing dies for hollow forms.

Most other artists going down this line of experimentation make the mistake of trying to recreate the shape of the flat commercial die with the bridge exactly. Not only are there a number of mechanical problems with this (PLA or ABS are not strong enough for a bridge), but it's also very limited thinking. We can make any shape we want on the 3D printer; why limit ourselves to reproducing the exact shape of commercial dies that are cut from sheets of polyetheline?
So, I started playing around with designs. The first thing I decided was that the die needed to be flat on top. One of the other disagreeable parts of the metal bridge design has always been that you can't use all the clay in the extruder because some of it will be caked up around the bridge. Further, I wanted the center piece to be printed permanently in place, so that I could have thin walls that I knew would not be thicker on one side or the other because the center piece moved around.
So I printed a 2cm tall hollow die with four printed supports holding the center piece in place. The supports were less than 1cm high, so the clay could go past them and out the tube. This produced four separate quarters of a tube, up until the supports broke with the pressure and the die came apart. Improvements were needed.
So first thing, the clay needed to be squished together after it got past the supports. It occured to me that if, instead of a tube shape, I had a kind of hollow cone shape, then after the clay got past the supports it would compress and the four divided portions would re-merge before exiting the die.
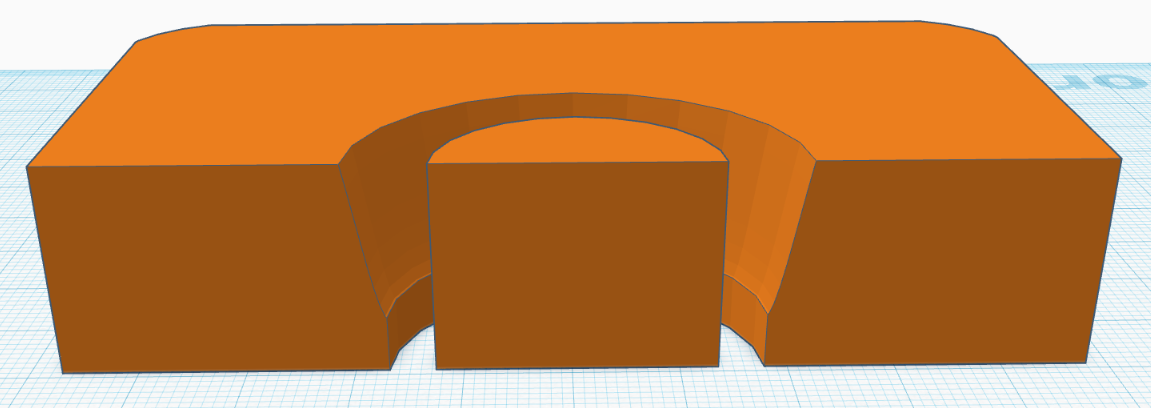
Second, I needed to reenforce the supports. I made them into hollow tubes so that I could insert a 3mm brass rod, which would be stronger than the plastic (I tested 2mm, but it wasn't strong enough).
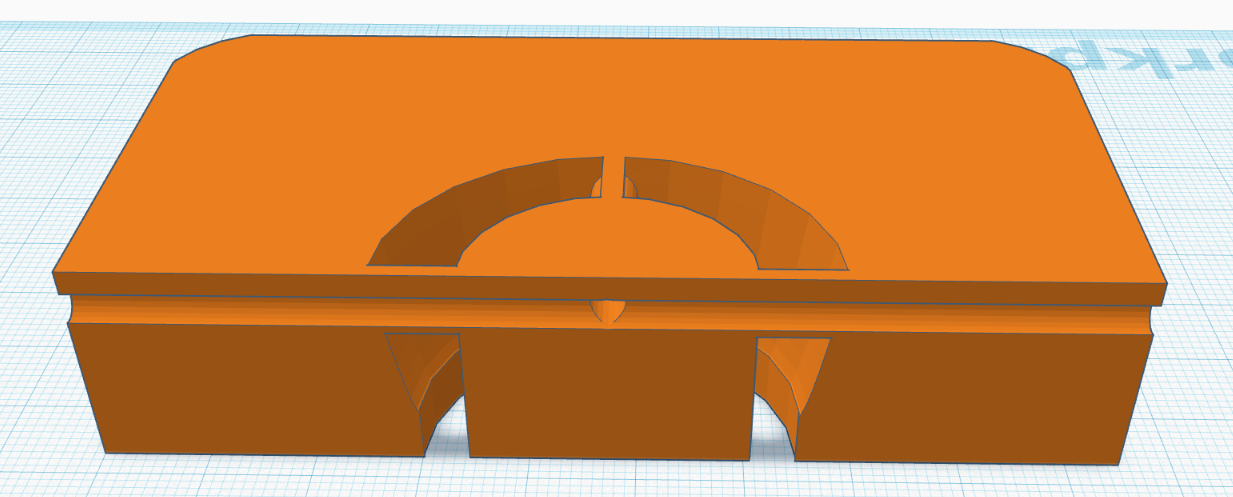
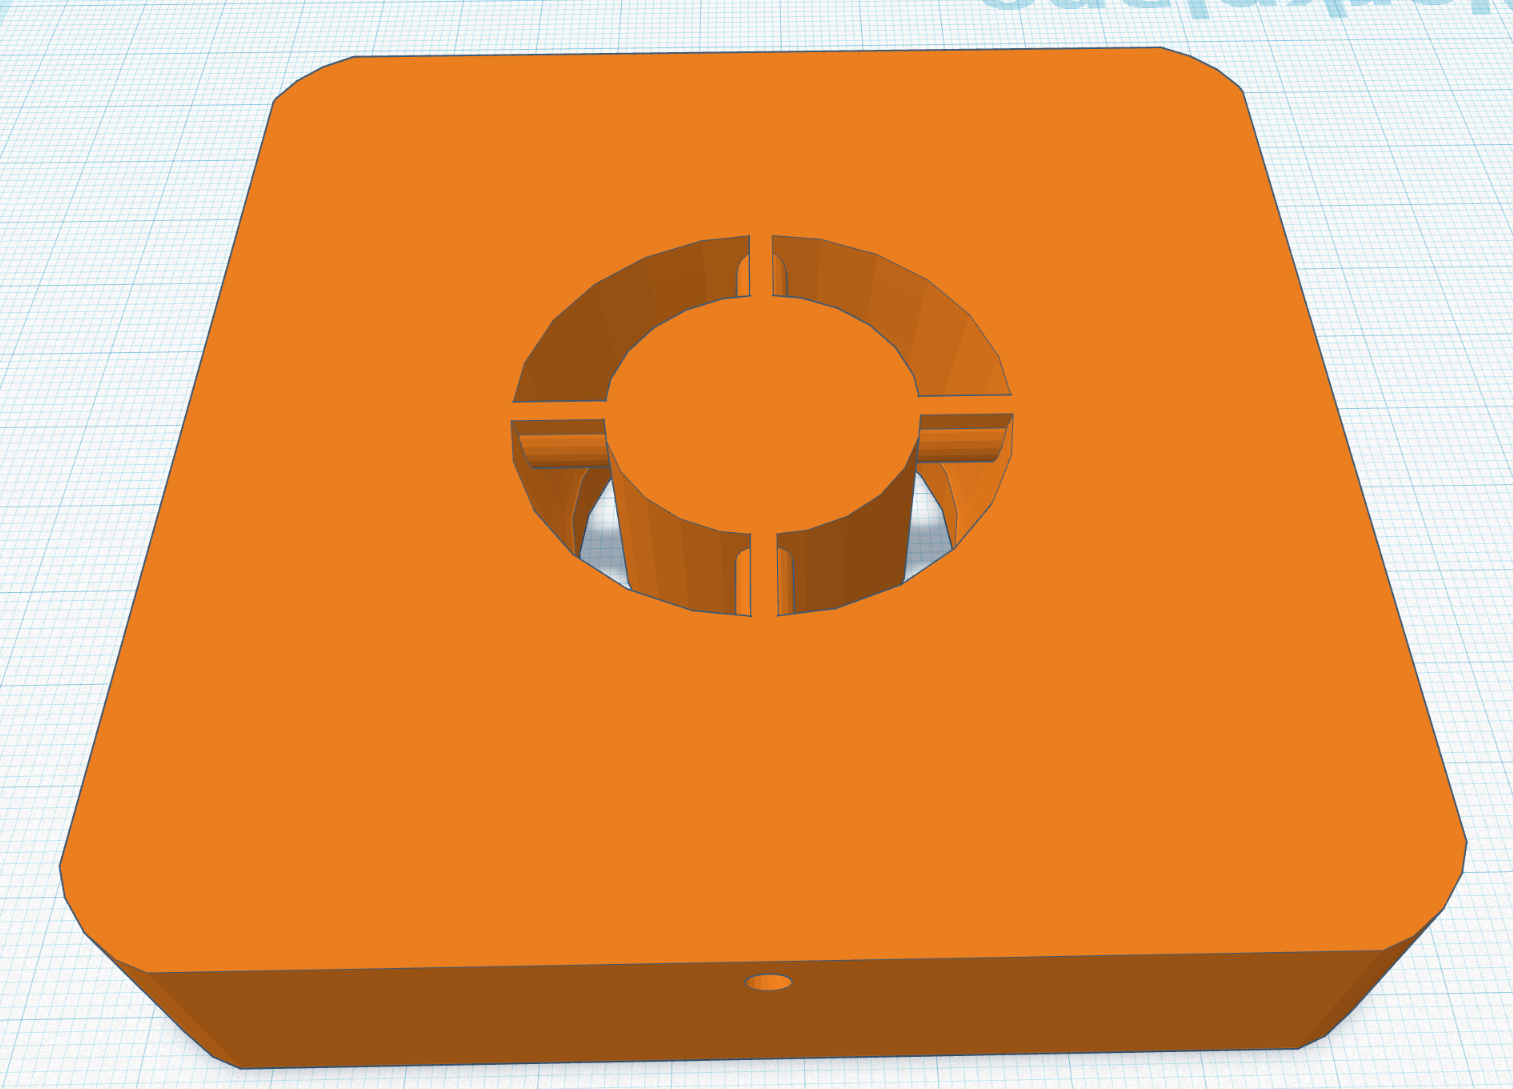
This gave me the design I was looking for. Here's how the final die looks.
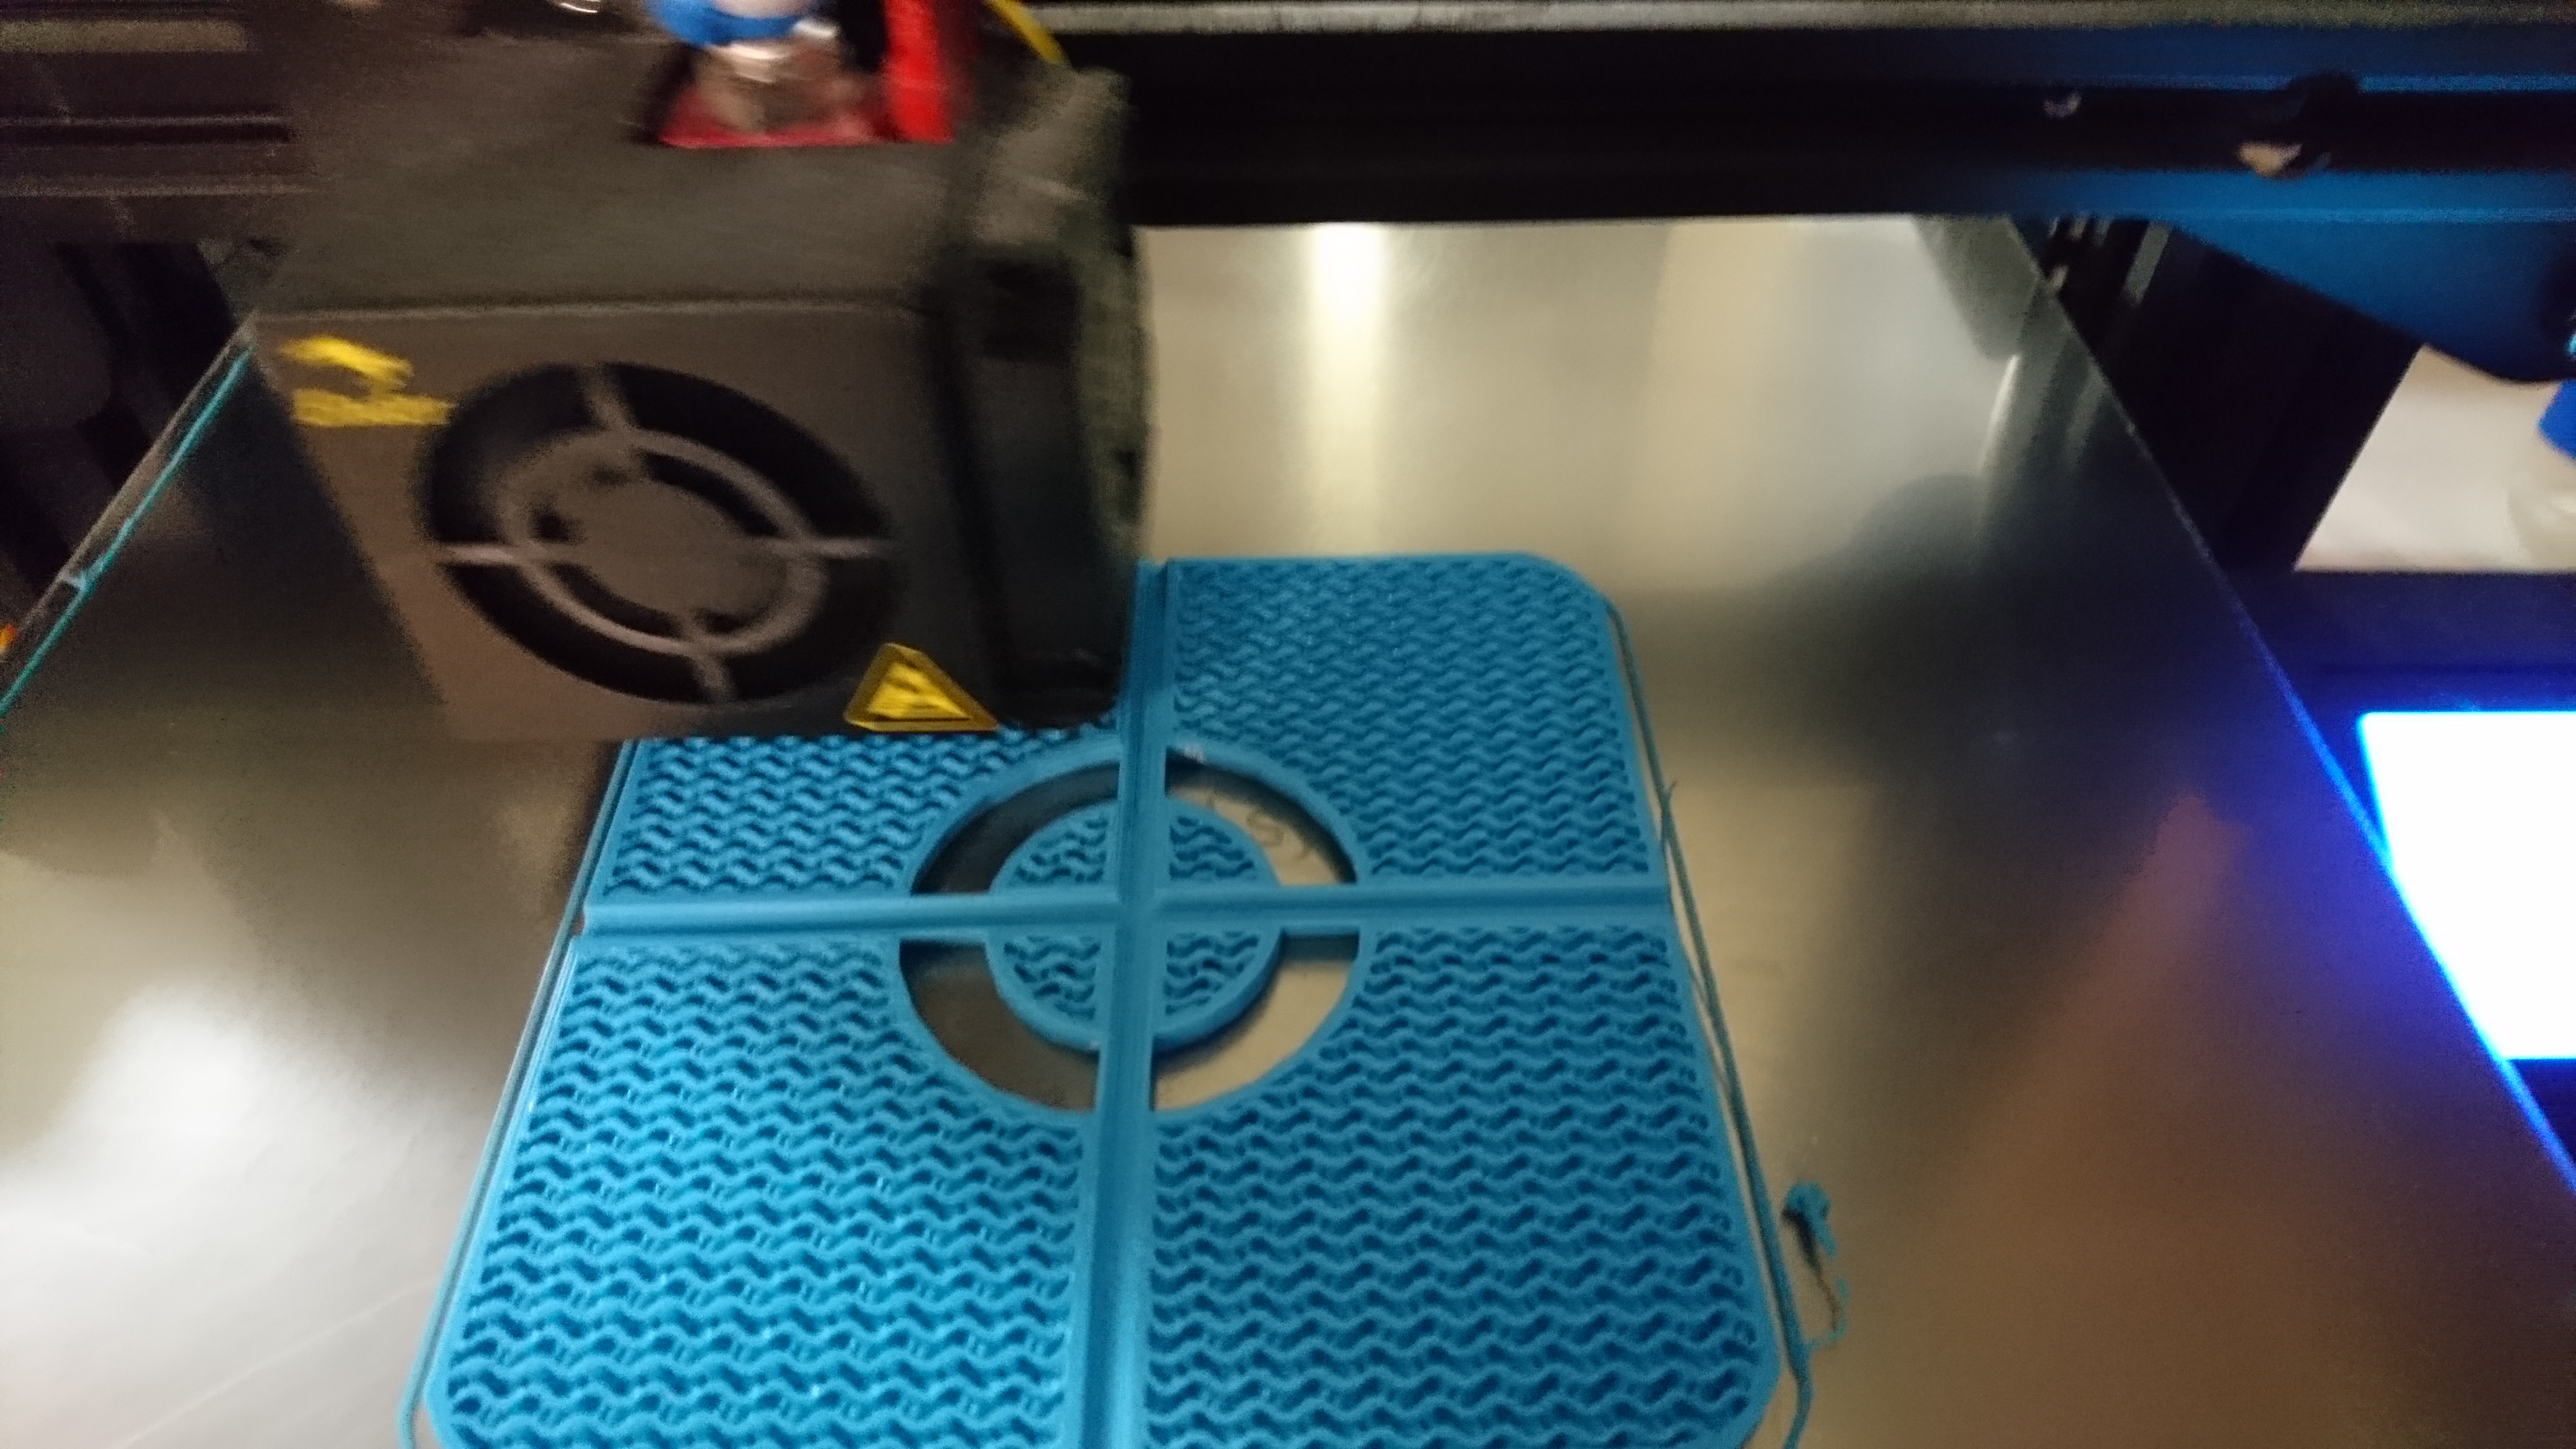
Here's the die being printed. You can see those hollow support tubes in progress. It's being printed upside-down, so that there doesn't need to be any support material.
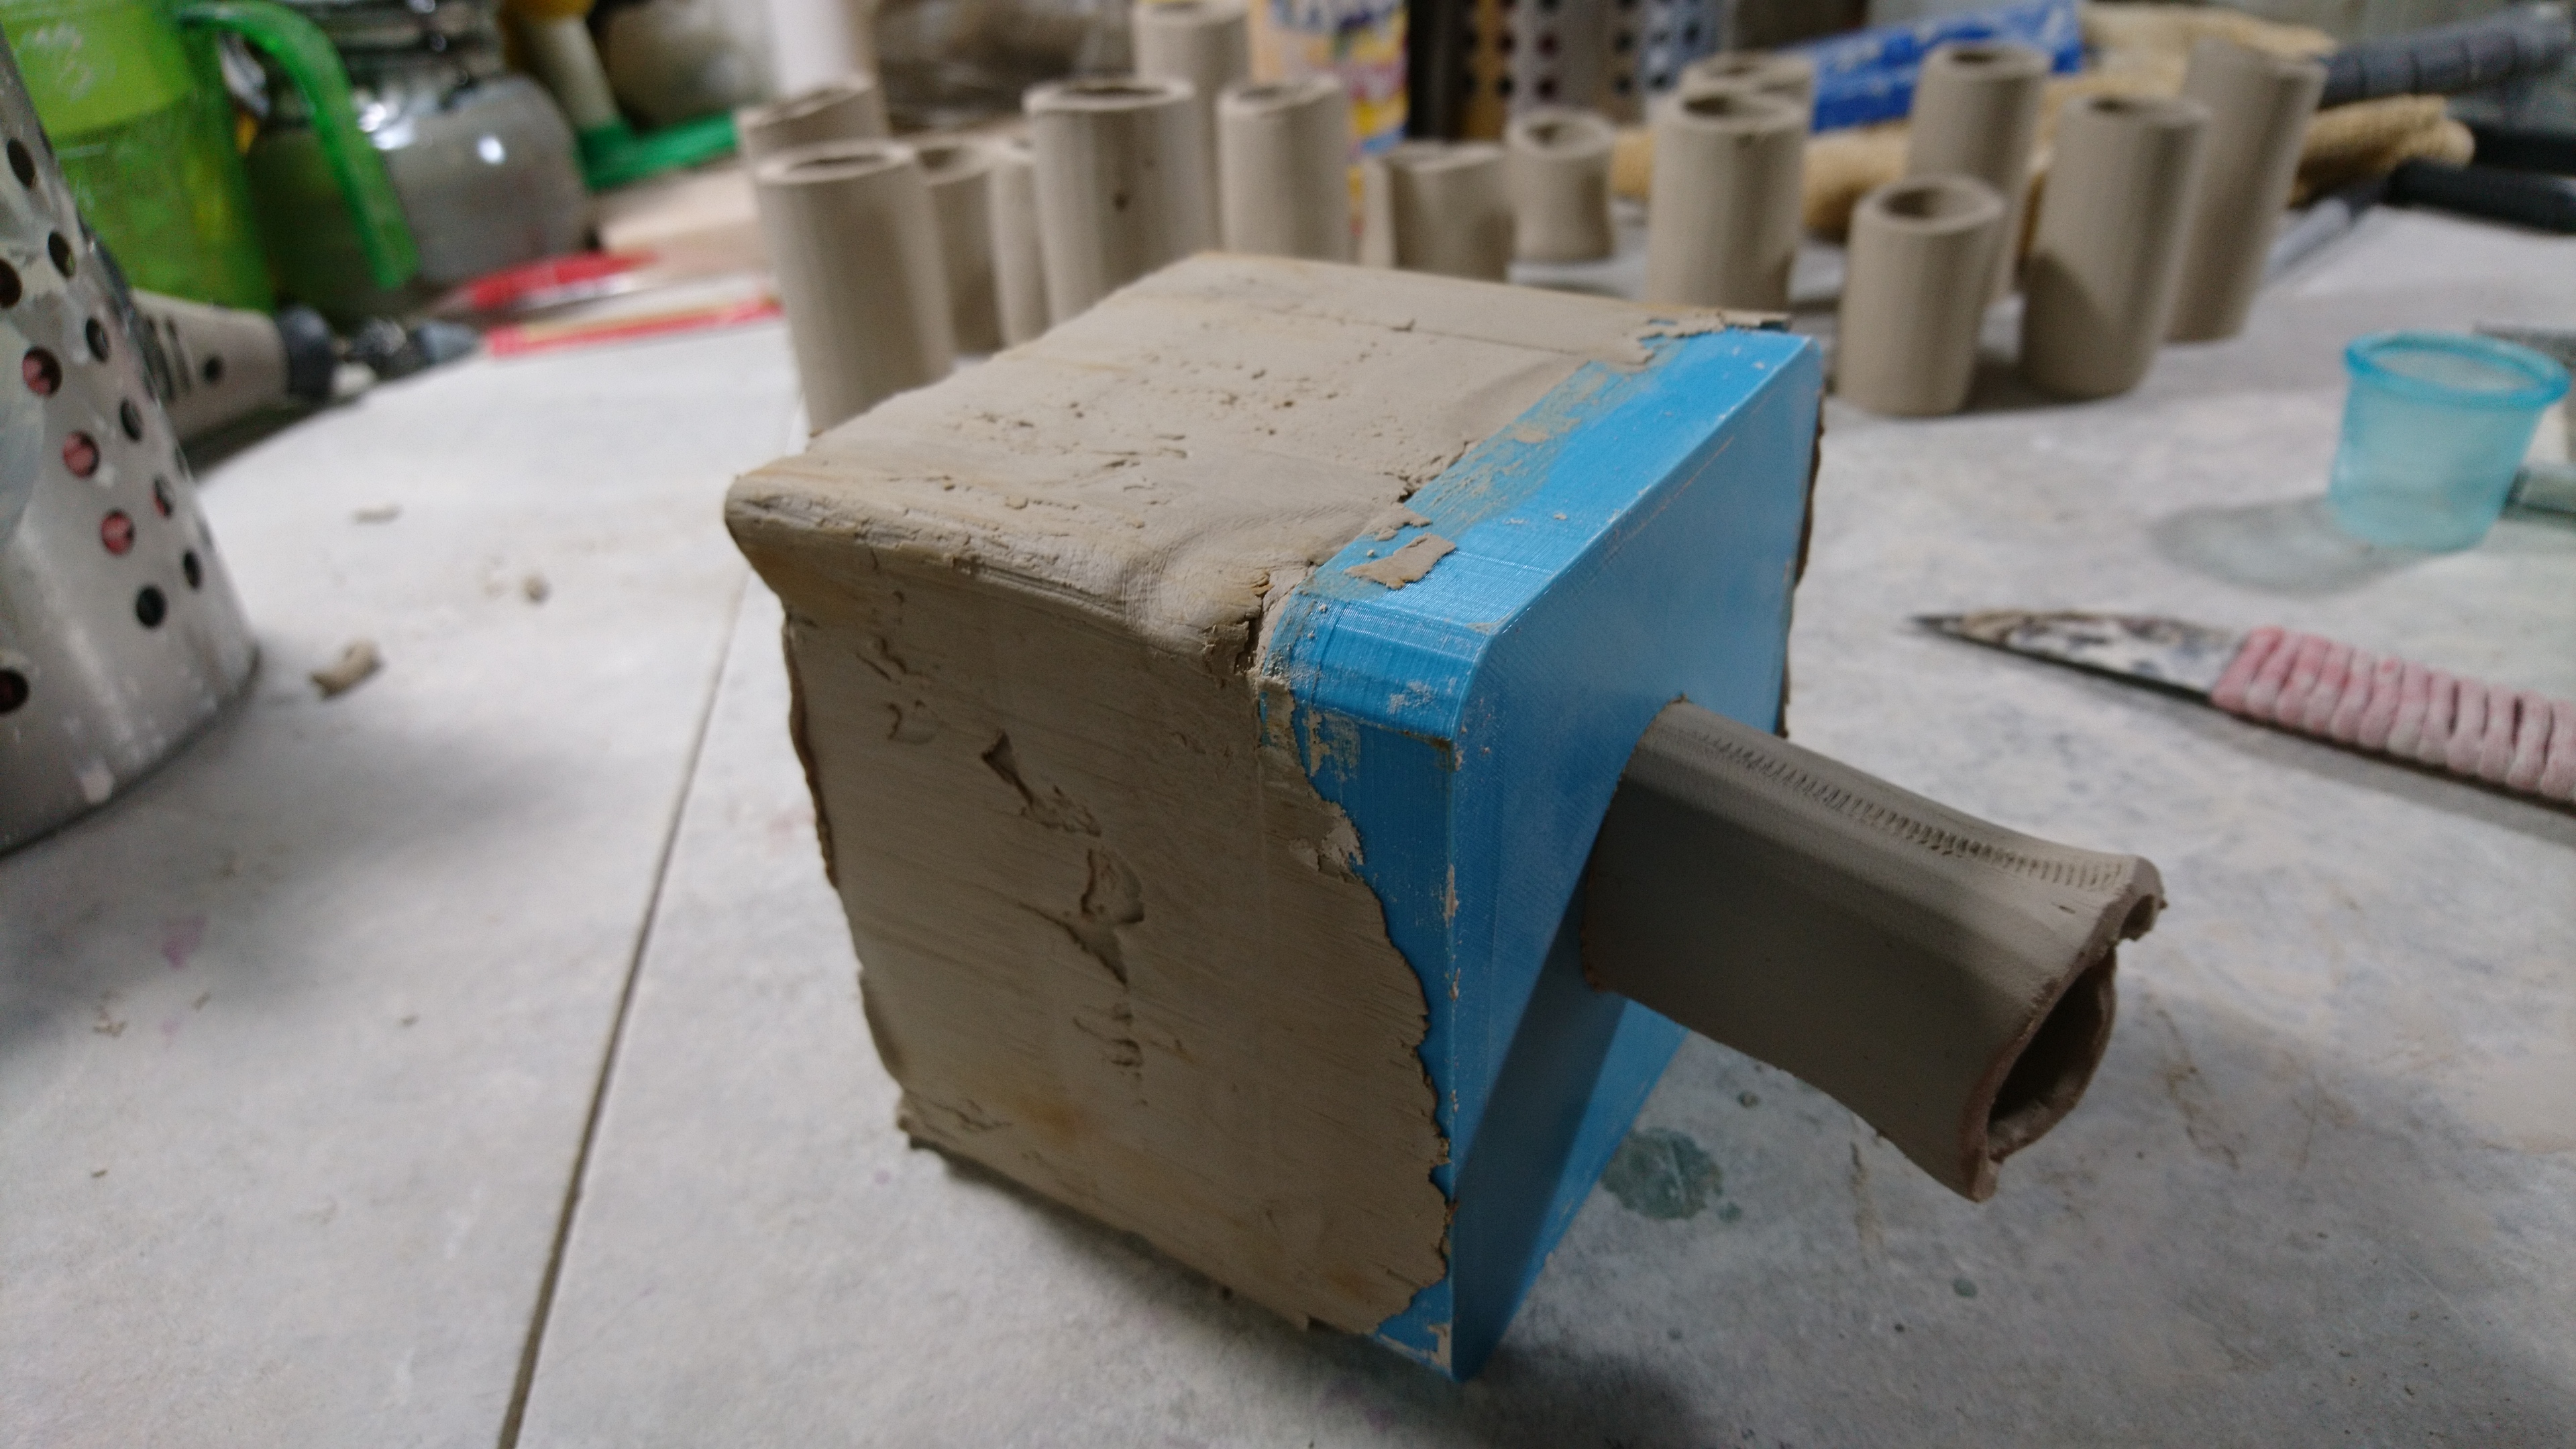
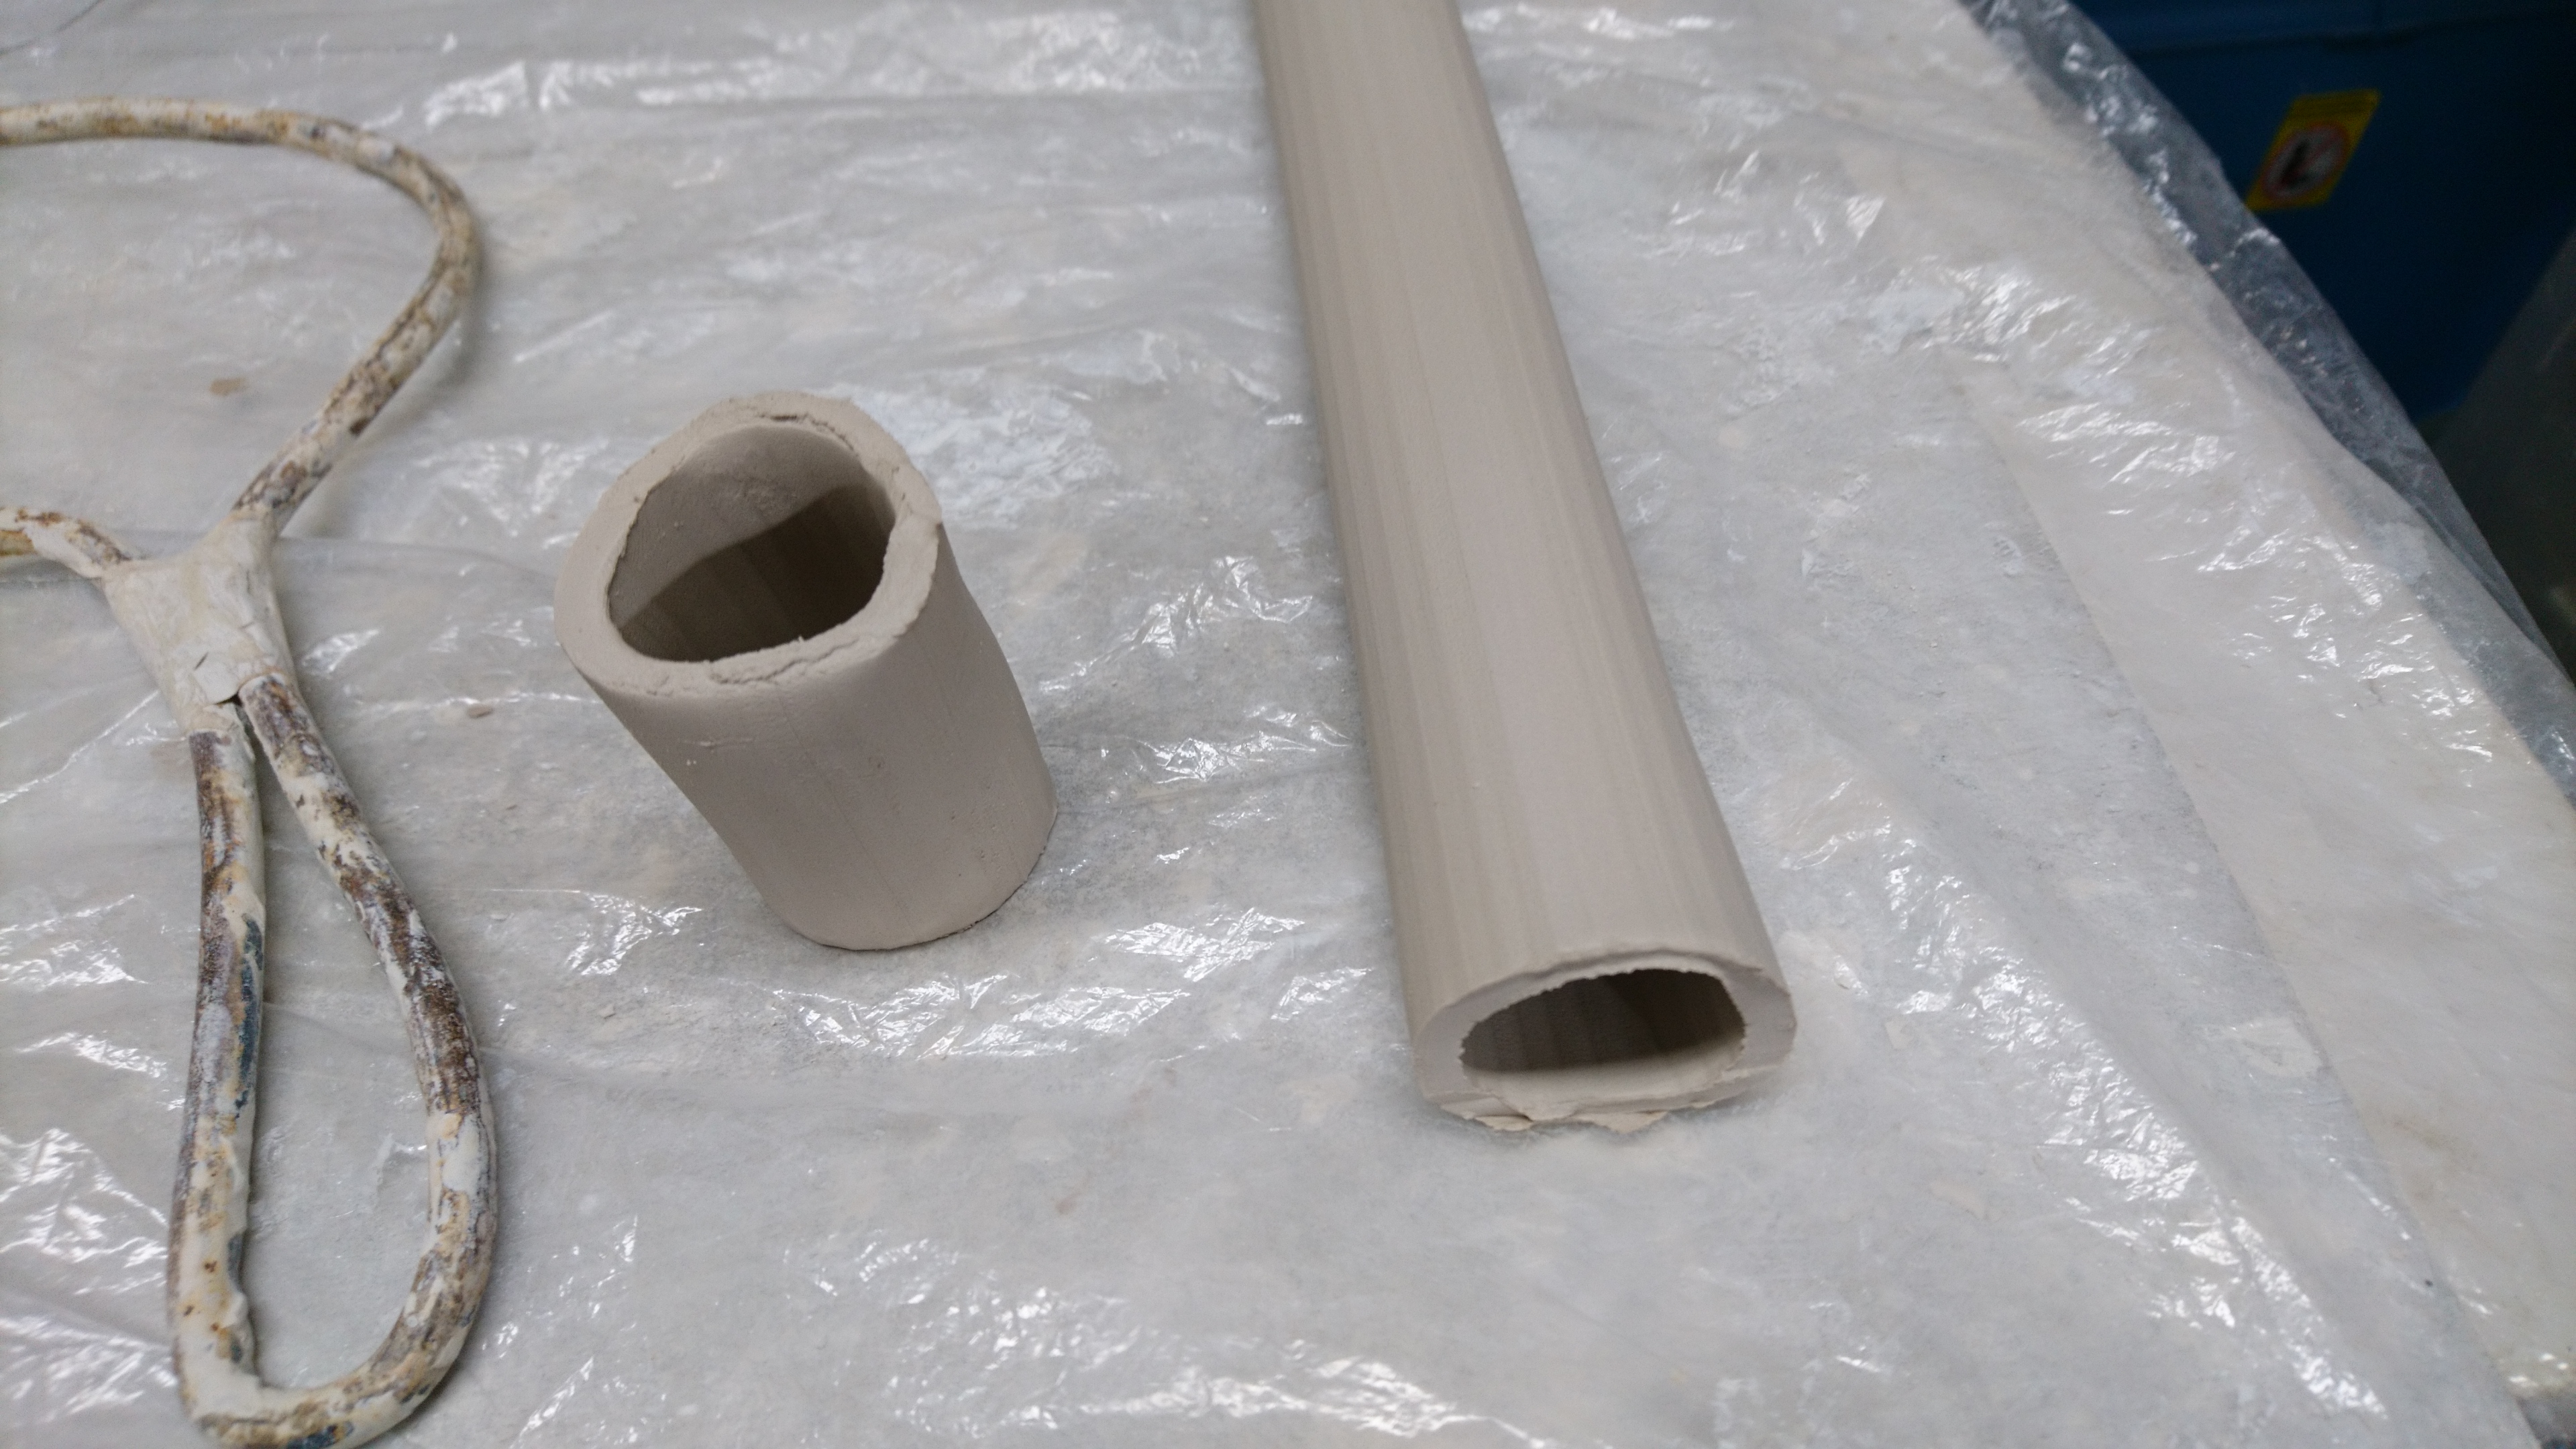
The die was strong, and produced a strong, fused tube. And this design concept is cleary reproduceable for any type of hollow die.
I squished this one a bit cutting it, but look at those even sides!
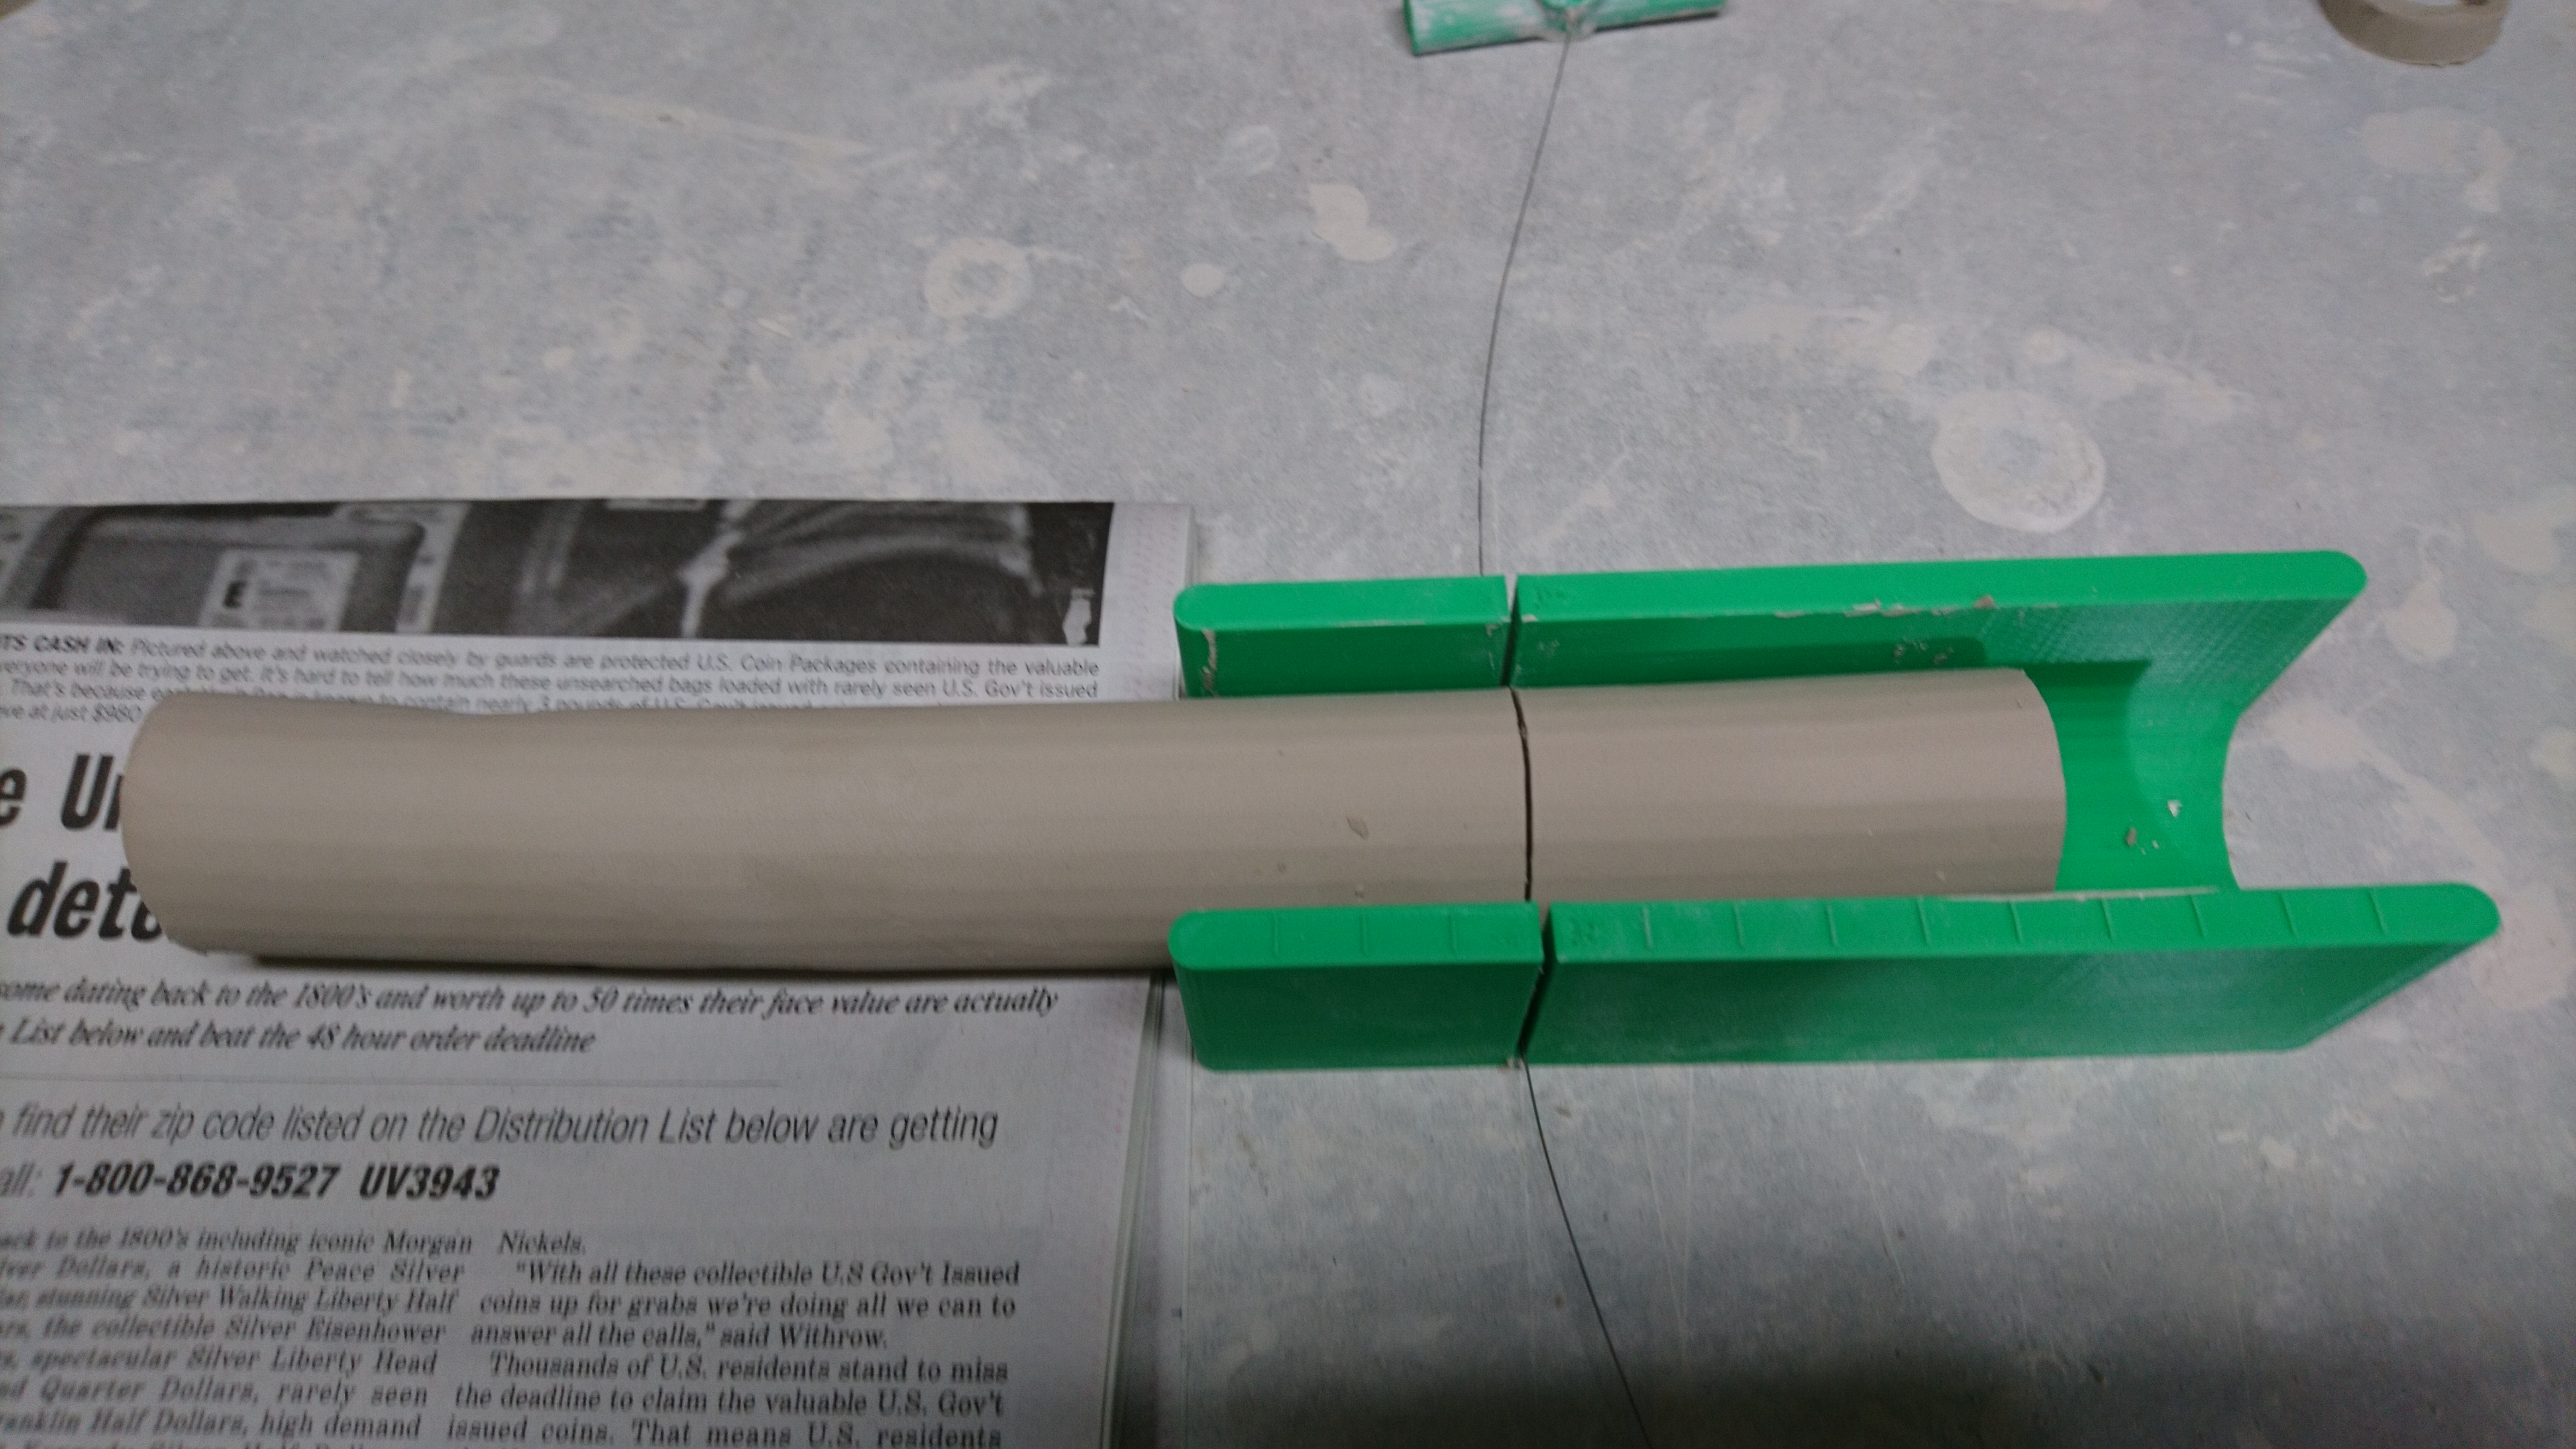
Since it's hard to cut the clay tube without squishing it, I also designed a miter for cutting it with a wire.
Now, there is one drawback to this die design: it's hard to clean, and you need to clean it right after use while the clay is still soft. I found out the hard way that it's extremely difficult to remove dried clay from the complex interior shape.
Here's my designs on Thingyverse. If you create additional hollow dies using this approach, please share with me there or on Clay Extruding and Rolling Group.
Hopefully this post will help you break out of flat thinking when designing 3D printed dies.
