making foot-groove plaster bats
I'm doing a large order of plates for a customer, which need to match and stack properly (they even have to stack with plates made by another potter, but that's a complication I'll leave out of this article). One problem making porcelain plates is that you have to throw on a bat, and both plastic and wood bats work poorly, often causing the plate to dry unevenly and crack despite your best efforts. Plaster bats, however, absorb water from your piece, allowing you to dry it in place and have it separate naturally from the bat with relatively even drying.
Now, you can buy plaster bats from several sources, Hydrobat being the most popular in the US. This is a great option if you only need one or two, but if you really need a dozen (or more) then they get expensive very quickly. Since I need to make 80 plates, I need at least 10 bats so that I can have that many drying at once. Using premade plaster bats also makes adding a foot grove impractical. This means casting my own plaster bats.
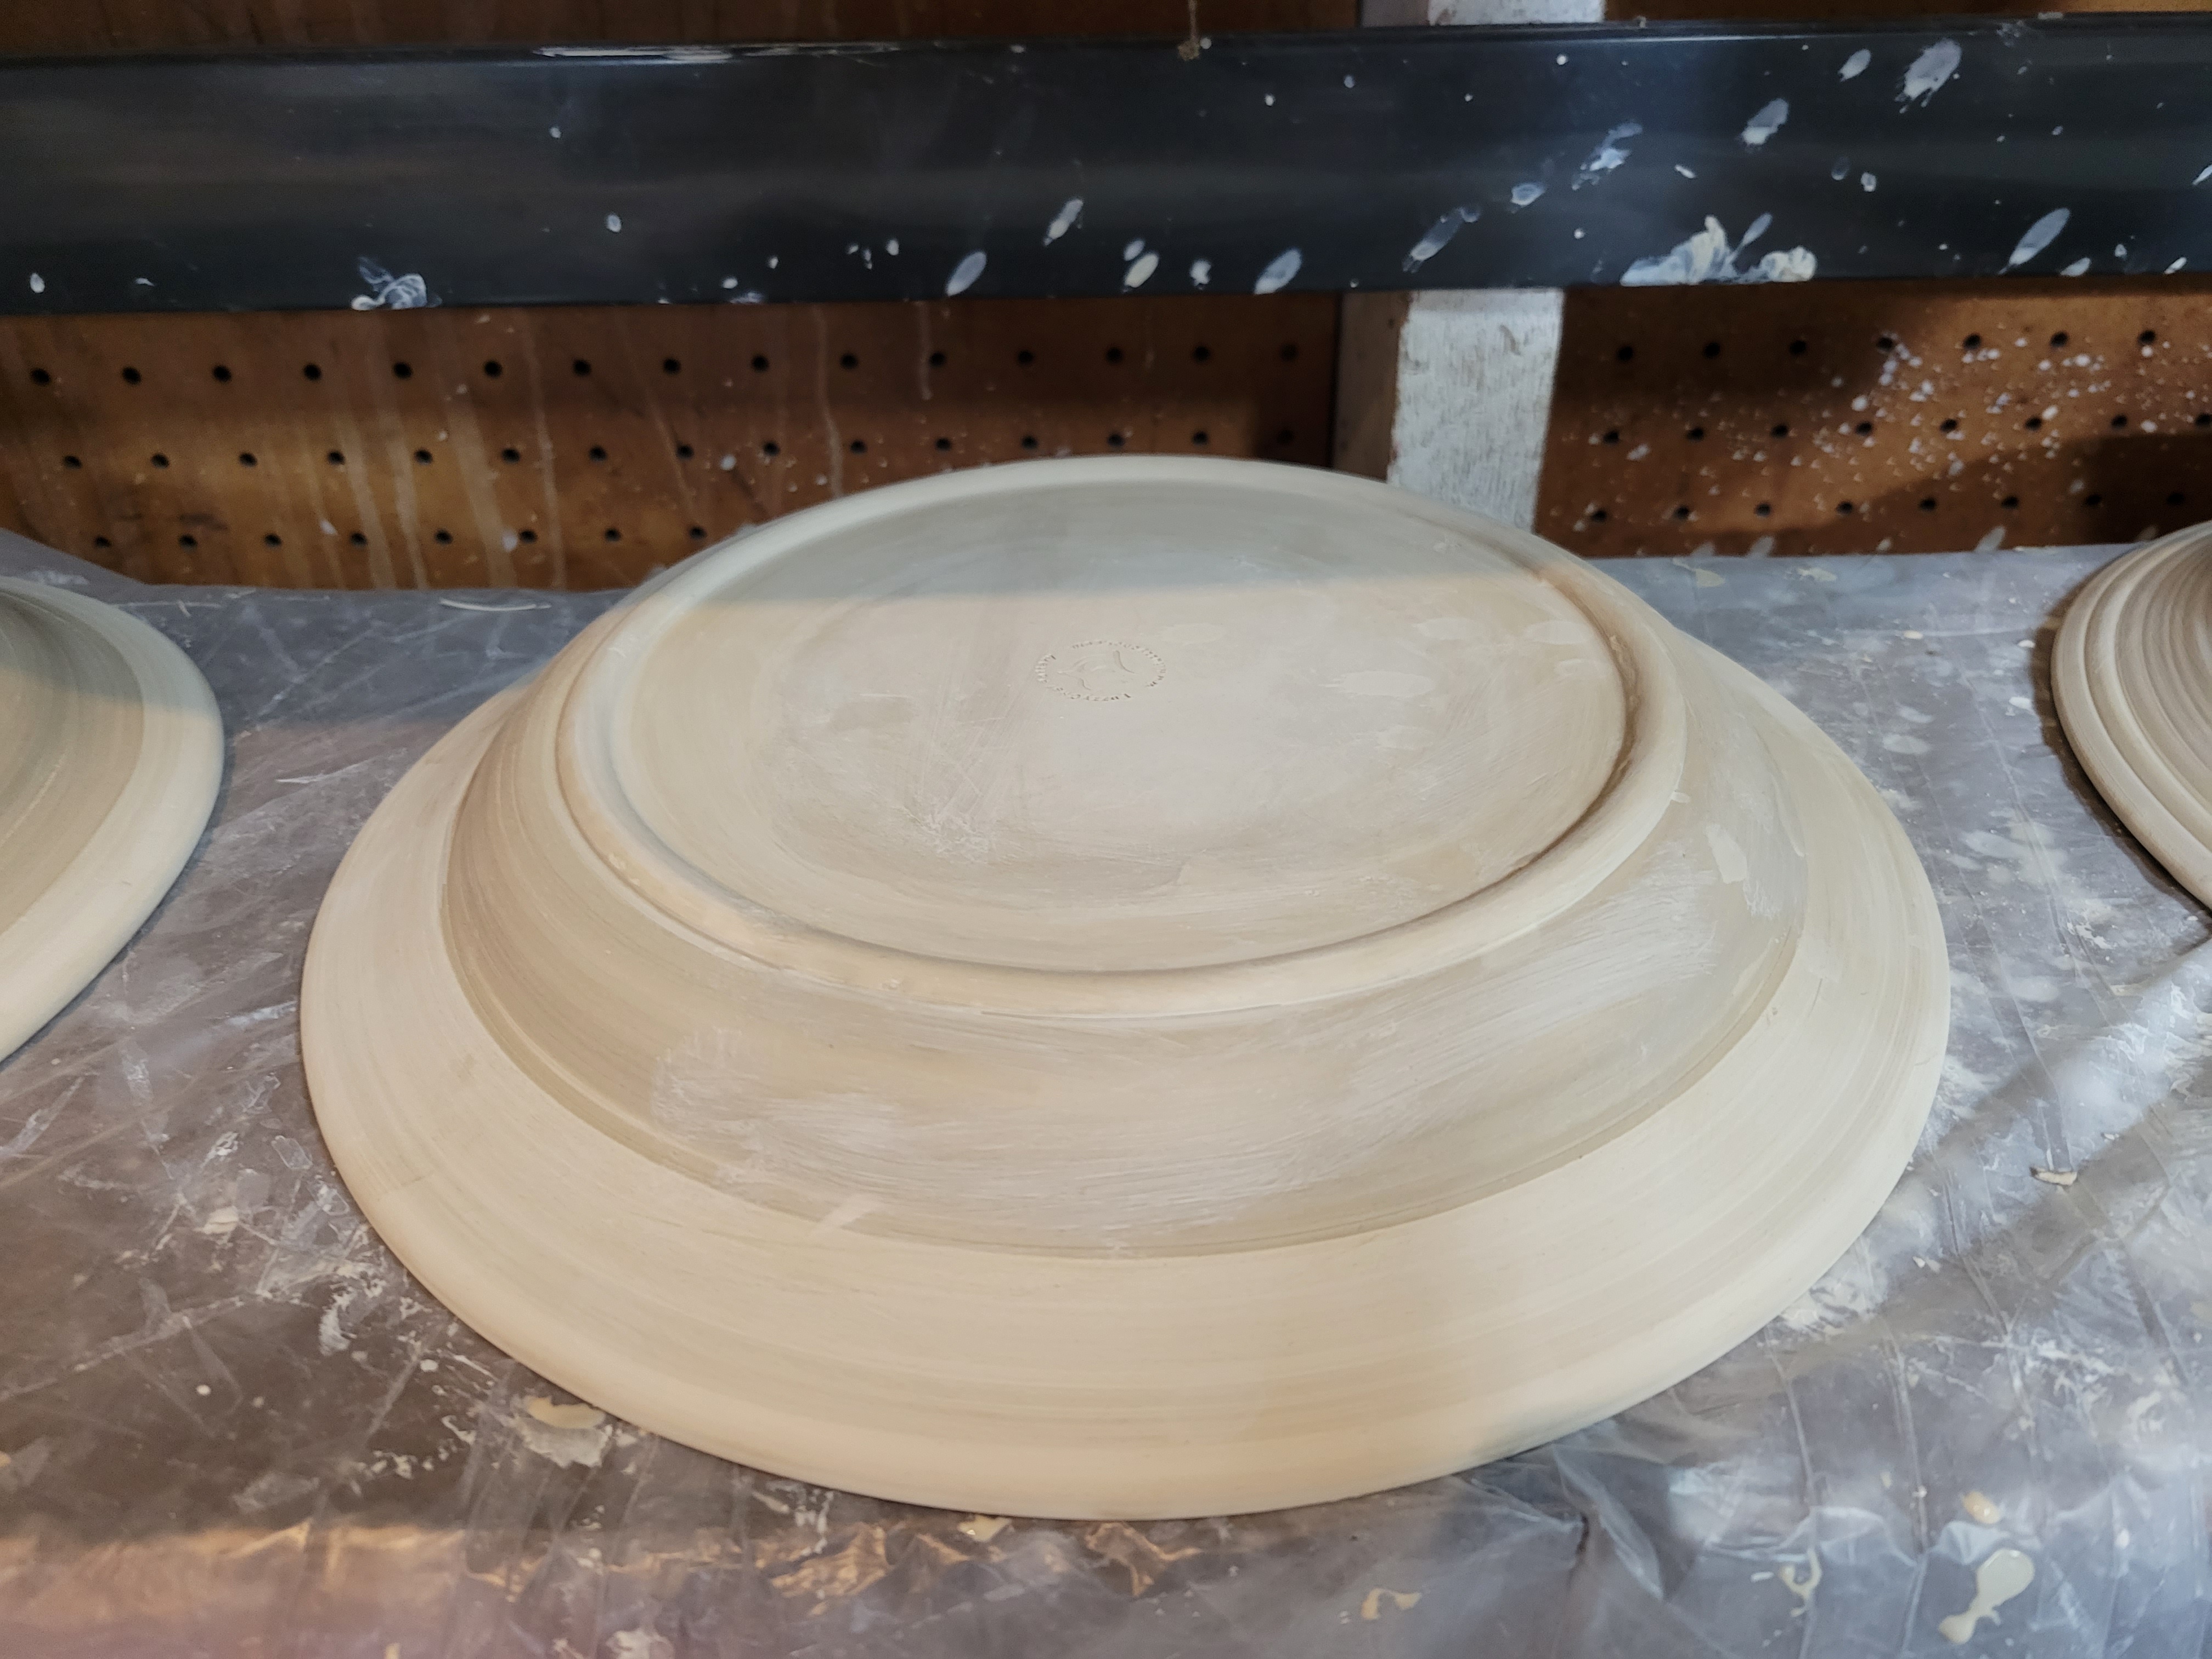
Wait, you ask. Foot groove? Yes. By carving a round groove into the plaster bat, you can "instantly" have a foot for your thrown plates. As well as ensuring consistent foot diameter, this has the advantage of eliminating a lot of clay waste; trimming a foot on a plate often means trimming off up to 25% of the clay you threw it with.
Before you start, casting bats takes considerable space, and works better in a warm, dry environment. I recommend waiting until summer to make a bunch of bats so that you can do most of the production process outside.
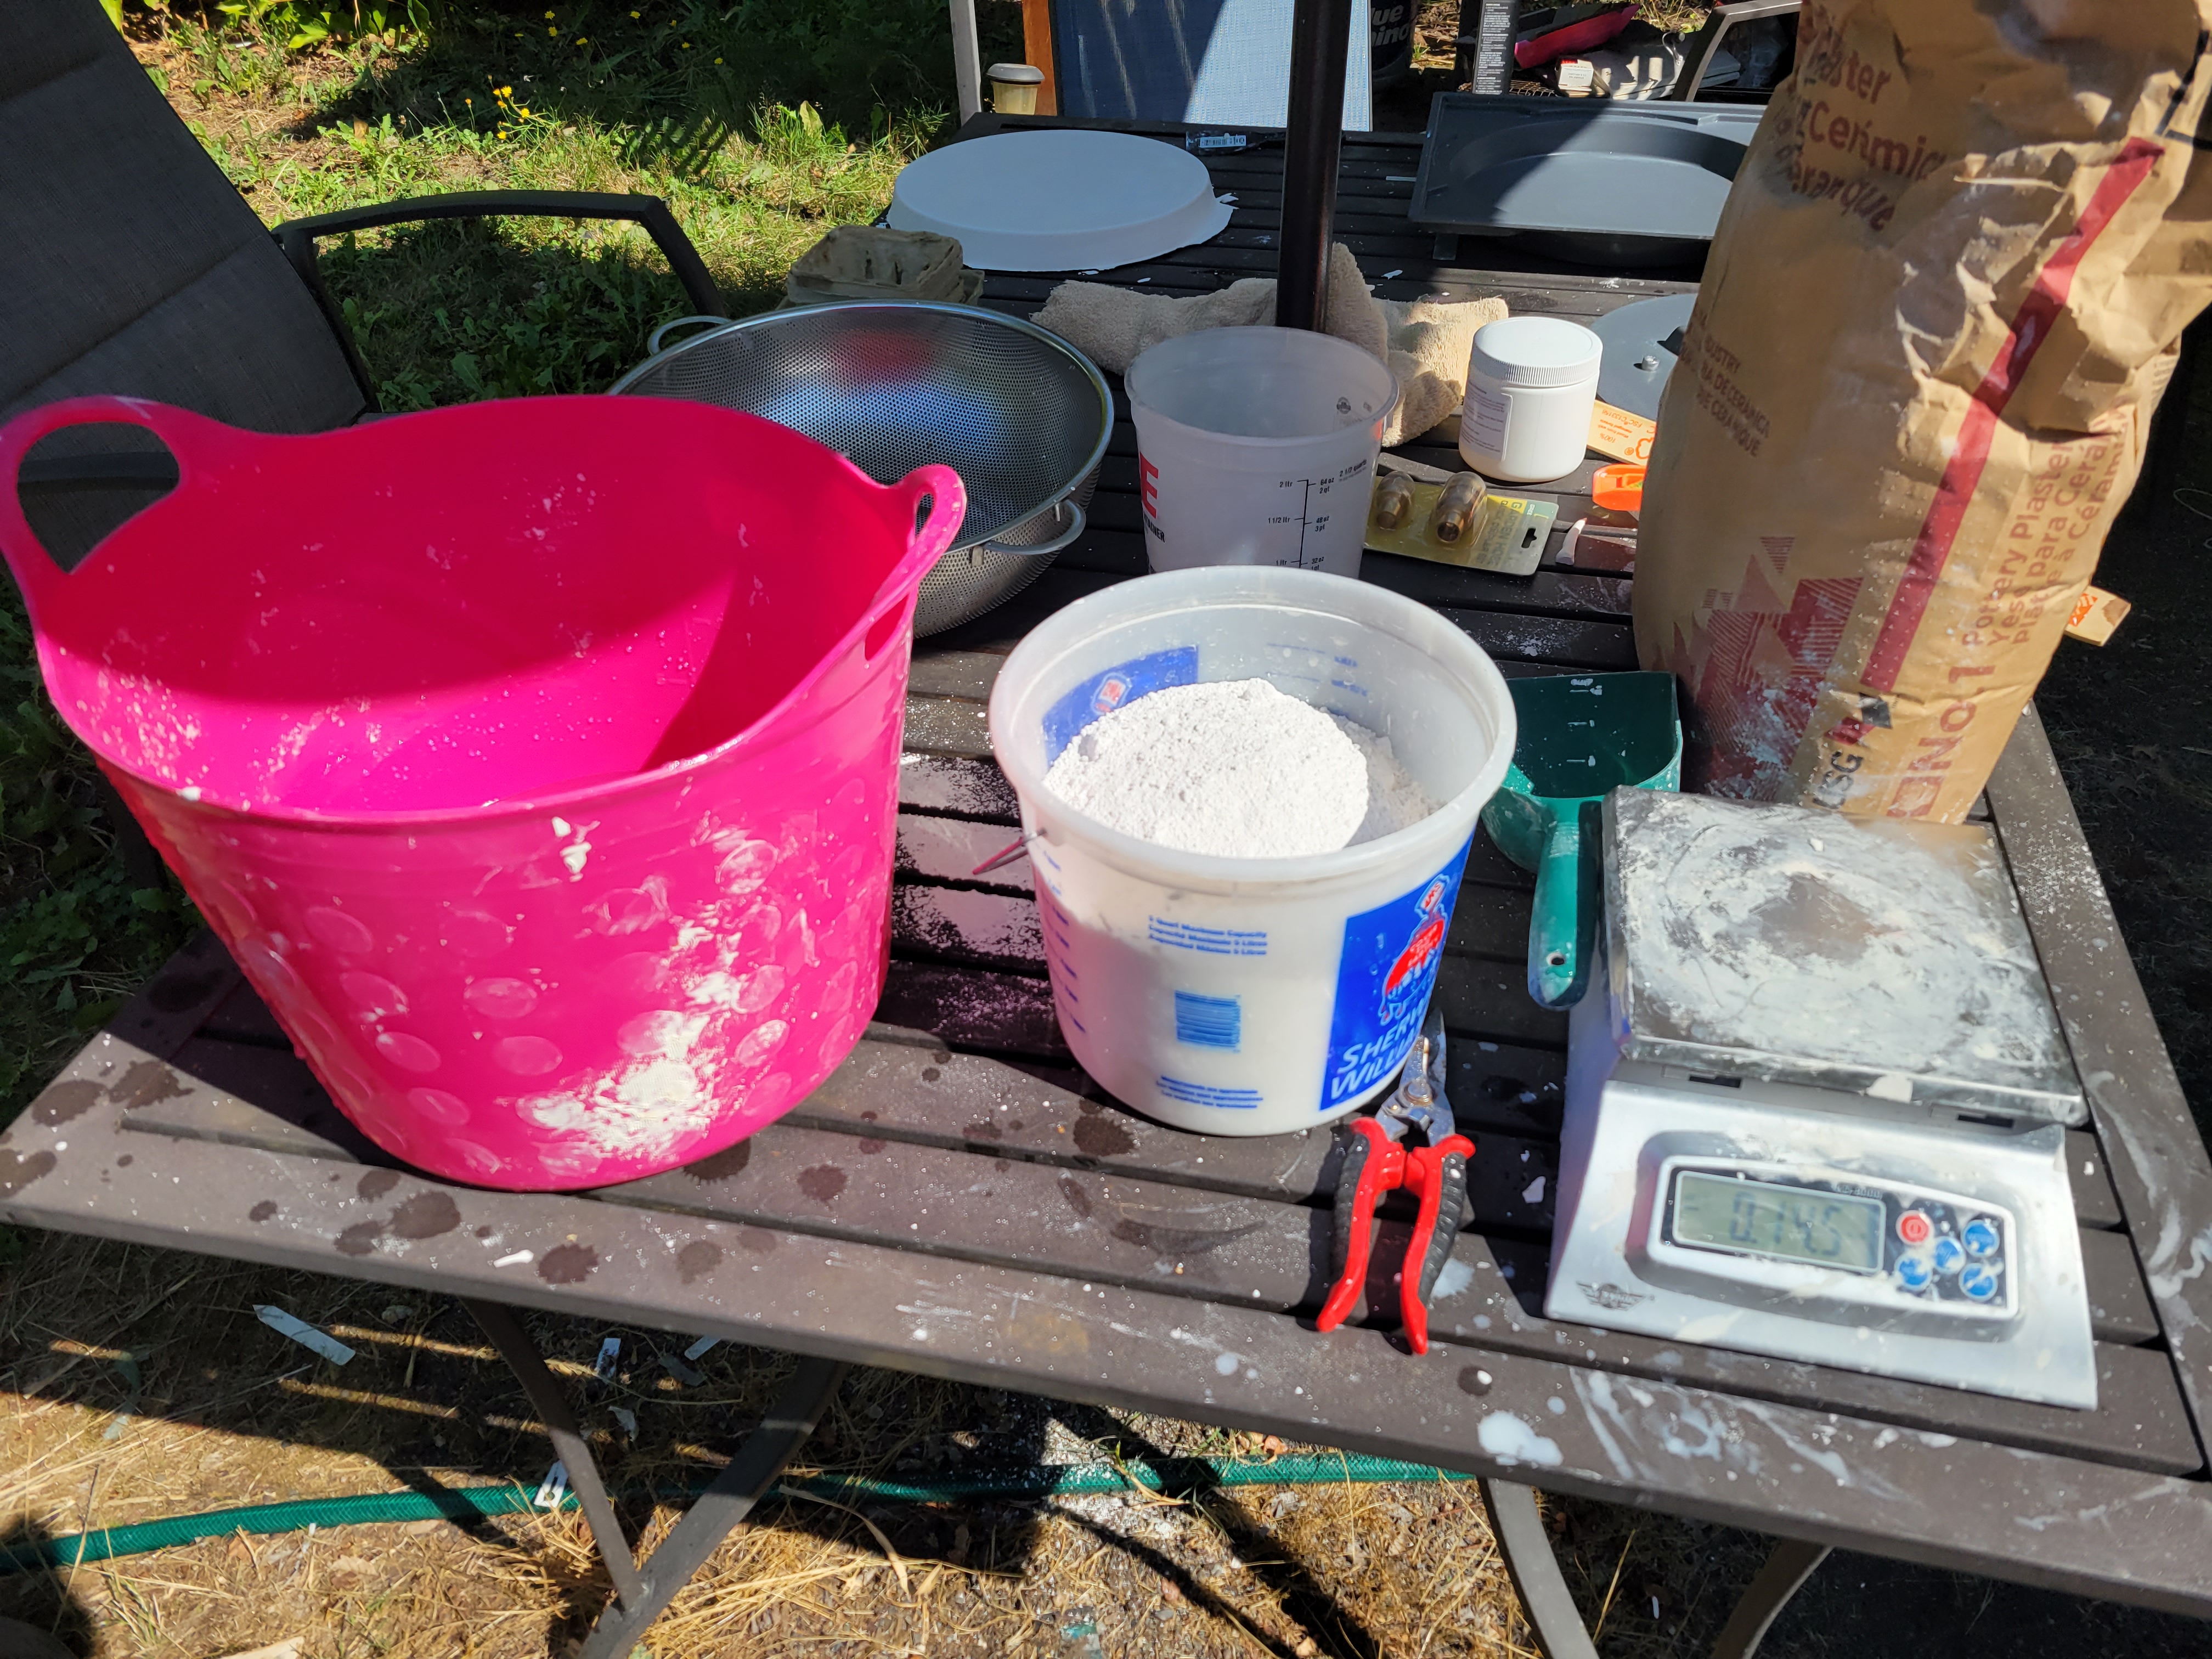
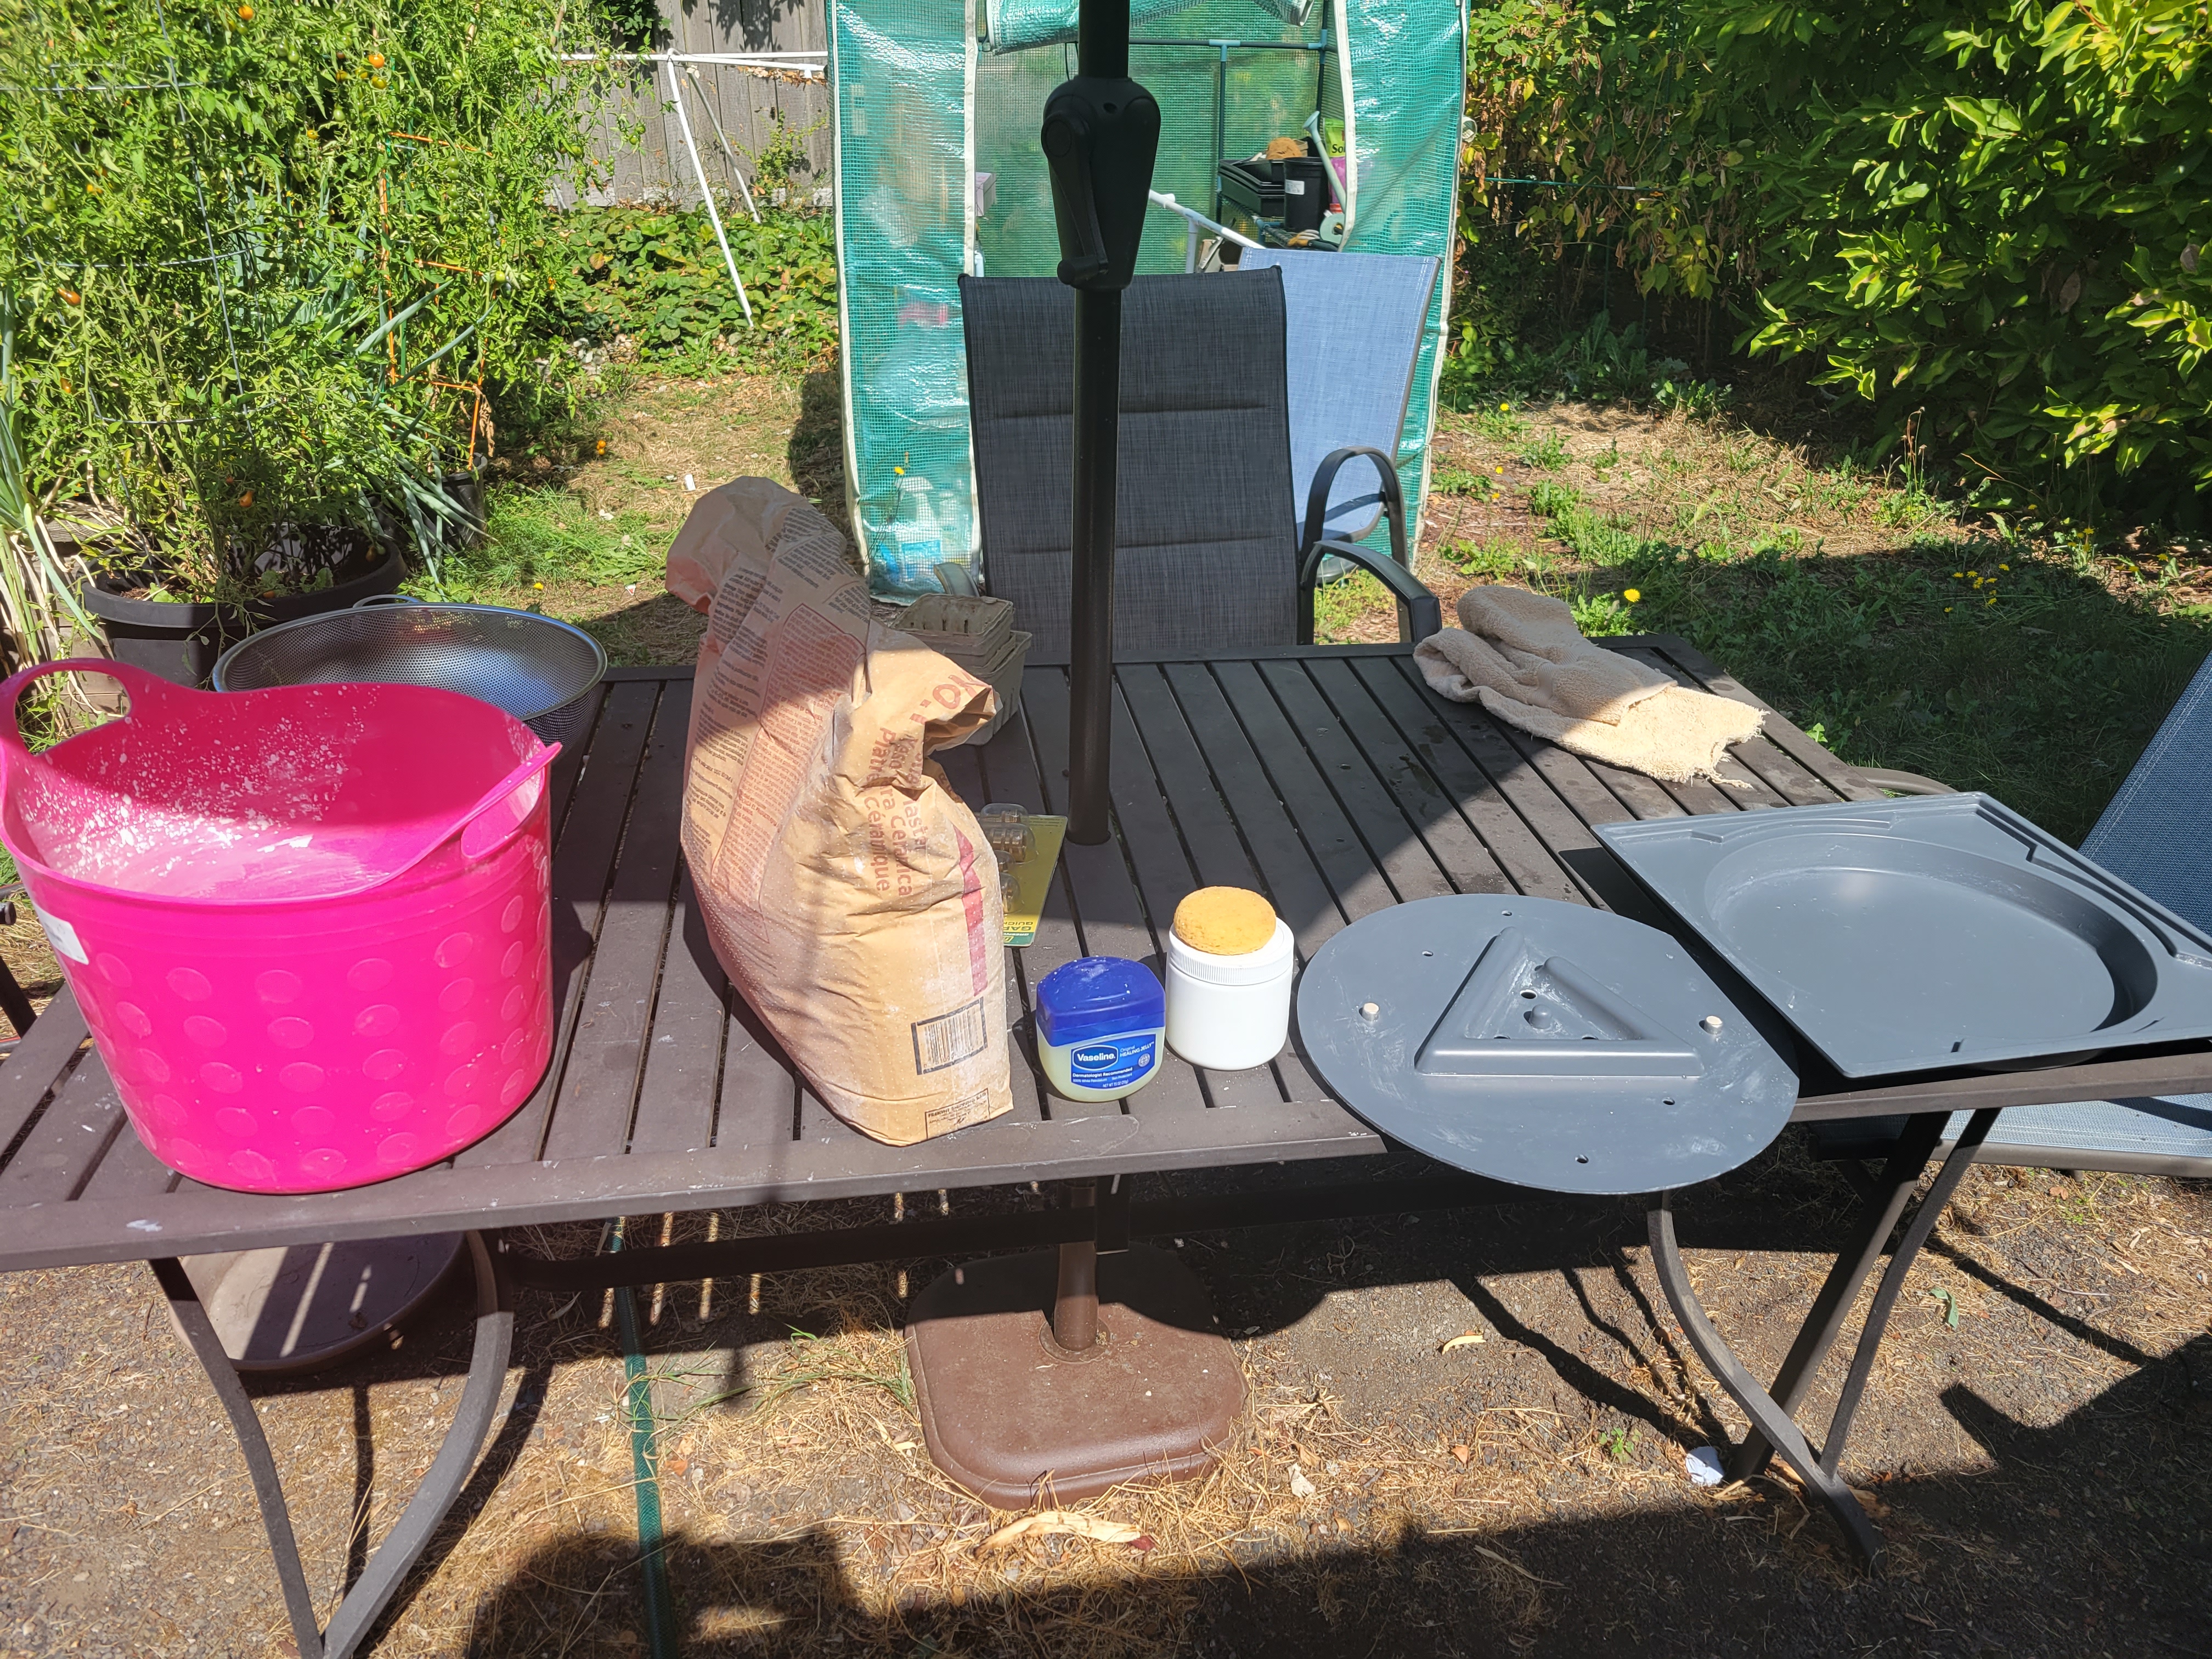
Here's everything you'll need for your bat making:
- bat mold(s) (including bat pin molds)
- plaster
- a good water source
- scale accurate to 5g/1oz
- mold soap and a sponge
- a spirit level (or similar tool)
- a flexible bucket for mixing
- a drill with a mixing blade or a very big whisk
- a food-service-sized spatula or other long-handled scraper
- small plastic paint scraper
- pottery trimming tools
- t-square or similar
Now, you can make a bat mold from any round, smooth-bottomed object of an appropriate diameter. For example, you could cut off the bottom of a 5-gallon plastic bucket. Shapes that taper slightly are better because plaster expands while setting. That's the easy part; the hard part is that you may want to cast indents for your bat pins in this shape, and designing a bar that will let you place them exactly centered. I can't show you that, though, because I chose to buy a mold system from Pure And Simple Pottery Molds instead. I did this because I didn't have time to mess around with perfecting a mold, and the "keying" system for mounting bats using the P&S molds makes it easy to take them on and off the wheel, even multiple times per piece. The drawback of using the P&S system (besides the cost) was that it reduced me to casting one bat at a time.
Now, let's talk plaster. If you're in North America, USG Pottery Plaster #1 is the standard pottery casting plaster, if you can get it. Since the USG plaster mines have had issues lately, you can settle for USG Casting Plaster #1 and it should work fine. For extra hard and durable bats, you can use Hydrocal, whose texture is somewhere between plaster and concrete. Do not use Hydrostone, as it does not absorb water well. Potters in other parts of the world will need to find their own equivalents.
While you're special ordering materials, you'll also want mold soap. This is a thick soap you use to coat the insides of the mold to make sure that the plaster does not adhere. While you can use dish soap, vegetable oil, or other household substitutes, mold soap is formulated to give you a thin but effective coating on the mold, preventing the pottery from sticking without leaving patterns on the plaster from bubbles and streaks. I use Georgie's Mold Soap, which seems to be the same formula as Laguna Pure Lube.
Assemble all your tools and materials in easy reach. Once you start mixing the plaster, you will have minutes to follow the rest of the process and you don't want to be hunting for things.
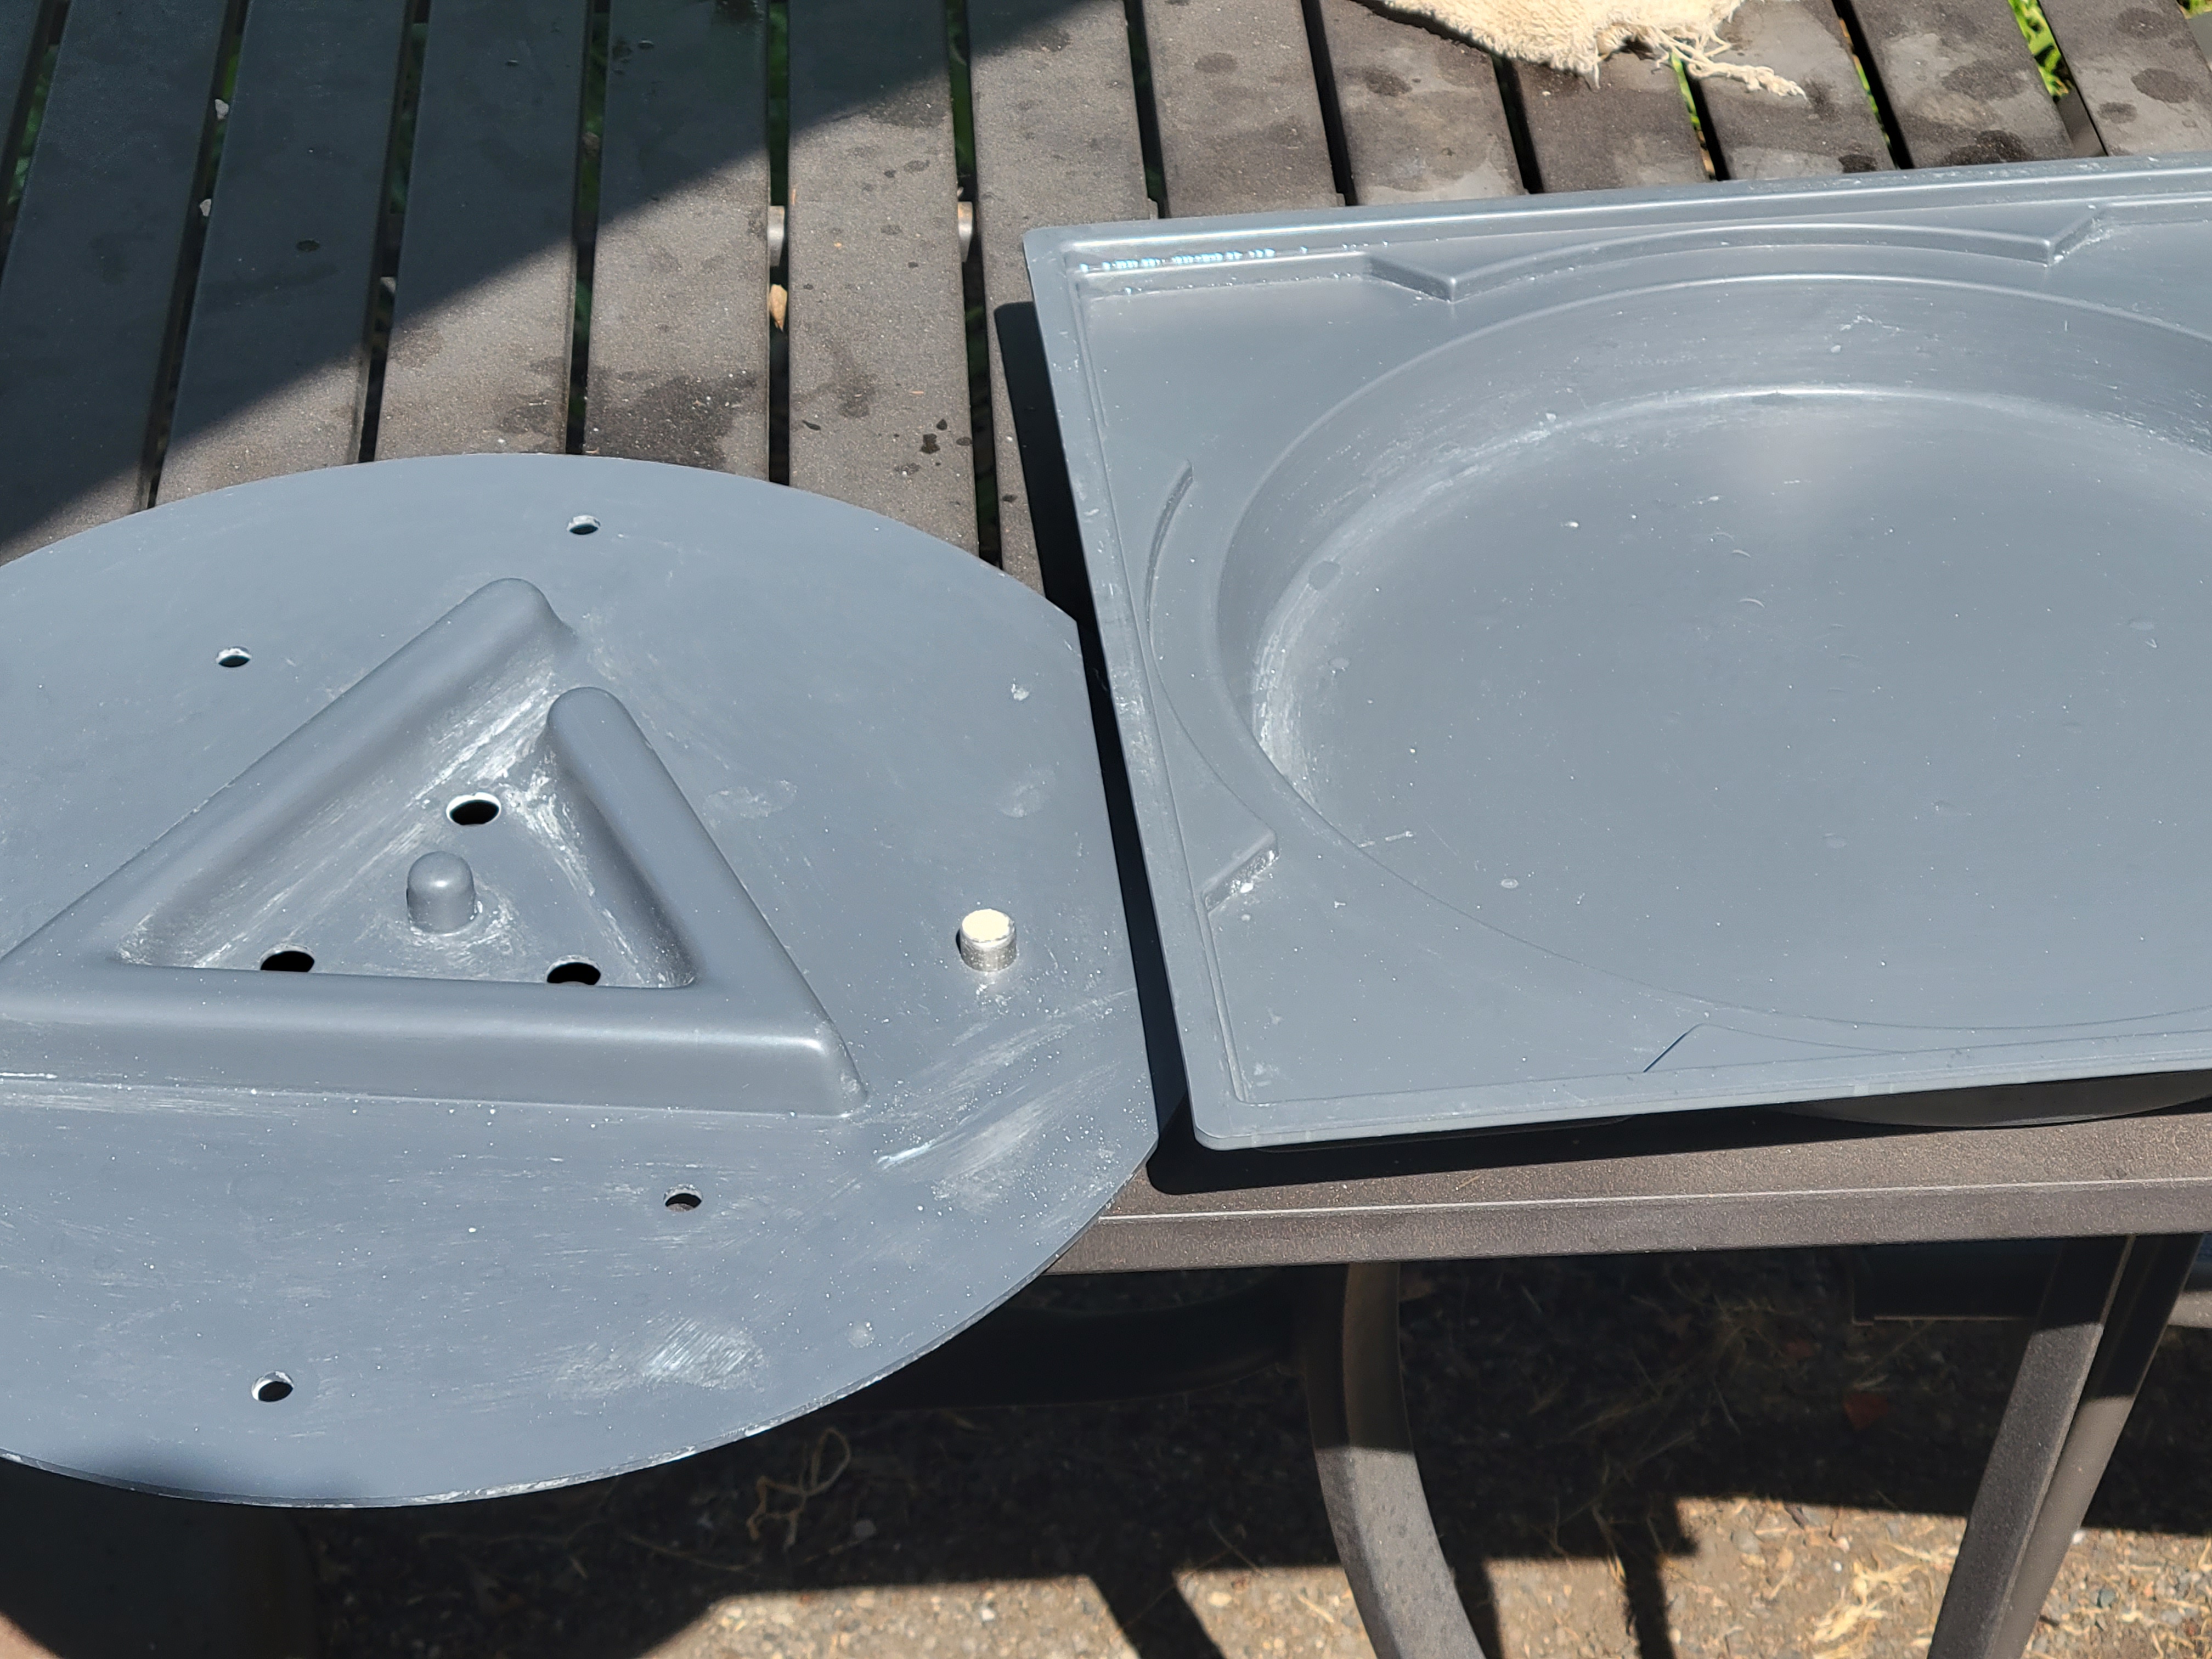
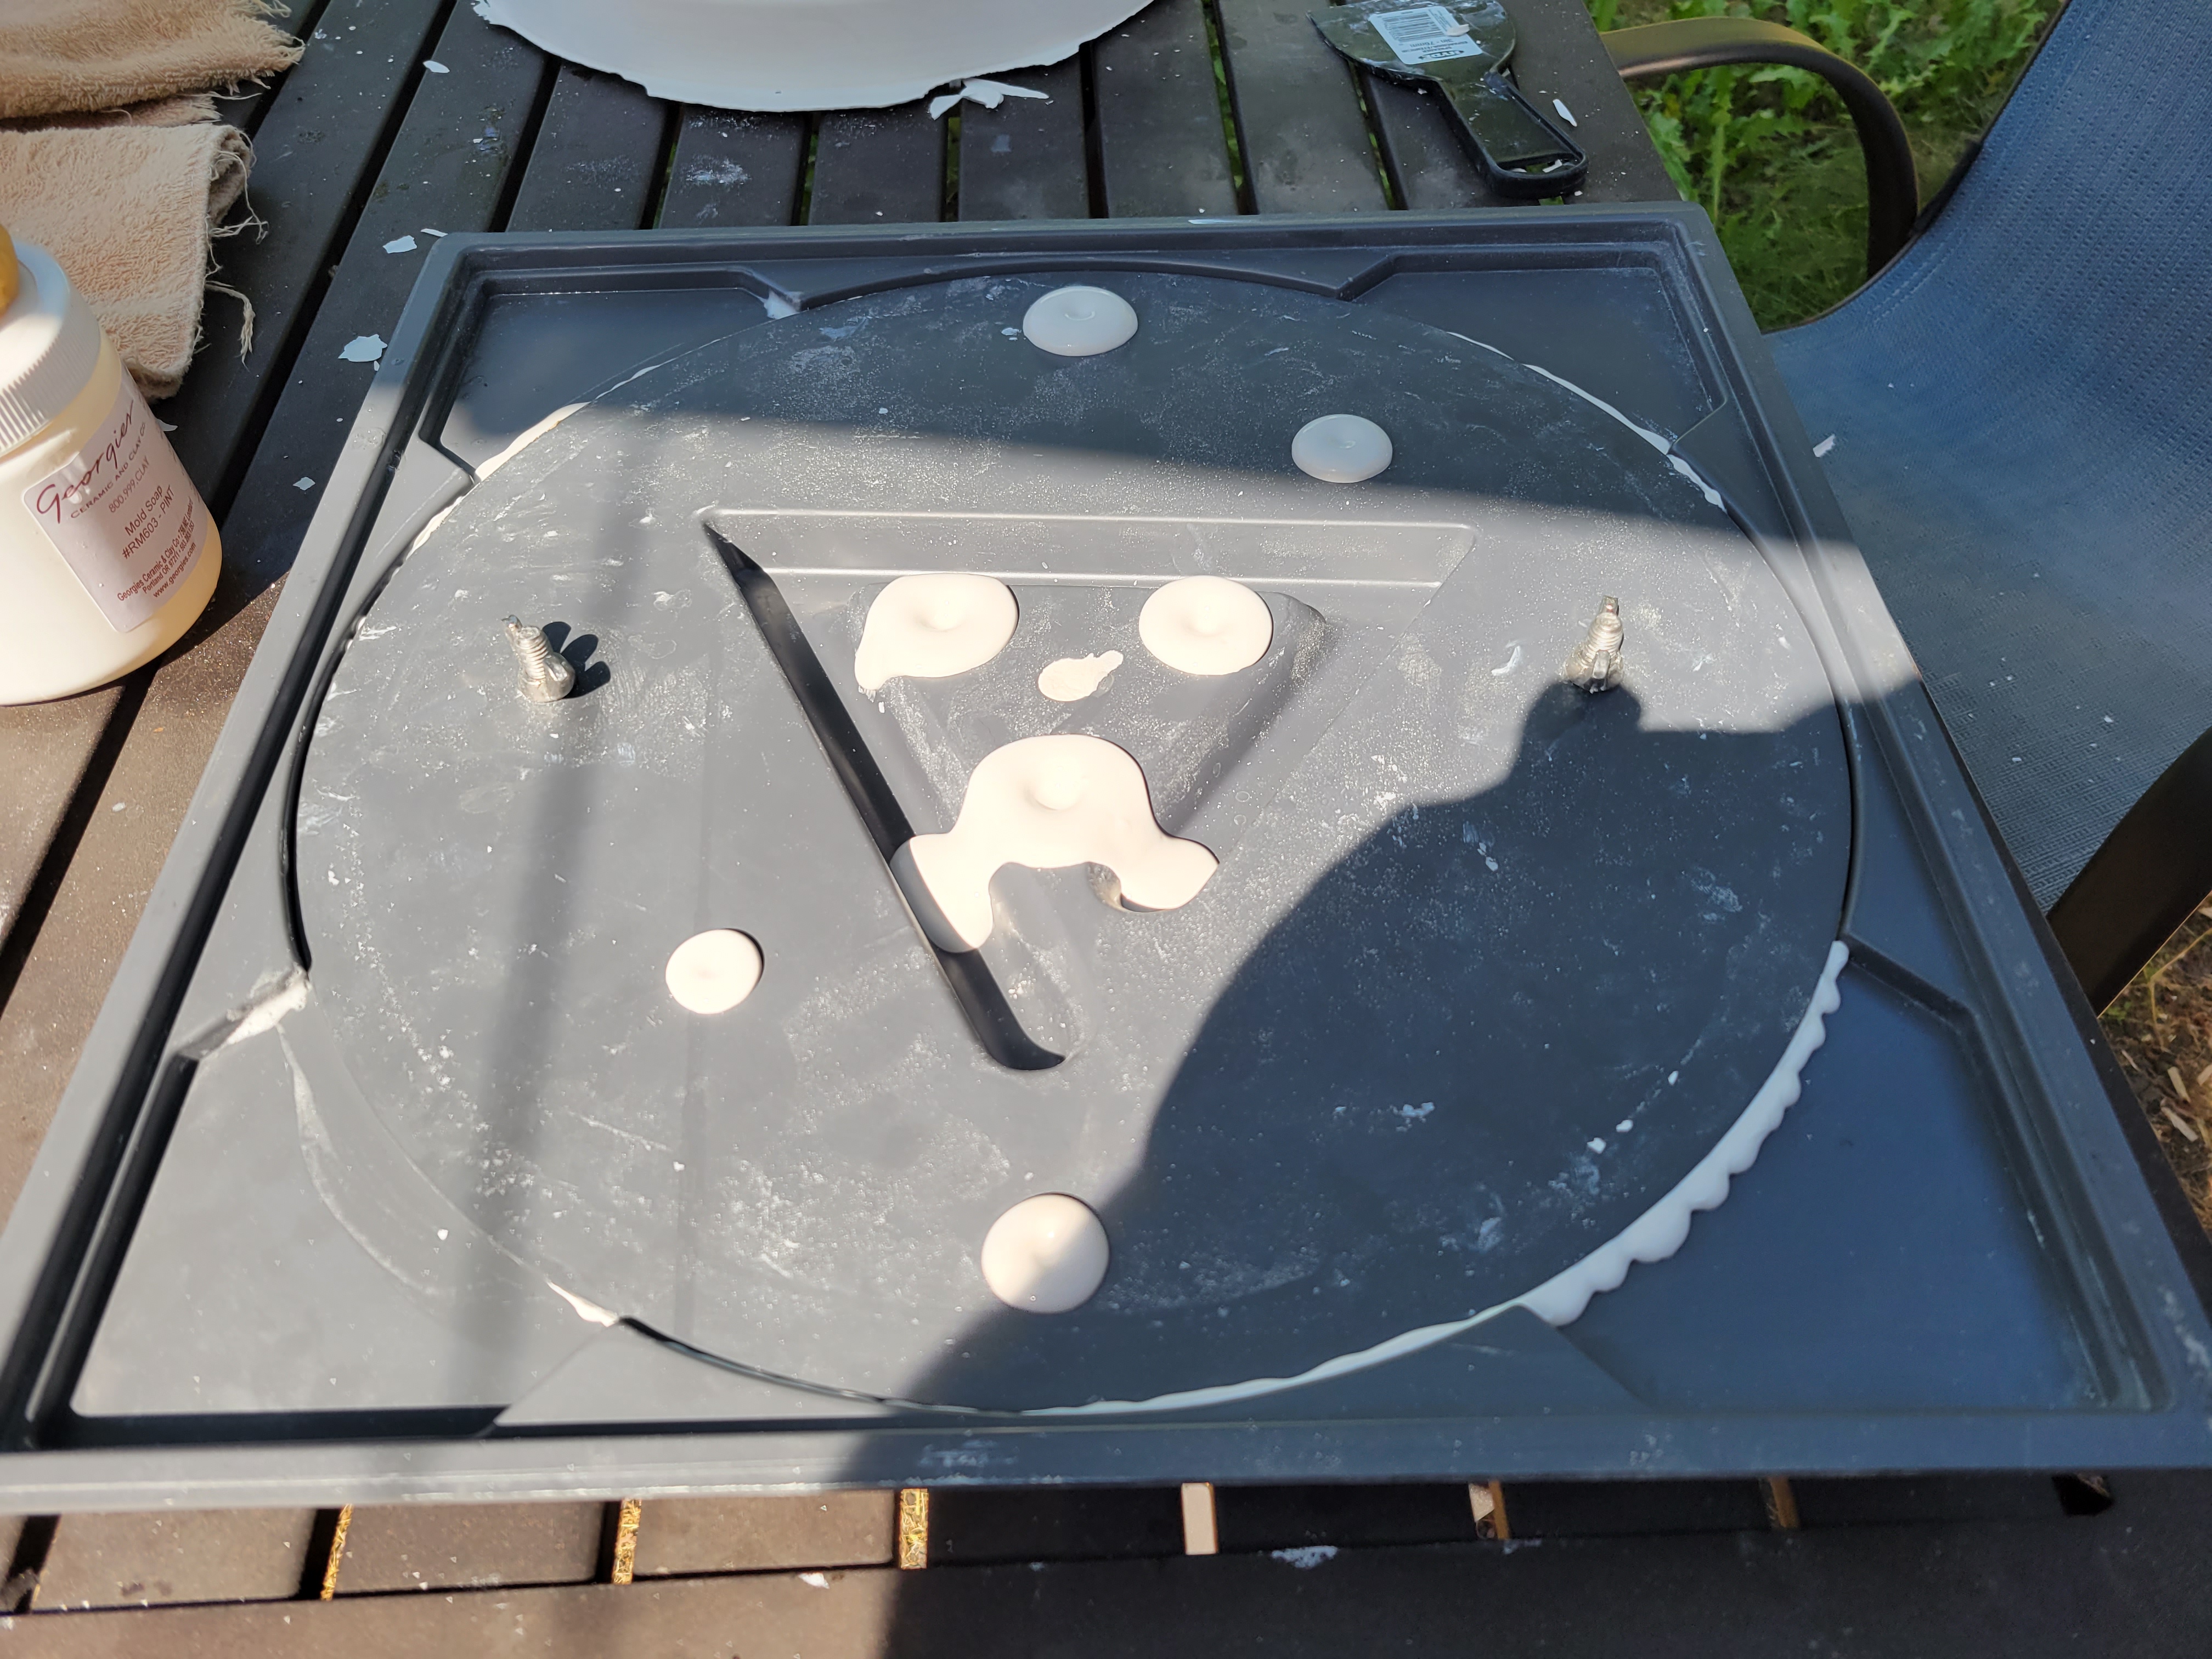
Now, prep your mold. First, use the spirit level, plus shims, wedges, and boards to get the bottom part of the mold completely level. You don't want your bat to be thicker on one side than the other. Using a sponge, gently coat the bottom part of the mold including the edges in mold soap. You're looking for a thin but uniform coating, like thin paint, no more than 0.1mm. You also need to soap the top insert of the mold, which is the keying piece for the P&S mold, or your home-designed mold.
For the P&S mold, you have to add bat pin holes, because even though the bat won't lock onto the pins, it needs to clear them. I bought two socket cap screws that were one size larger than my bat pins, with matching wing nuts. These also gave me convenient handles for the top piece of the mold. P&S instructs you to bolt together the insert and the wheel head mount when casting, and I have no idea why, because that didn't work at all for me.
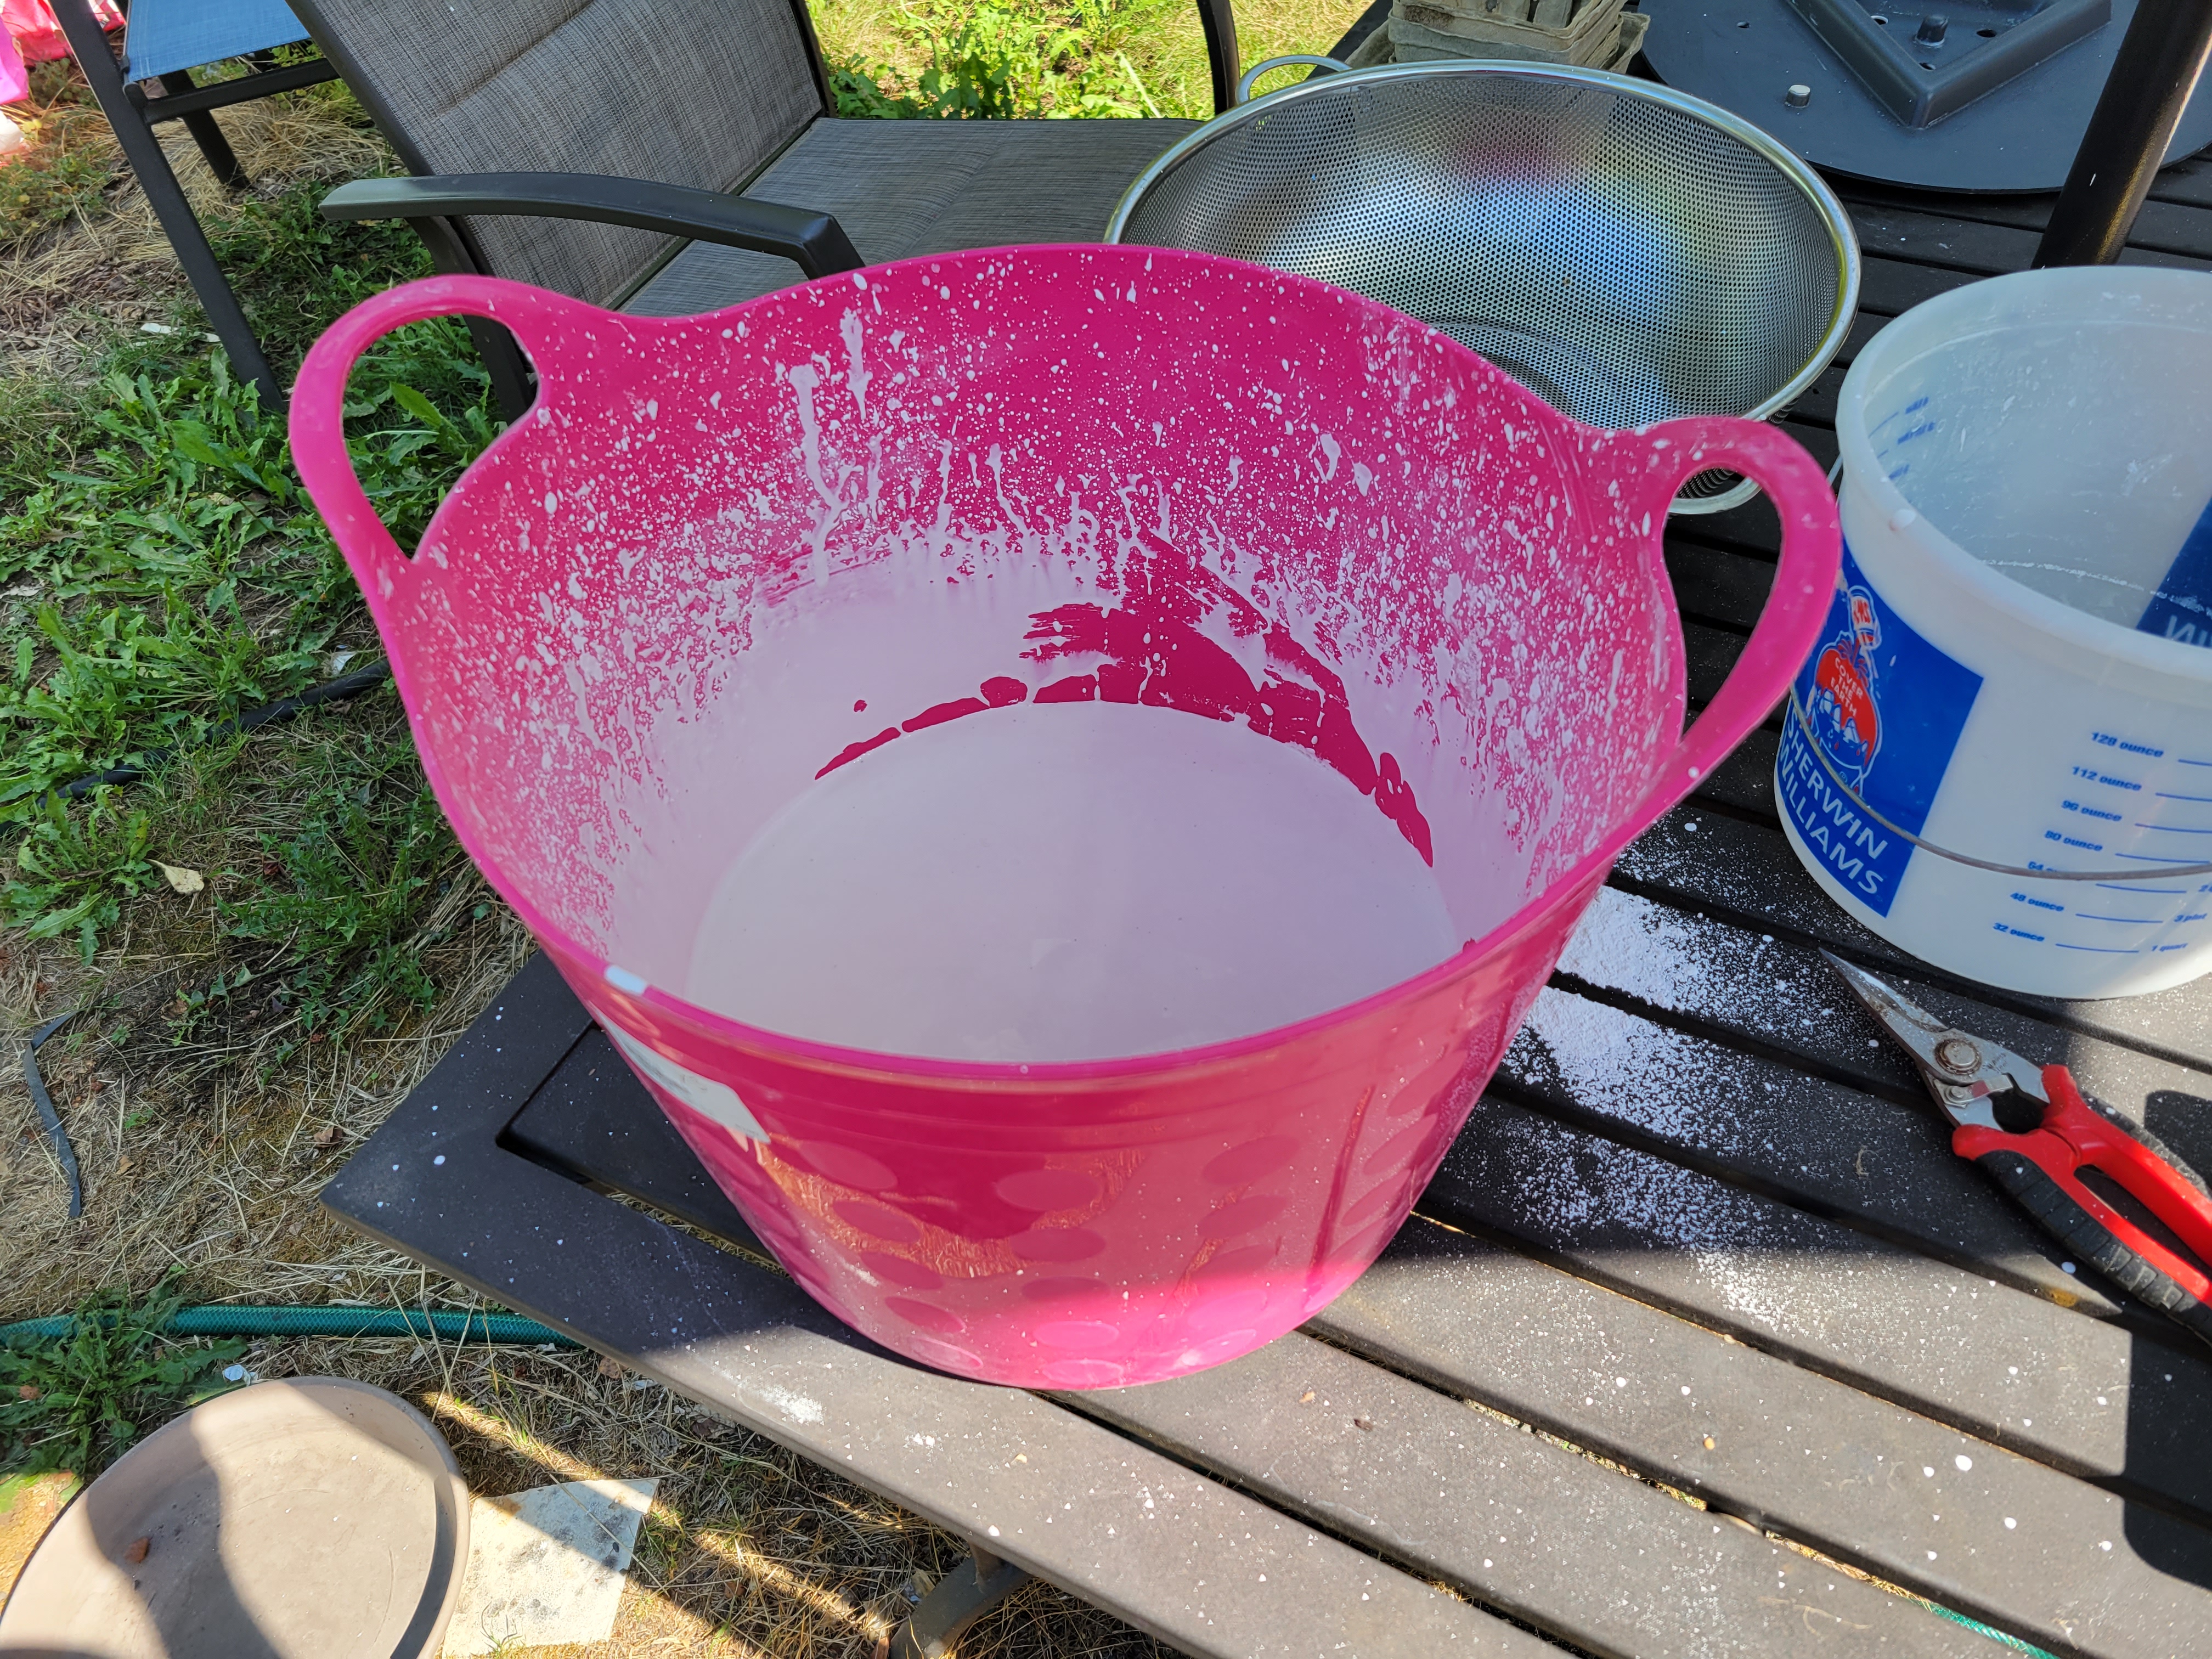
Now, you're going to mix your plaster. For a 12" P&S bat you'll mixing 6lbs of plaster with 4lbs of water. If your tap water is very hard or otherwise chemically notable you'll need to use bottled water; in Portland, I'm able to use tap water. You also want to use a bucket that will allow you to easily clean all of the waste plaster out of it, because you don't want new batches touching old, hardened waste plaster (it messes up the hardening process). On a suggestion on Clay Buddies, I bought a flexible feed bucket from our nearest farm supply store, and greased it with a little bit of mold soap just to make sure.
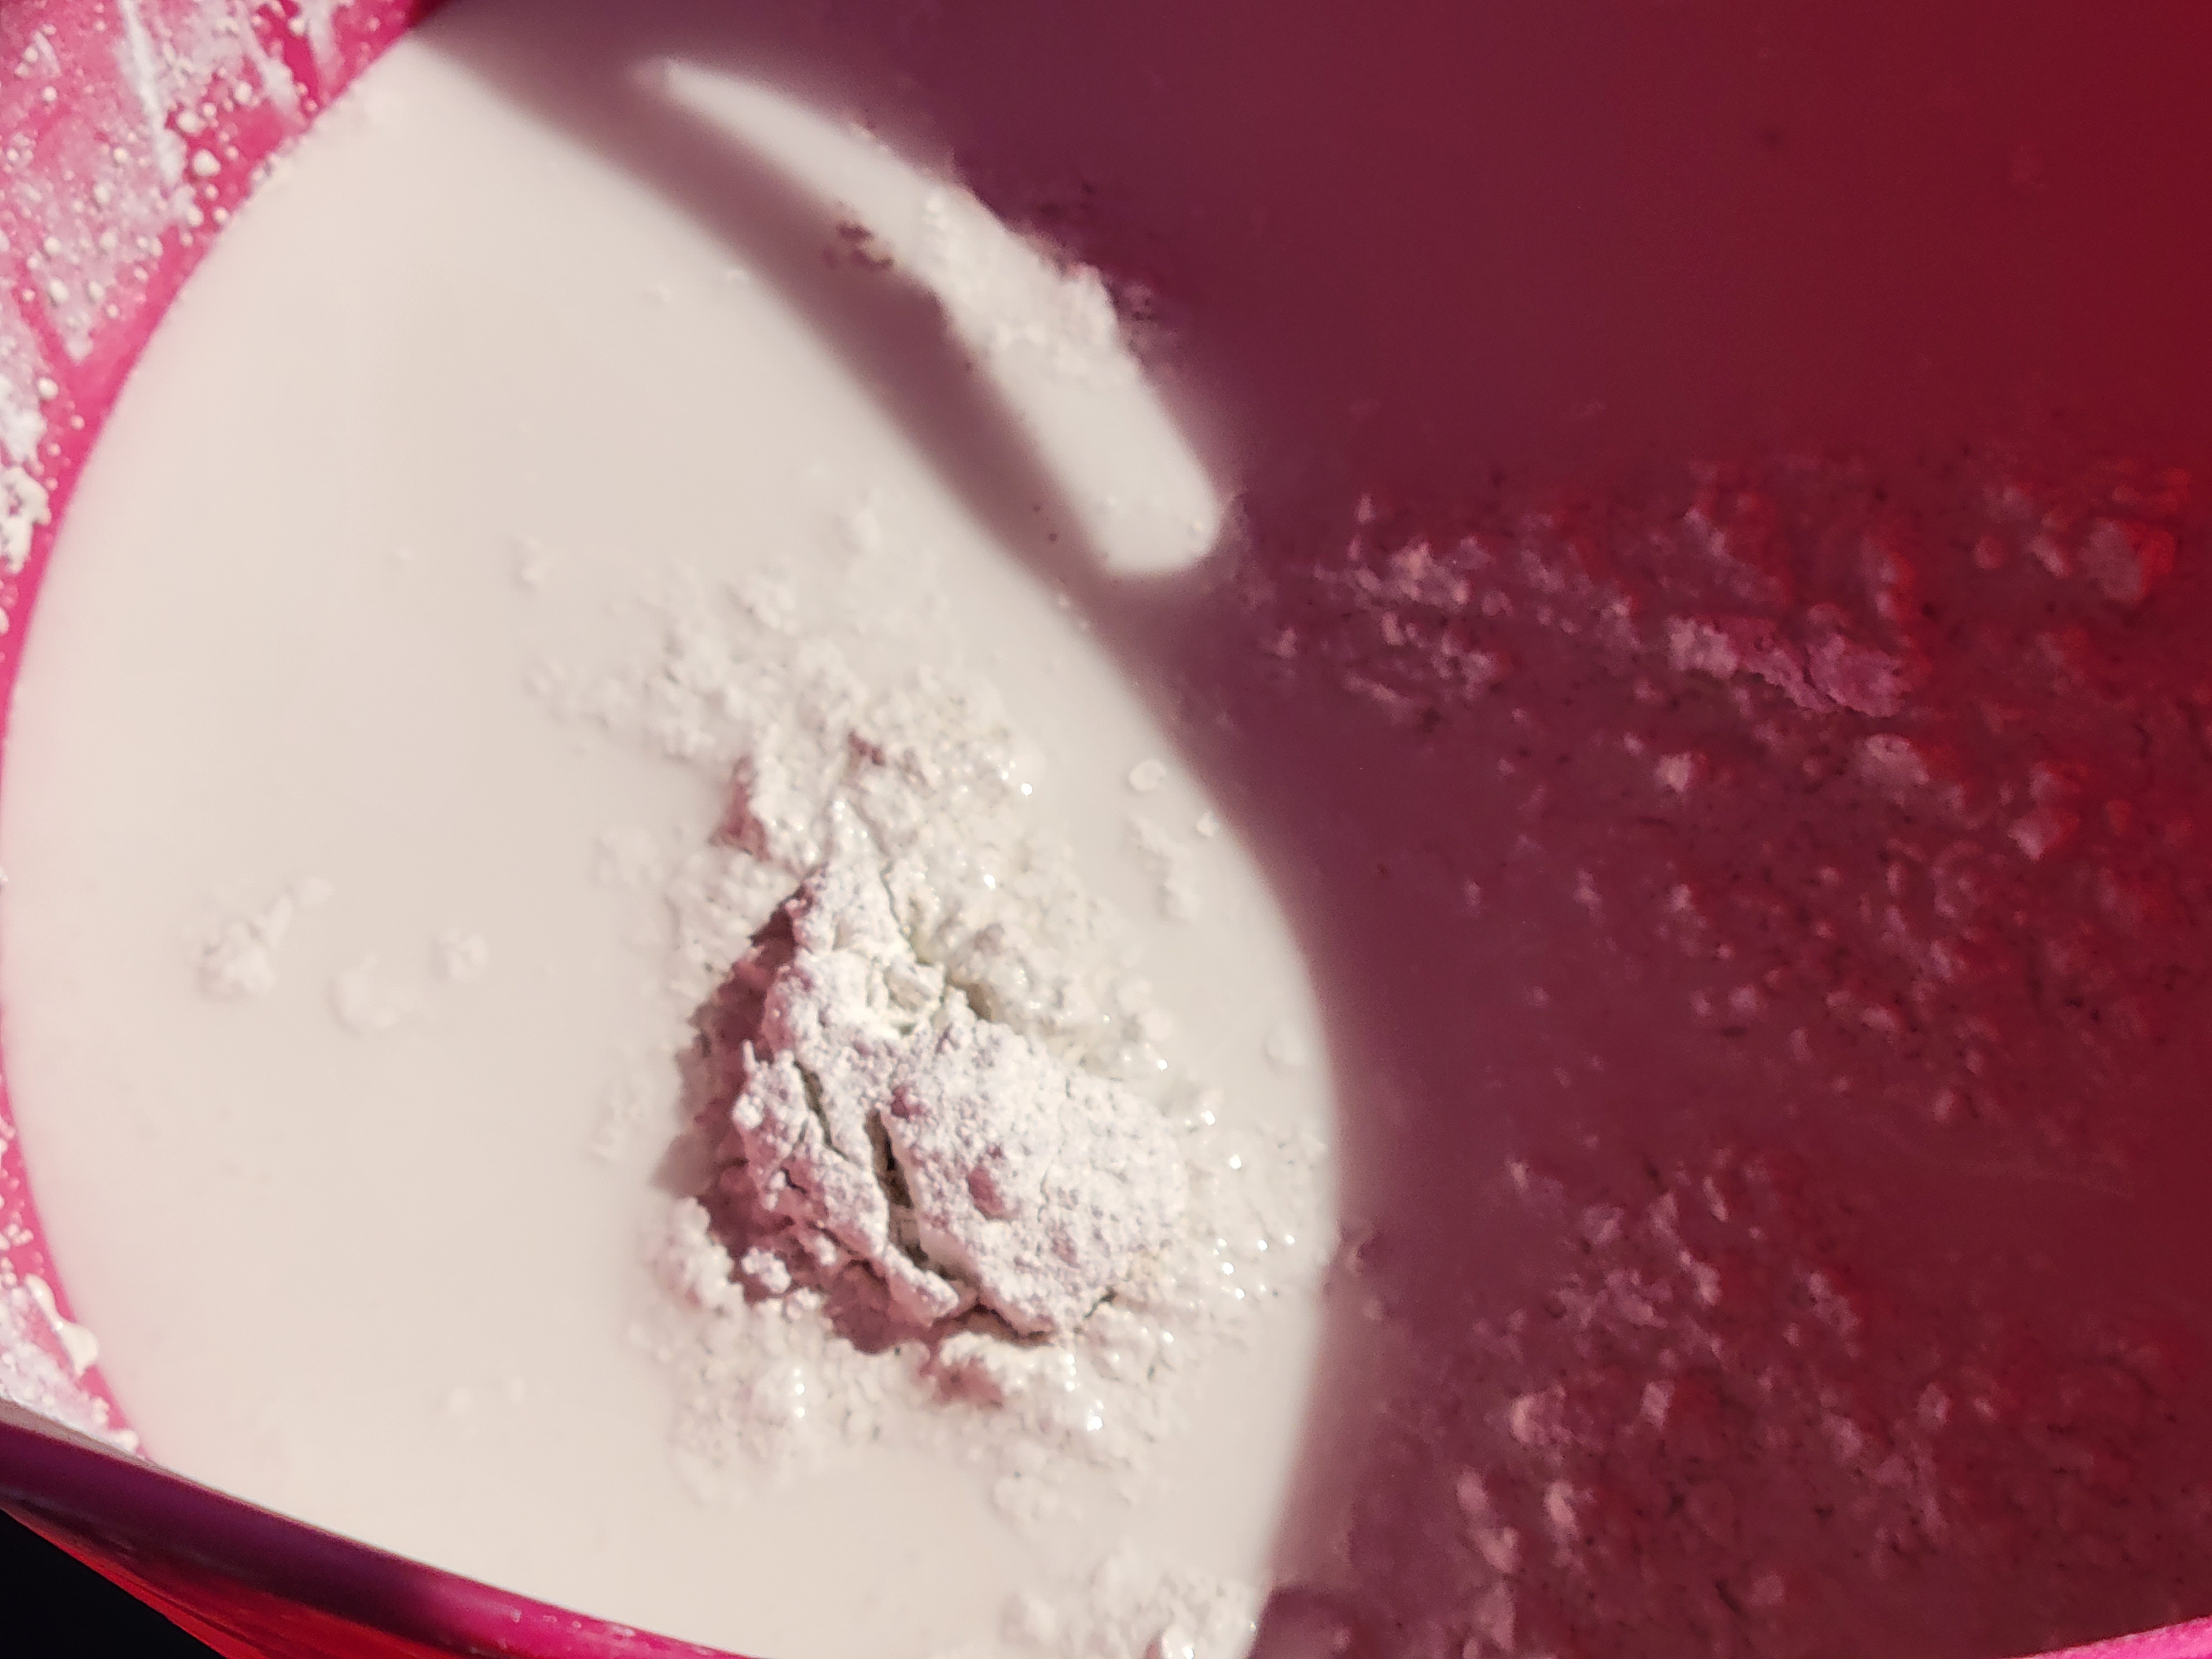
Mixing plaster into water uses an odd process called "slaking". You pour the water into the bucket, and then scoop in the plaster, shaking it to distribute it. If you've done this correctly, it should just start to mound up and break the water level as you run out of plaster. Leave it to sit for 2 minutes or so, and then mix it. I use a drill with a glaze-mixing blade to mix my plaster, but you can also use a large whisk and spatula if you want to put some muscle into it. Mix for roughly 1 minute, making sure to hit the "corners" of the bucket, and not to break the water surface a lot with your blade or whisk because you do not want to incorporate a lot of air. Once mixed, let it sit for 2-3 minutes; the plaster should thicken to the consistency of buttermilk, at which point you want to pour immediately.
A note about timings: the amount of time that plaster takes to set is very dependent on the temperature, both air and water. The timings I'm giving here assume that it's 75-80F while you work, and that you're using cold tap water. If it's 95F and your water is warm, you will need to move faster. Likewise, the plaster will take much longer to set in the middle of winter.
Pour the plaster into the mold. For the P&S mold, you want it to come up to about 2mm below the edge of the mold basin. Then slide in the insert; if it's the right amount full, a little plaster should bubble out of the holes you've left open, but not a lot. Tap the top part of the mold for a minute or so, to encourage any air bubbles to migrate out.
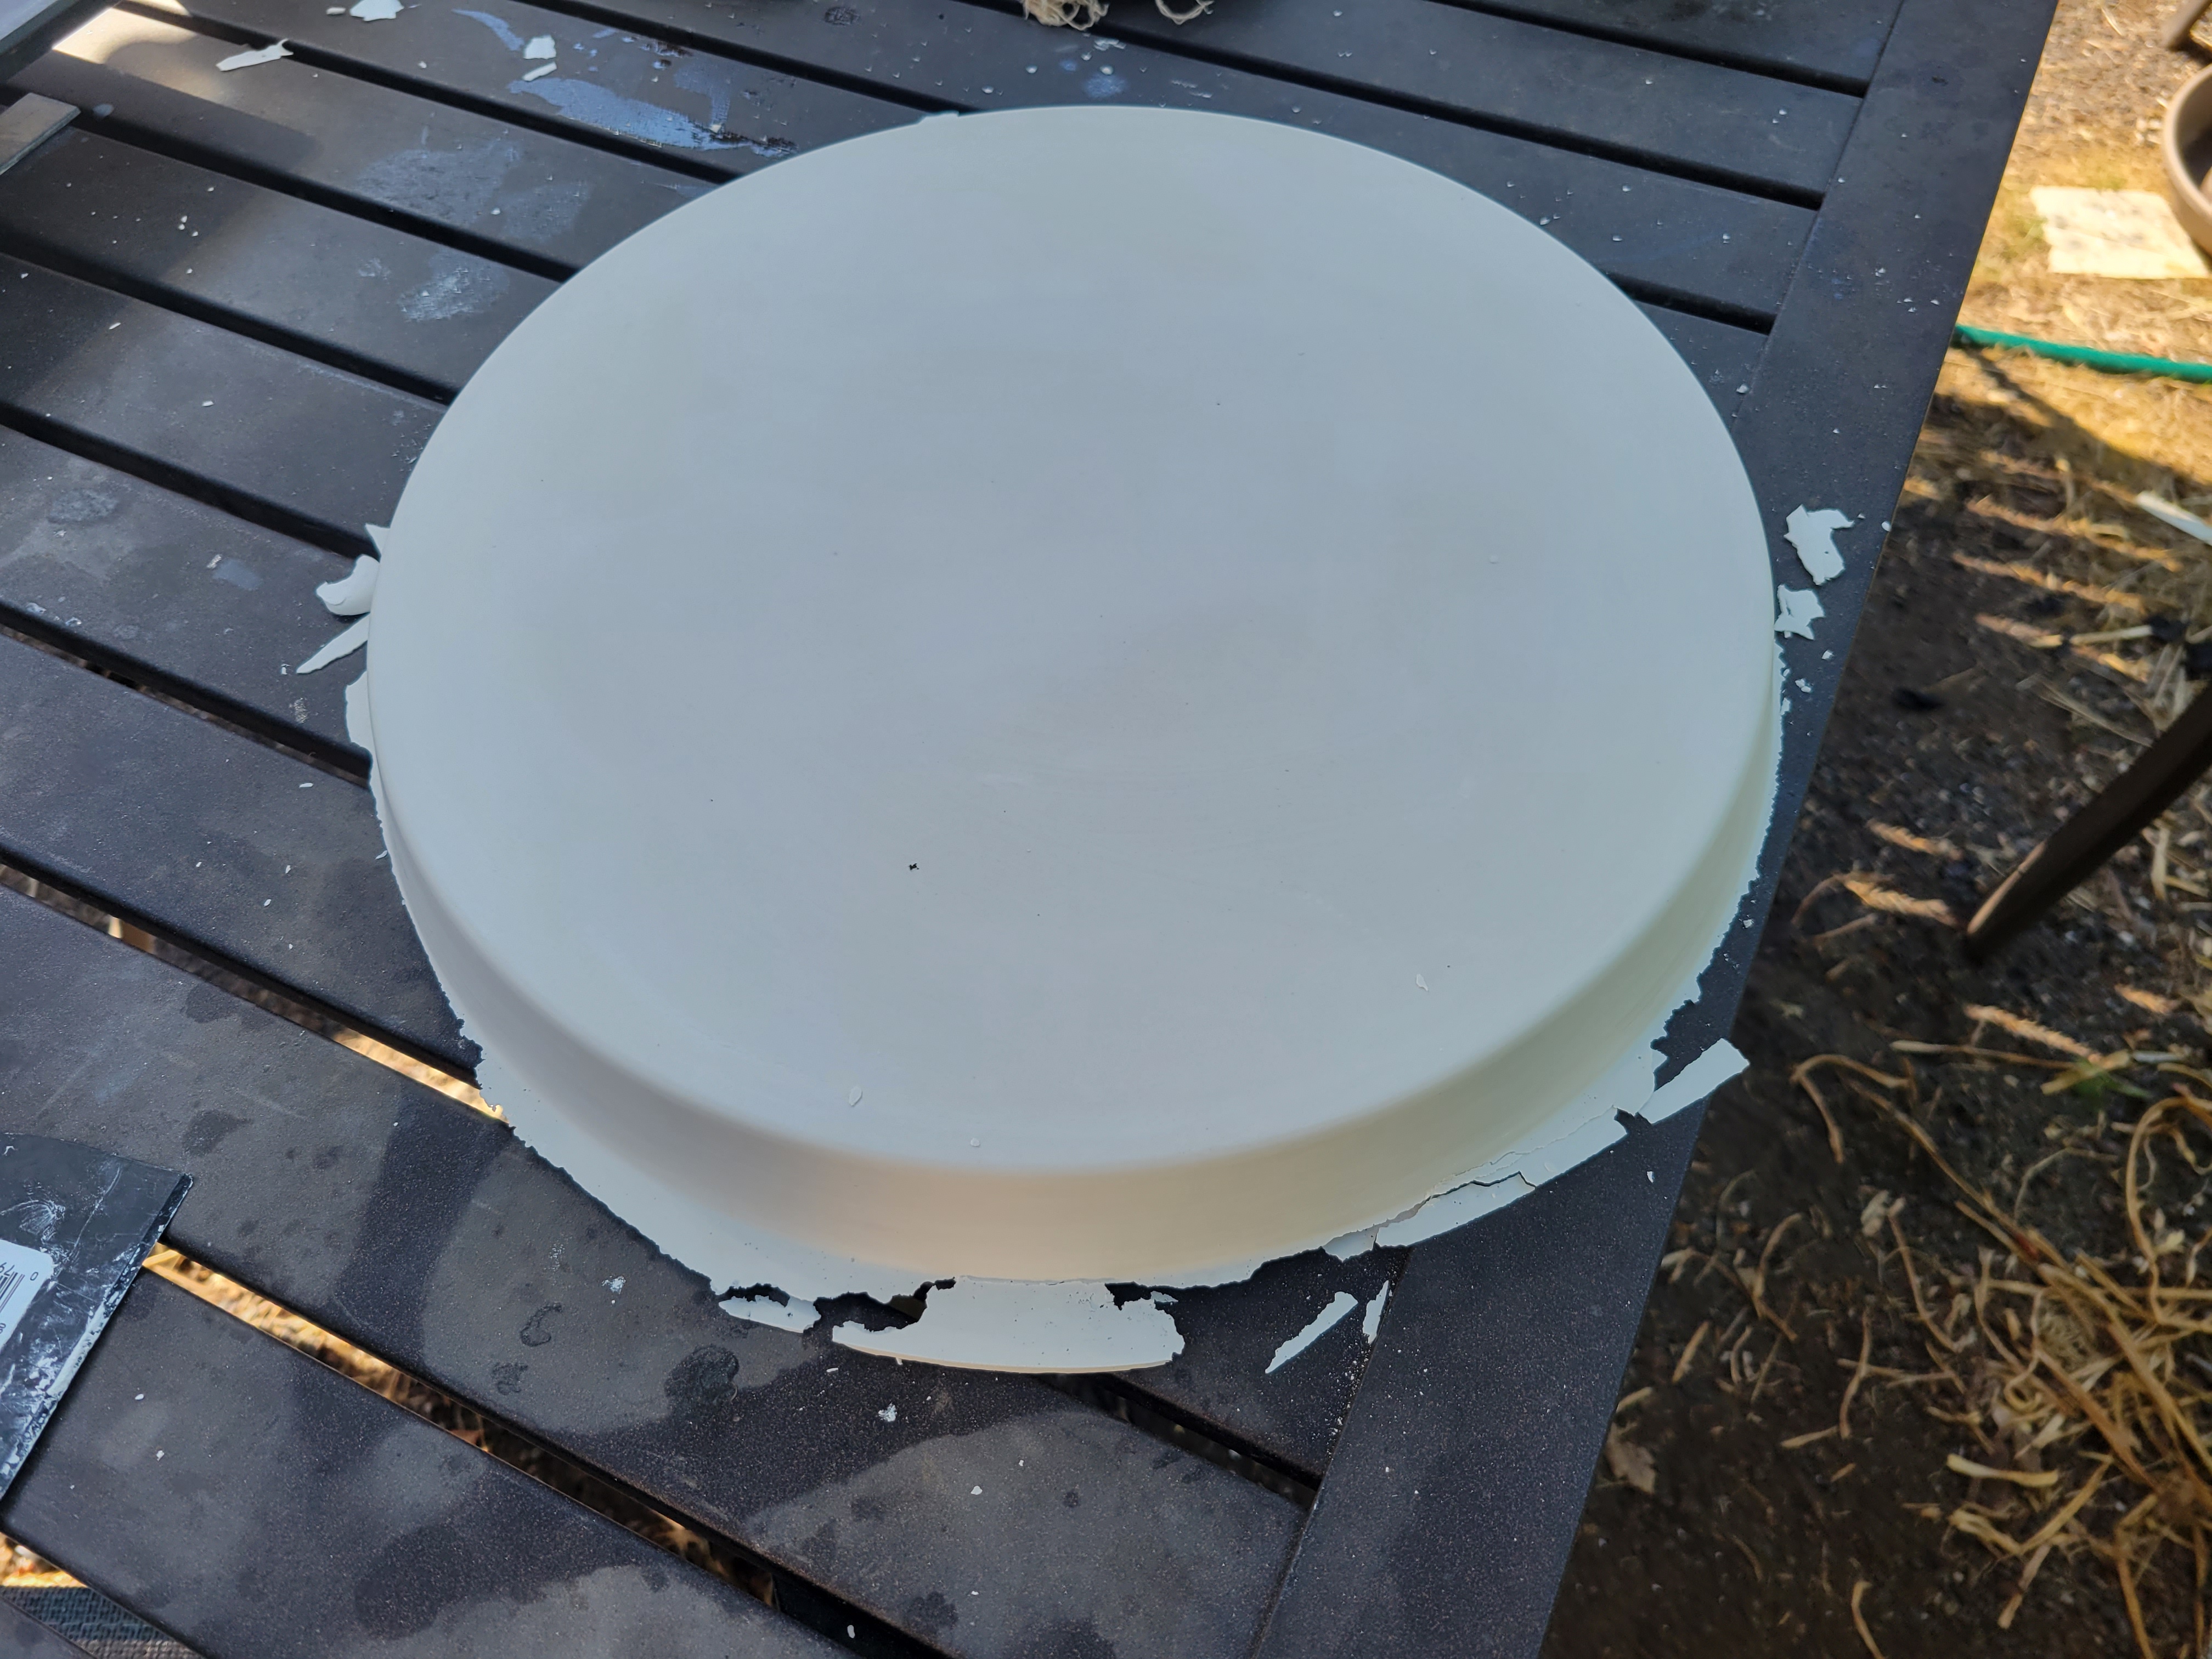
Let it set for 25-40 minutes, depending on ambient temperature. Pry the top part of the mold off using the plastic paint scraper. Flex the mold around the plaster, and then flip it upside down to harden/cool. It will need at least 24 hours of rest time before it's ready, but days is better, to make sure it's as dry as possible. Note that the plaster hardening reaction produces a lot of heat, so be careful where you put it to cool, you could damage the surface under it.
Once the bat is dry, clean up any mess on the underside using a palette knife or similar tool. Try to make sure the underside is smooth and flat.
If using the P&S, mount the bat "key" on your wheelhead by removing and reinstalling your bat pins. It has some wiggle room, so carefully adjust it to make sure that the key is exactly centered on the wheelhead. Fit the bat to the key, securing it on top of your wheel. Now you can clean up your bat and add the foot groove (if you are).
First, take a large loop trimming tool or palette knife, and turn the wheel on to medium speed. Use the tool to trim and round off the edges of the bat.
If you're adding a foot groove, you'll want to carefully measure the correct diameter, centered, on the bat head using a t-square or other measuring device. Spin the wheel slowly to draw a circle at exactly the right diameter. Then remove the t-square and grab a sturdy round loop trimming tool (don't use your good trimming tools for this, but they do need to be at least somewhat sharp). Speed up the wheel slightly and use the trimming tool to slowly carve a semi-circular groove in the bat. You'll want this to be between 6mm/0.25" deep and 9mm/0.33" deep to make a good foot. It can't be a lot deeper with this throwing method, and you don't want it much shallower. Once you have a good, semi-circular groove, get a flat trimming tool and round and smooth the edges of the groove so that there are no sharp corners. Carefully remove and clean off all the plaster dust.
Now you're ready to throw on your new plaster bat with instant foot!
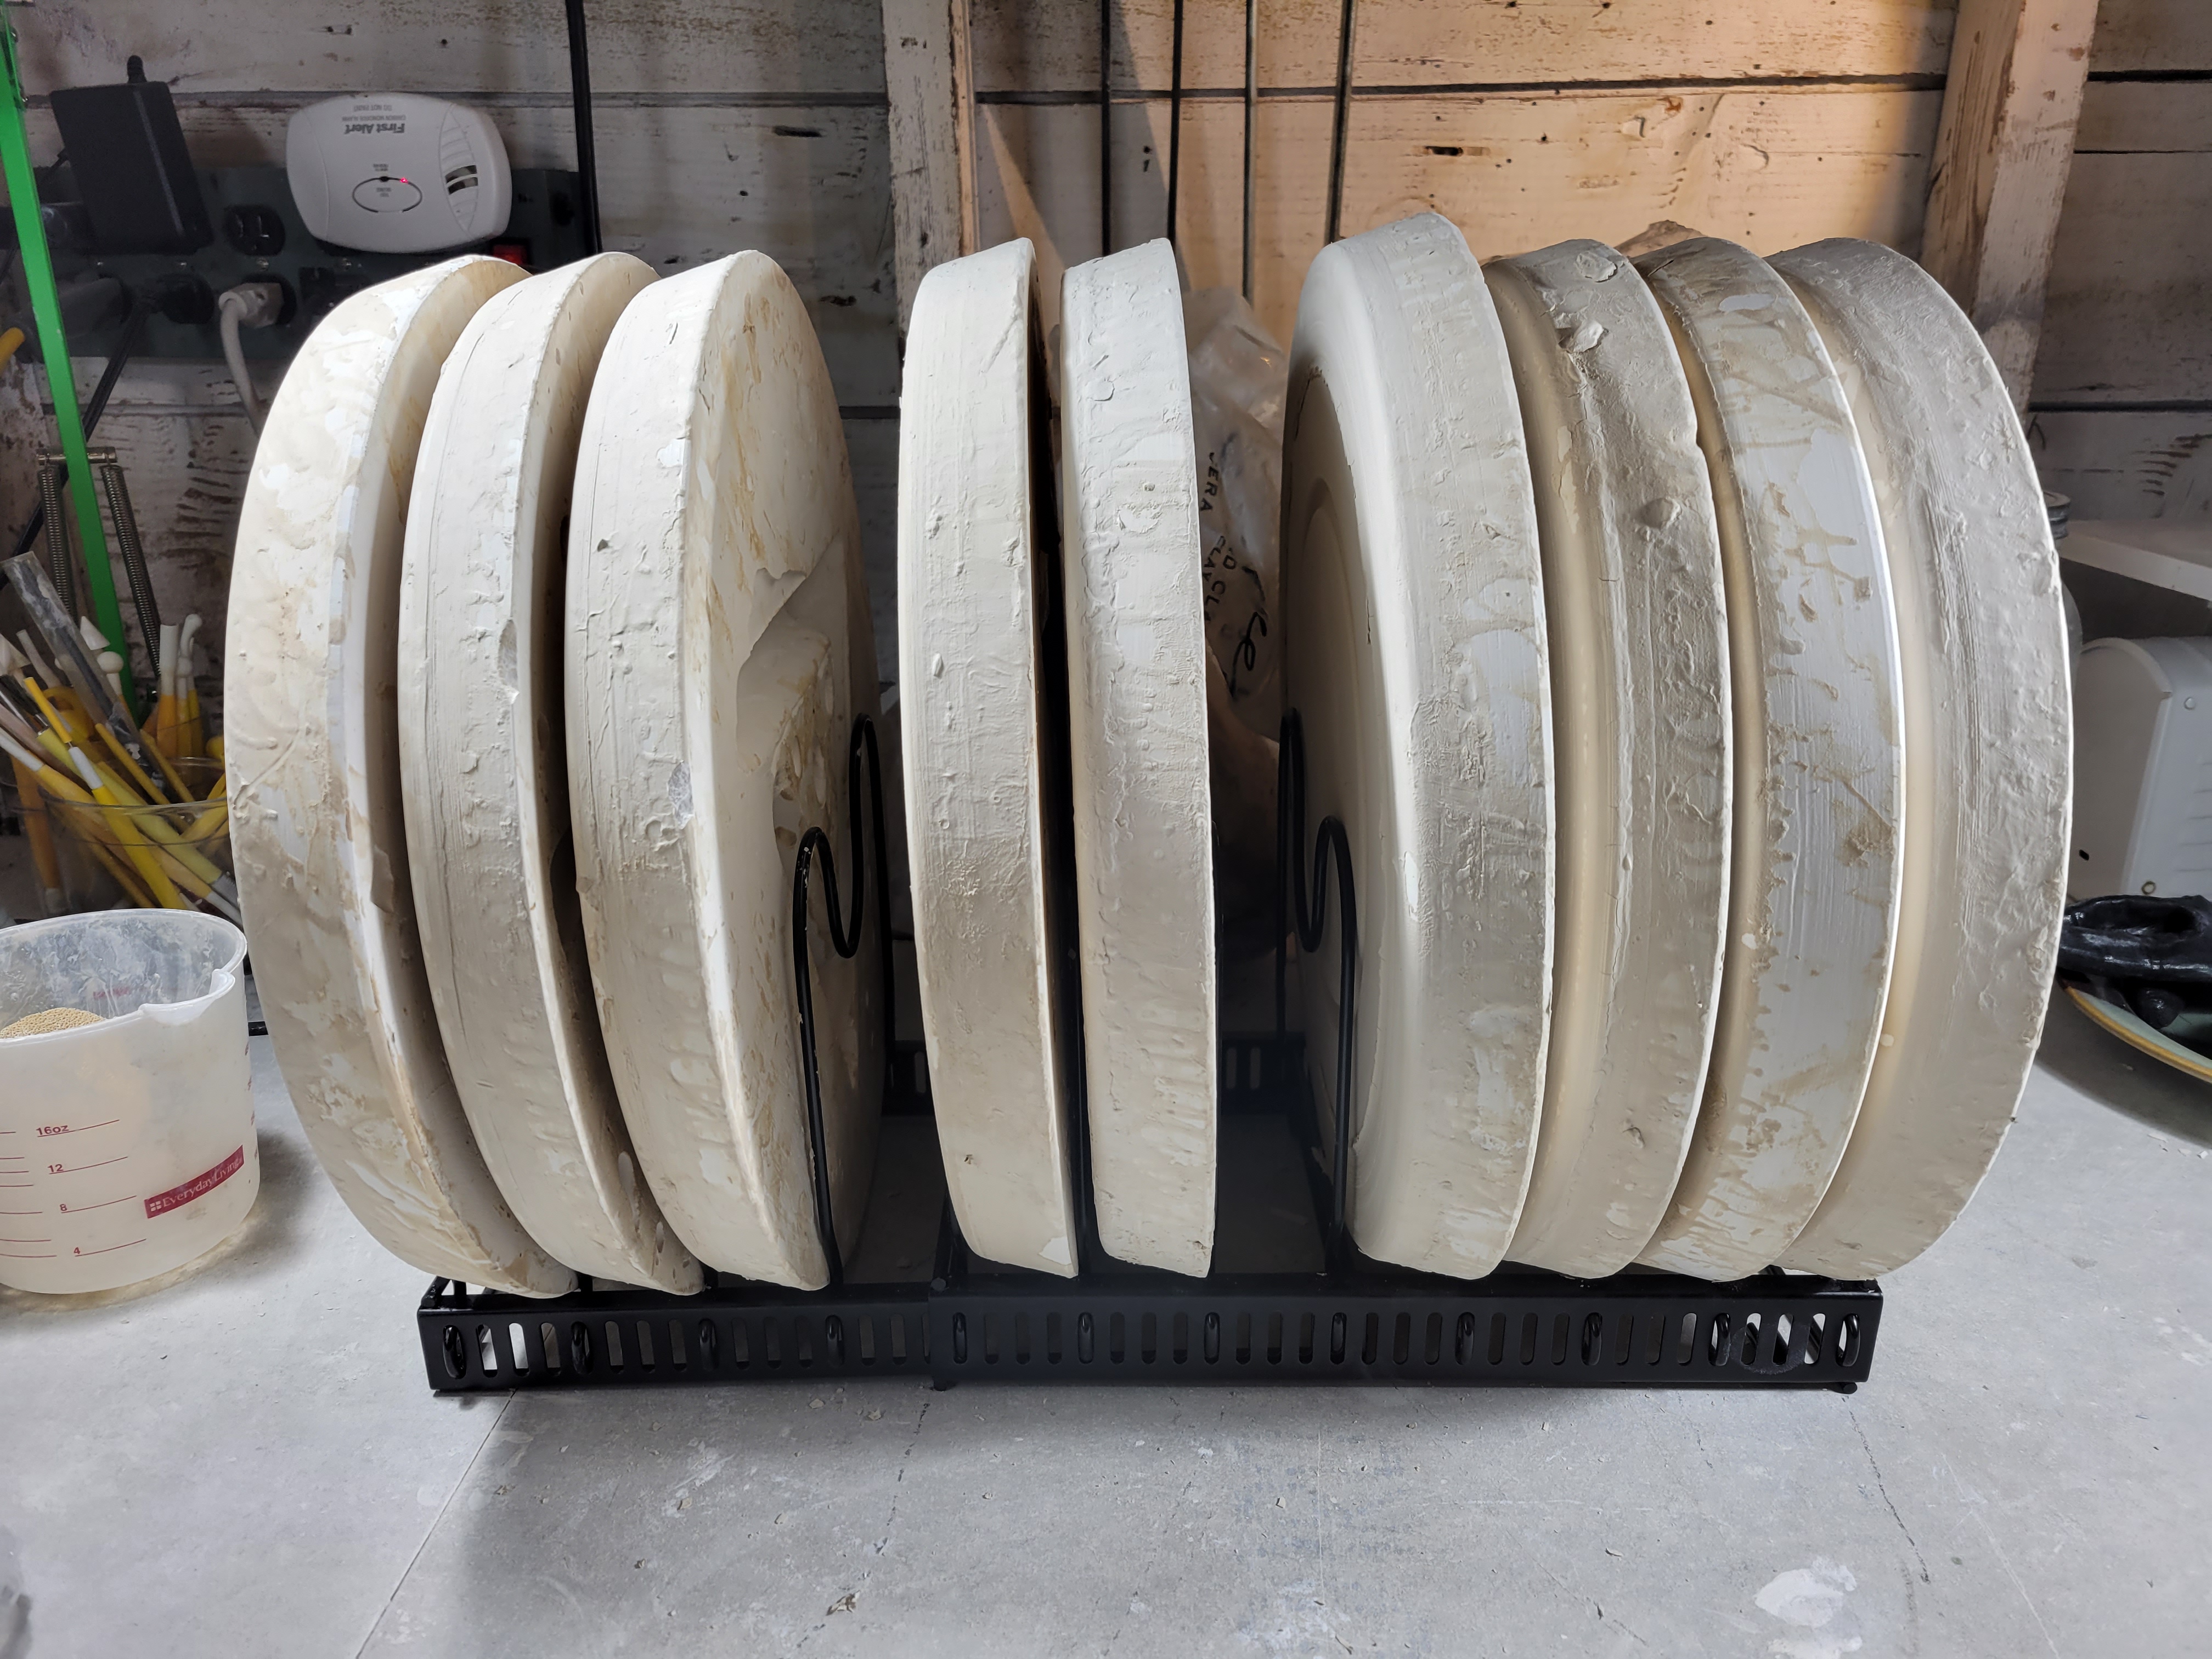
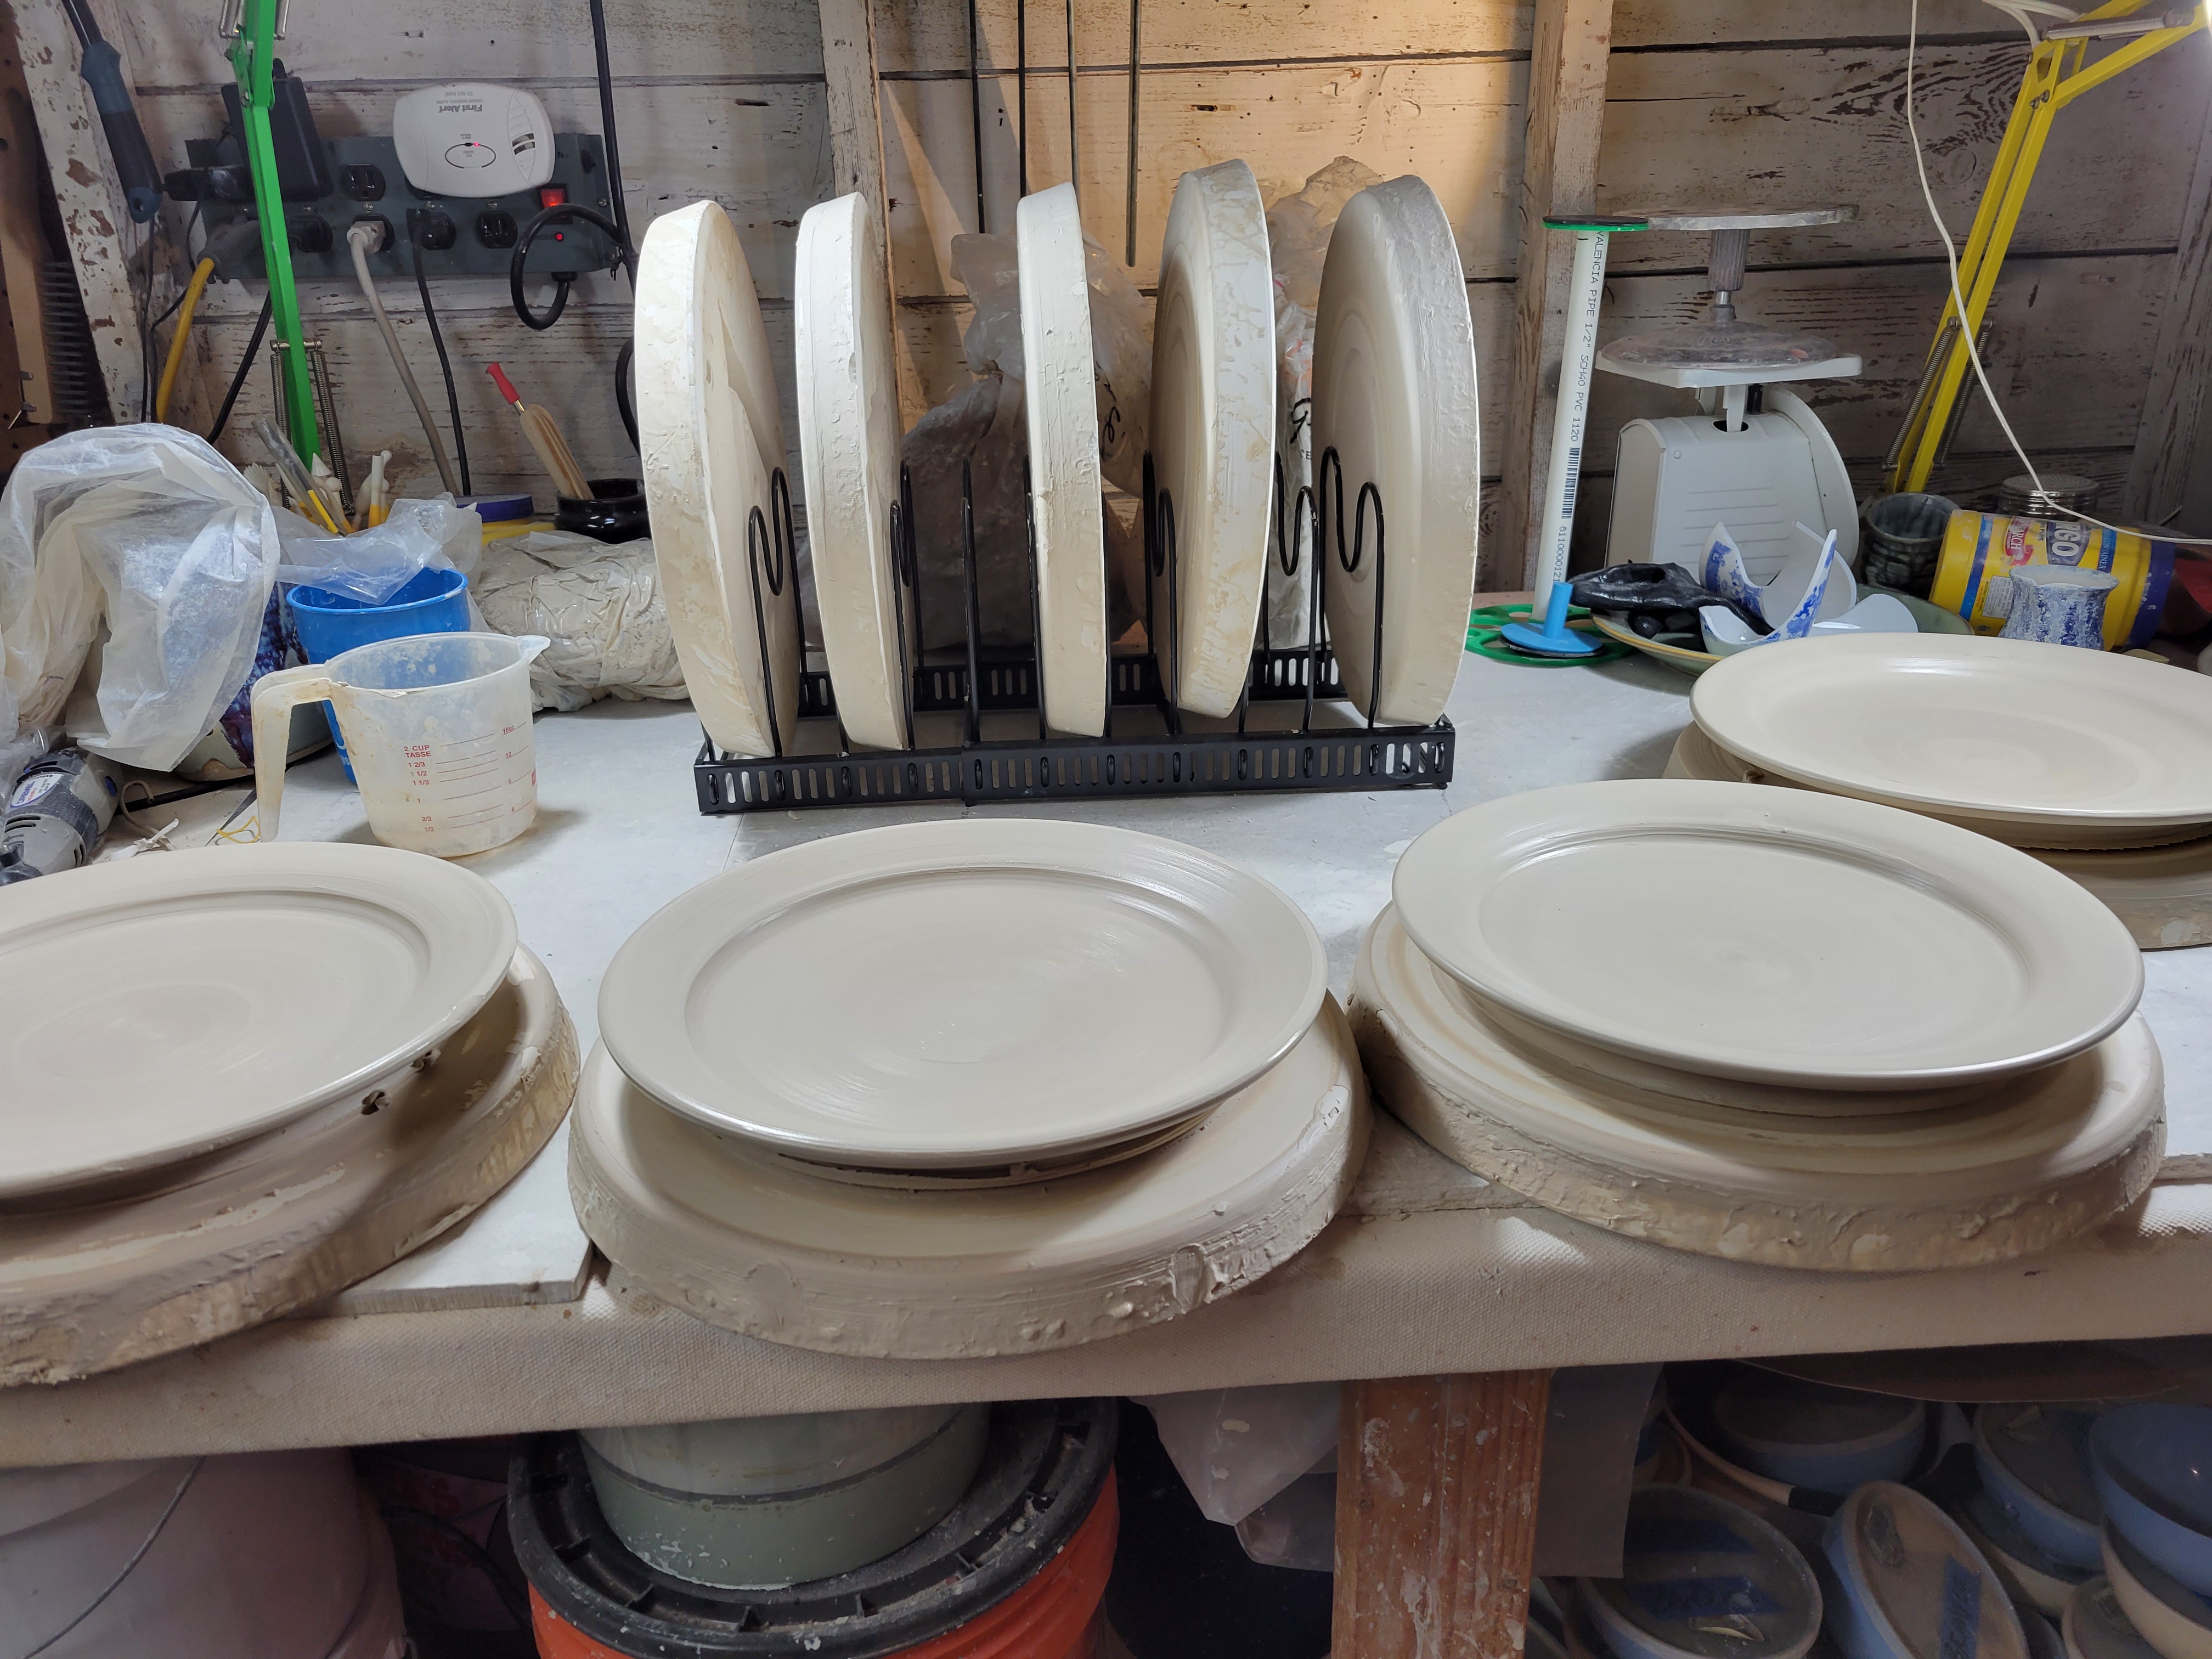
Note about the rack for my plaster bats, pictured below. Those bats weigh almost 10lbs each, so you'll need a sturdy rack to hold them. I found an adjustible pan drying rack online that worked for me.