new tech for clay sprig decoration

Since custom "logoware" is a significant part of my pottery business, I'm quite used to making custom "sprigs" so that I can stick people's logos, names, or other designs on thrown pottery. For a long time I've done this one of two ways: either I order a custom rubber stamp online and press it into a slab, or I sculpt a design out of clay and then cast it in plaster.
But now I have a new method, using 3D printing and silicone. Keep reading and I'll detail how you can use it too.
Why would I want to do something new? Well, both older methods have problems. The custom rubber stamps are expensive and slow to order, and never make a deep enough impression. Plaster is really annoying and time-intensive to cast with. And both methods involve some extra steps I'd rather not take: rolling slabs for the stamp, or prying the sprig out of the plaster before attaching (and possibly damaging it in the process).
So, let me show you the new method.
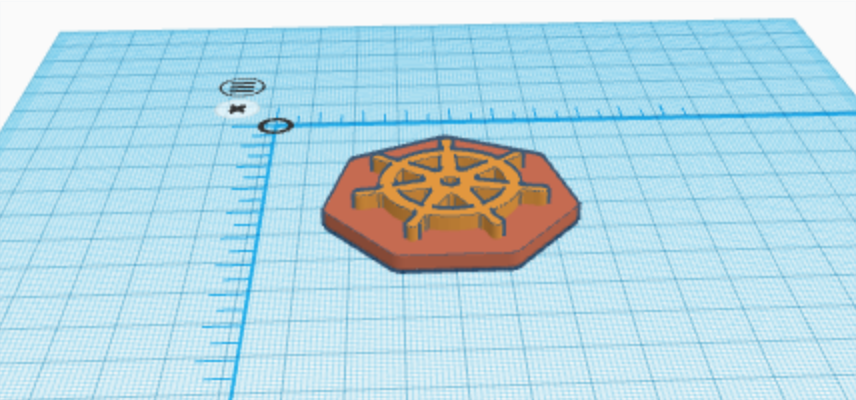
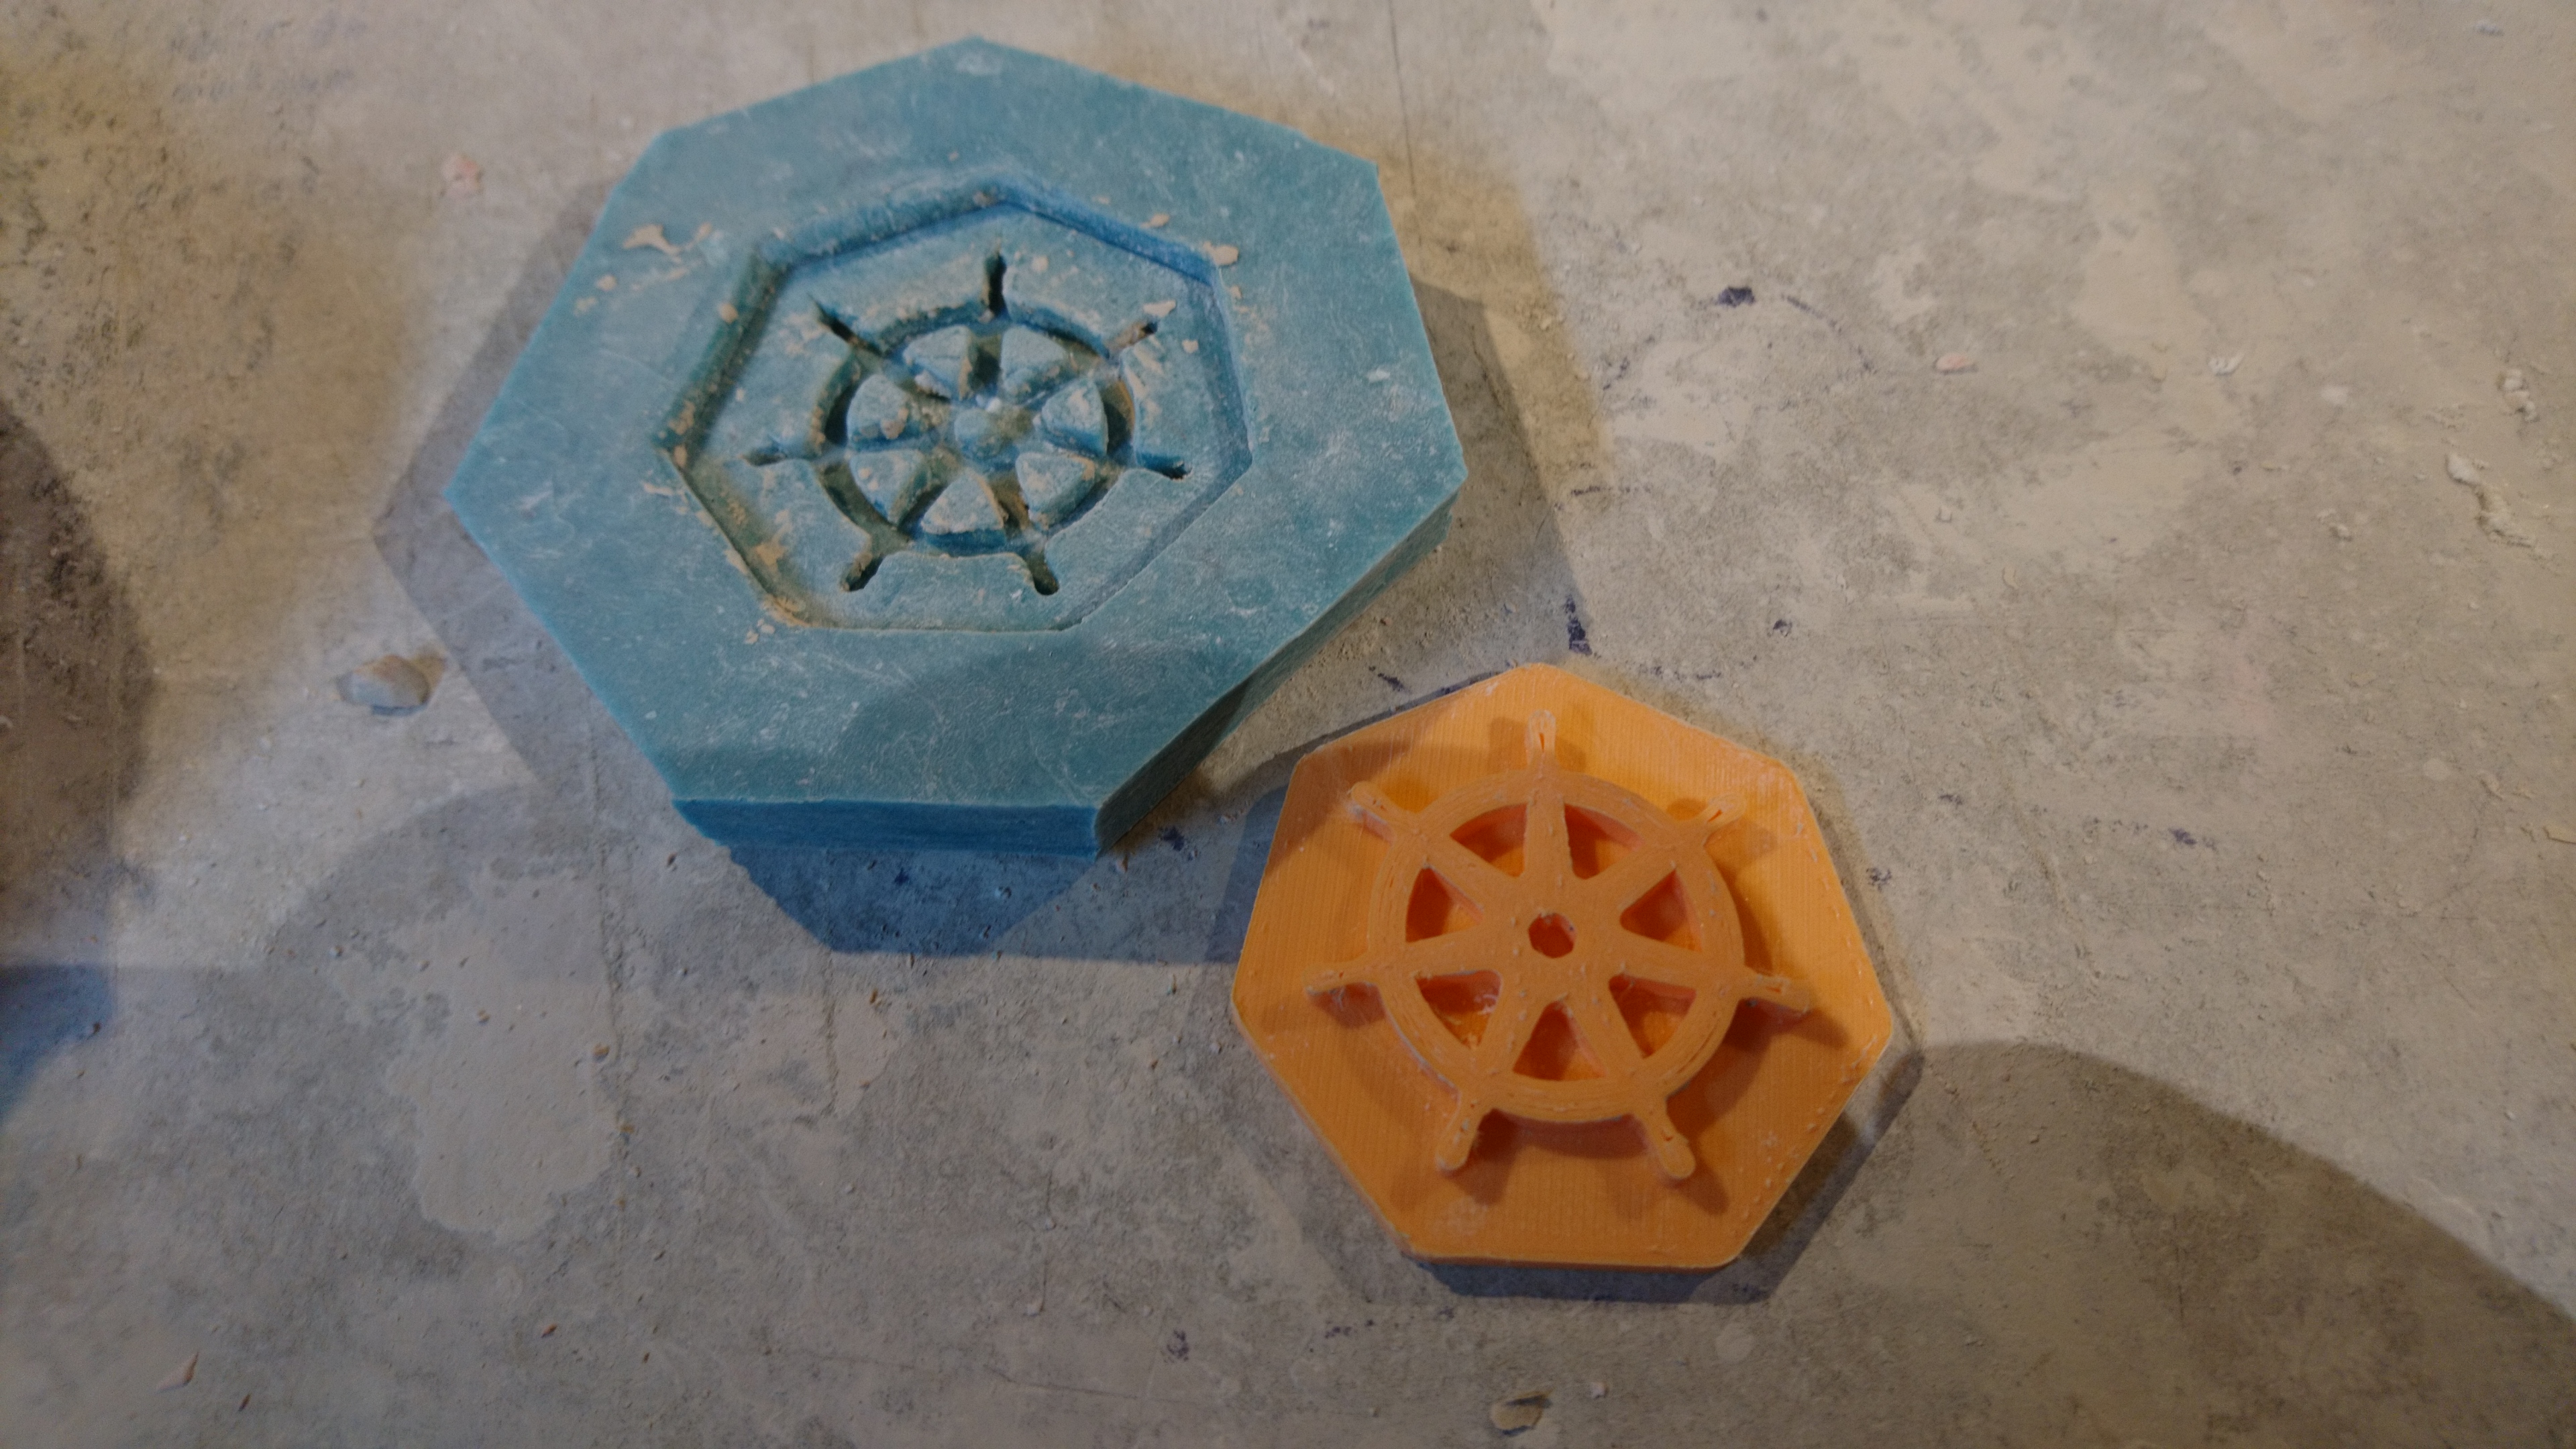
First, you want to design a 3D model on your computer that can be printed out. For folks just getting started, I recommend TinkerCAD, the free, simple 3D design program from AutoDesk. It's set up for this; for example, if you import a 2D logo or text into it, TinkerCAD automatically turns it into a 3D shape, ready for you to manipulate into a stamp.
Now, if you have your own 3D printer, you can then print this design yourself. If you don't, though -- and I don't recommend buying one unless you're ready for a new, time-consuming hobby -- you can get it printed via PrintAThing, a brokerage that contracts folks with 3D printers in your region to print and ship it to you cheaply and usually quickly.
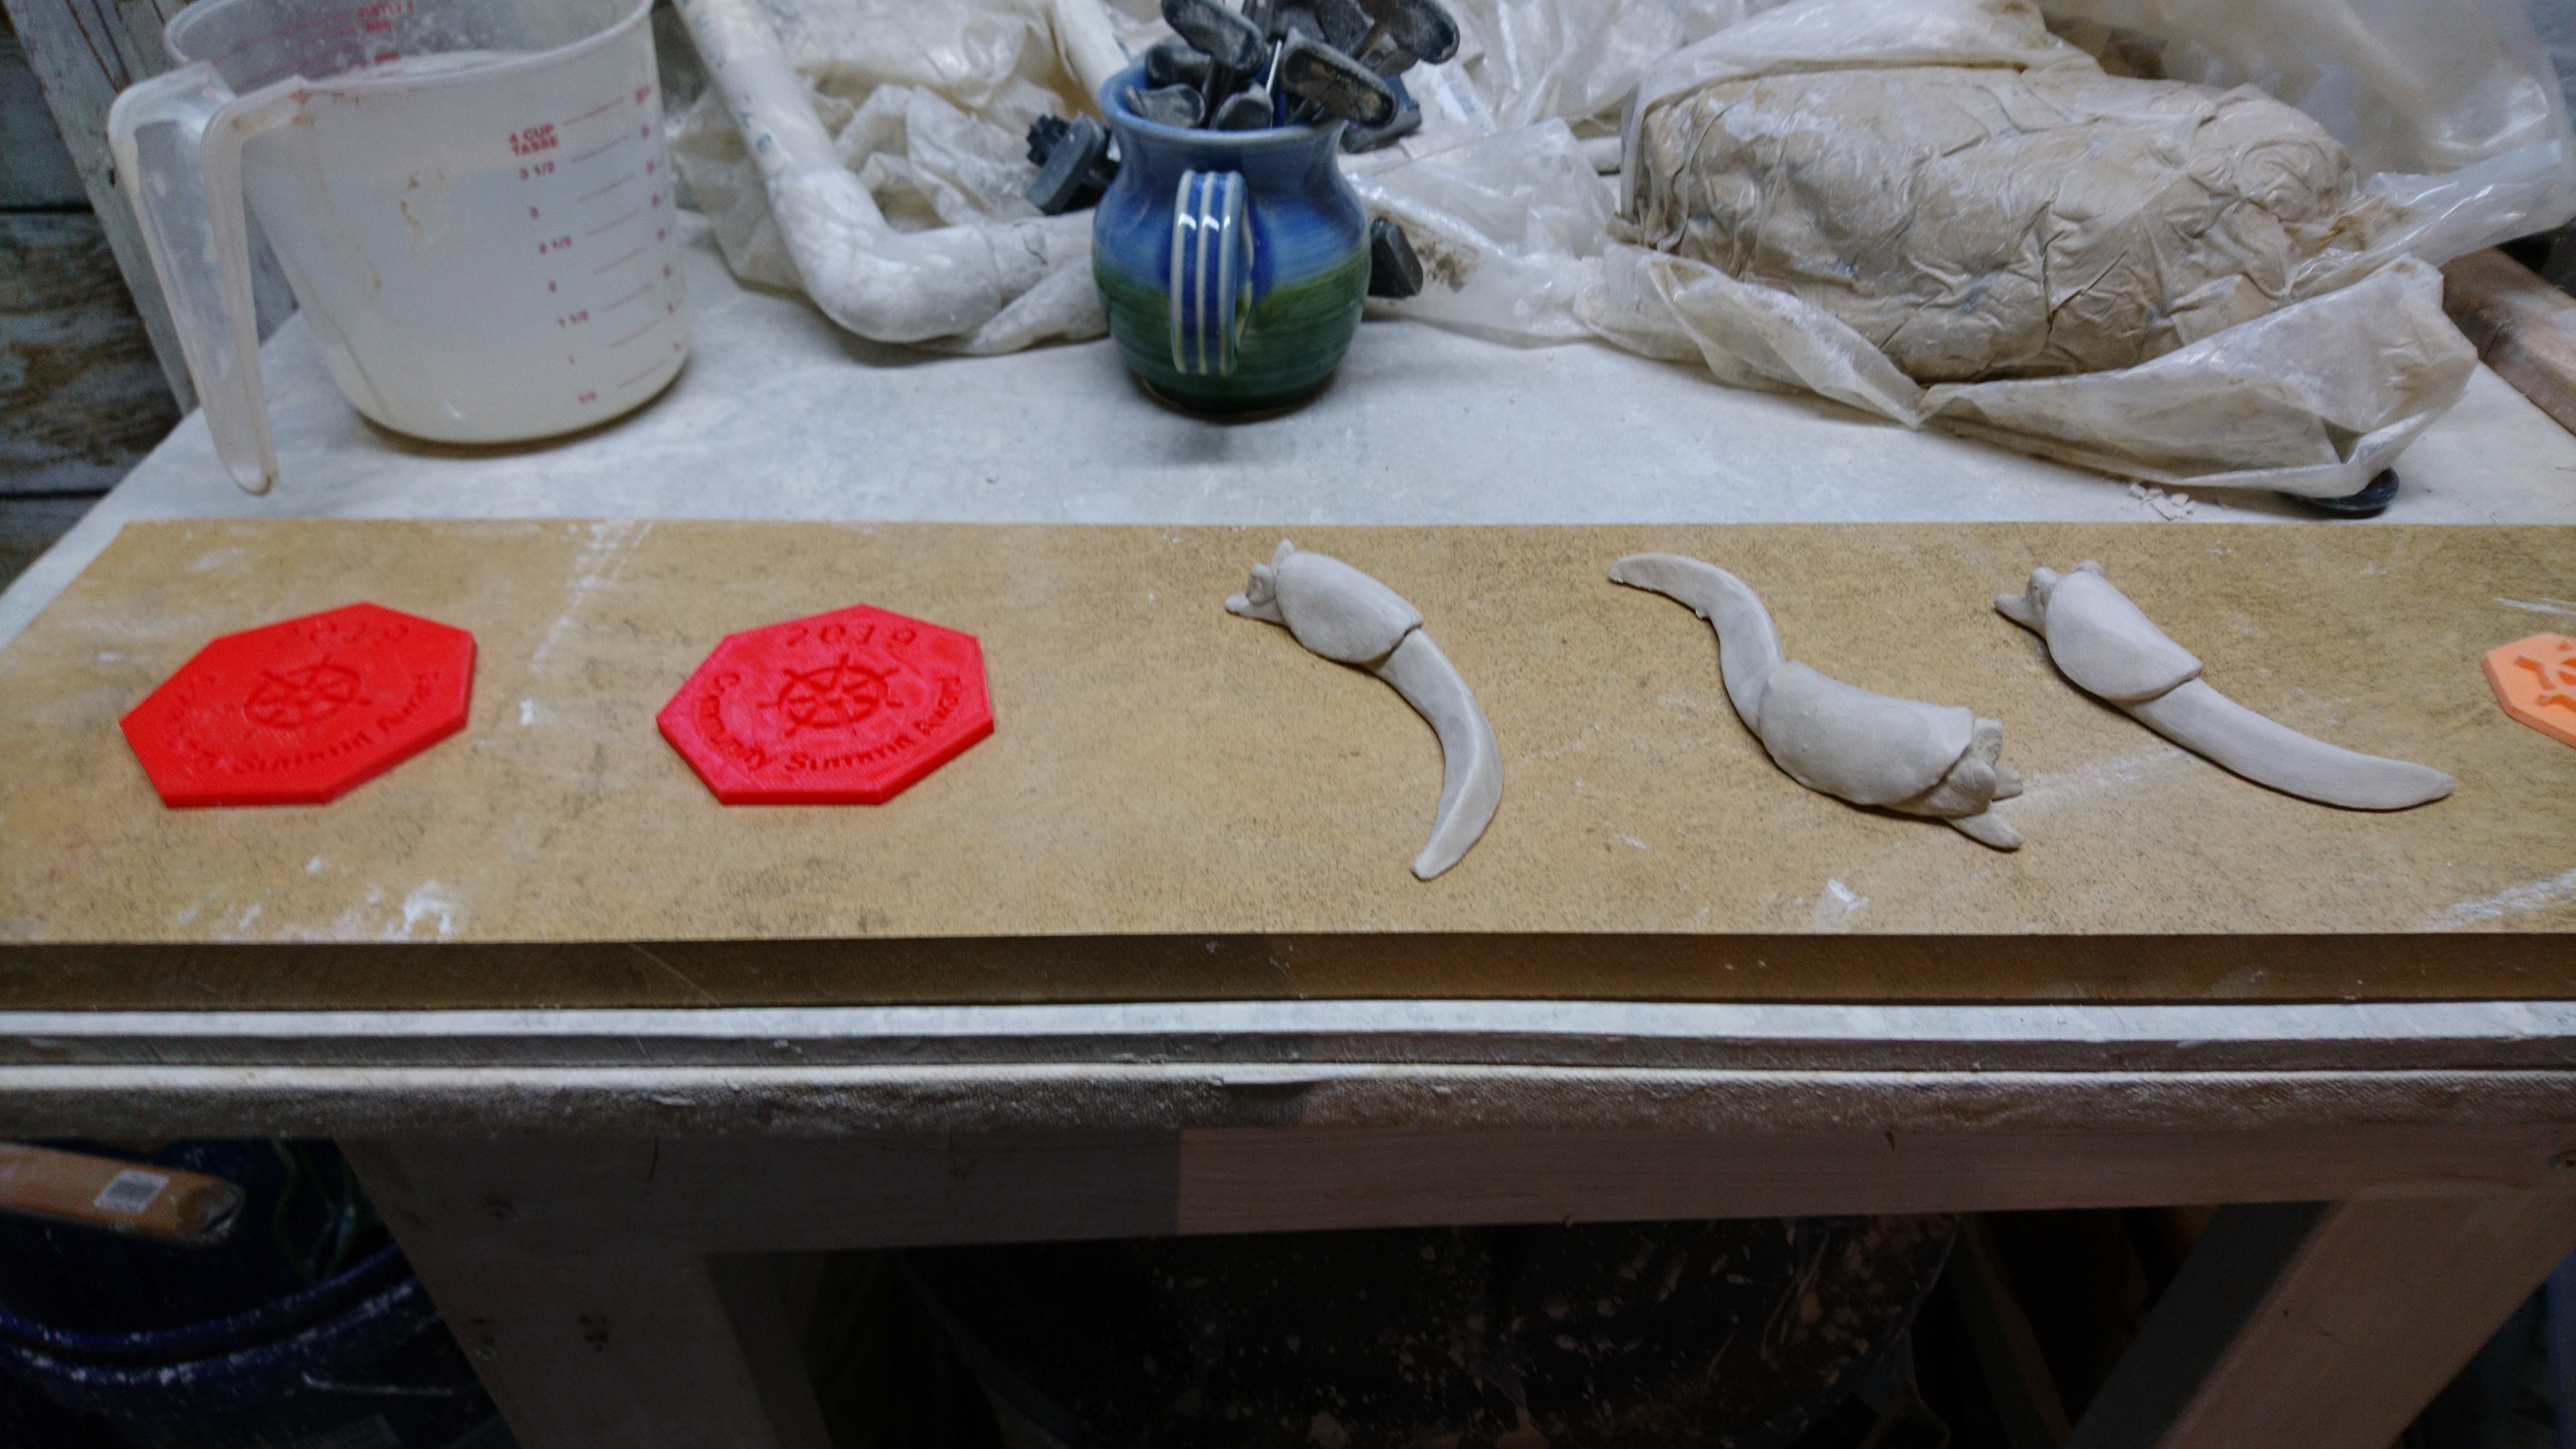
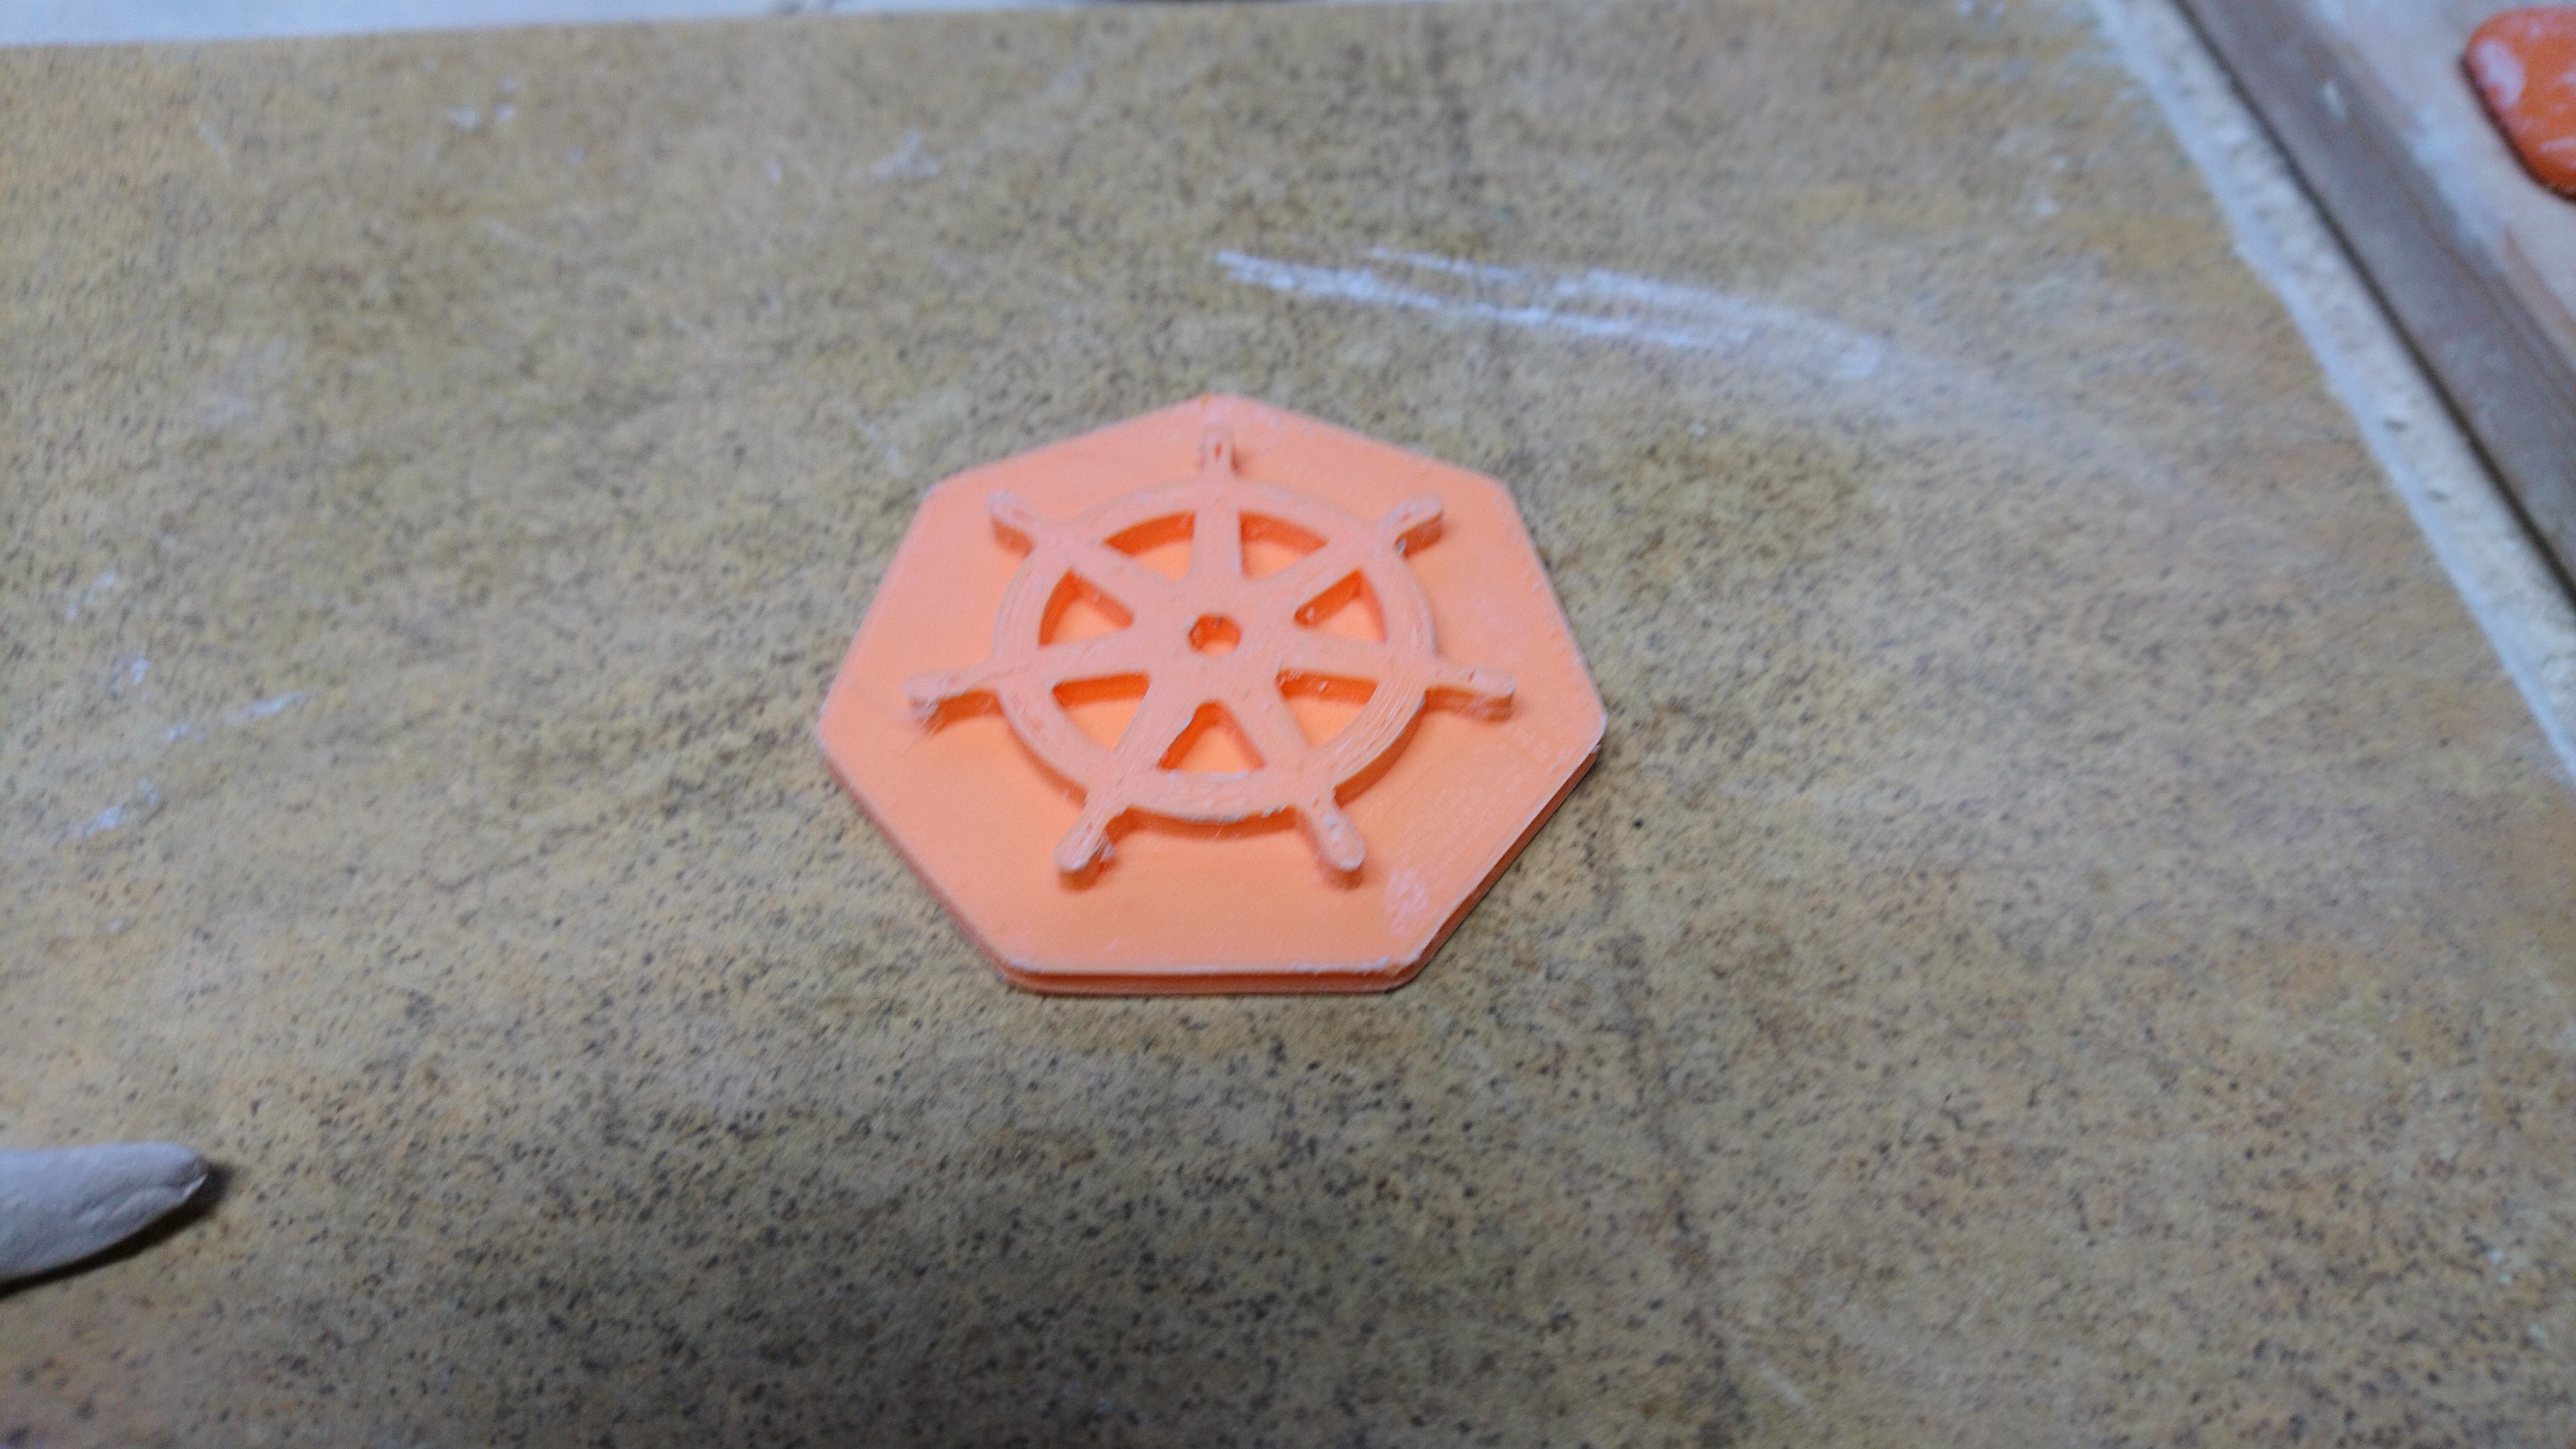
You can also mold things you sculpted yourself, of course. I do a little of both, 3D printing logos and text, and sculpting things like slugs. Place your objects to be molded on a smooth, flat surface, far enough apart that you can cast each one separately. Like plaster molds, you want to avoid having too many undercuts -- but unlike plaster, you can have some, which is another advantage here. The flexible silicone can be pulled off of small undercuts.
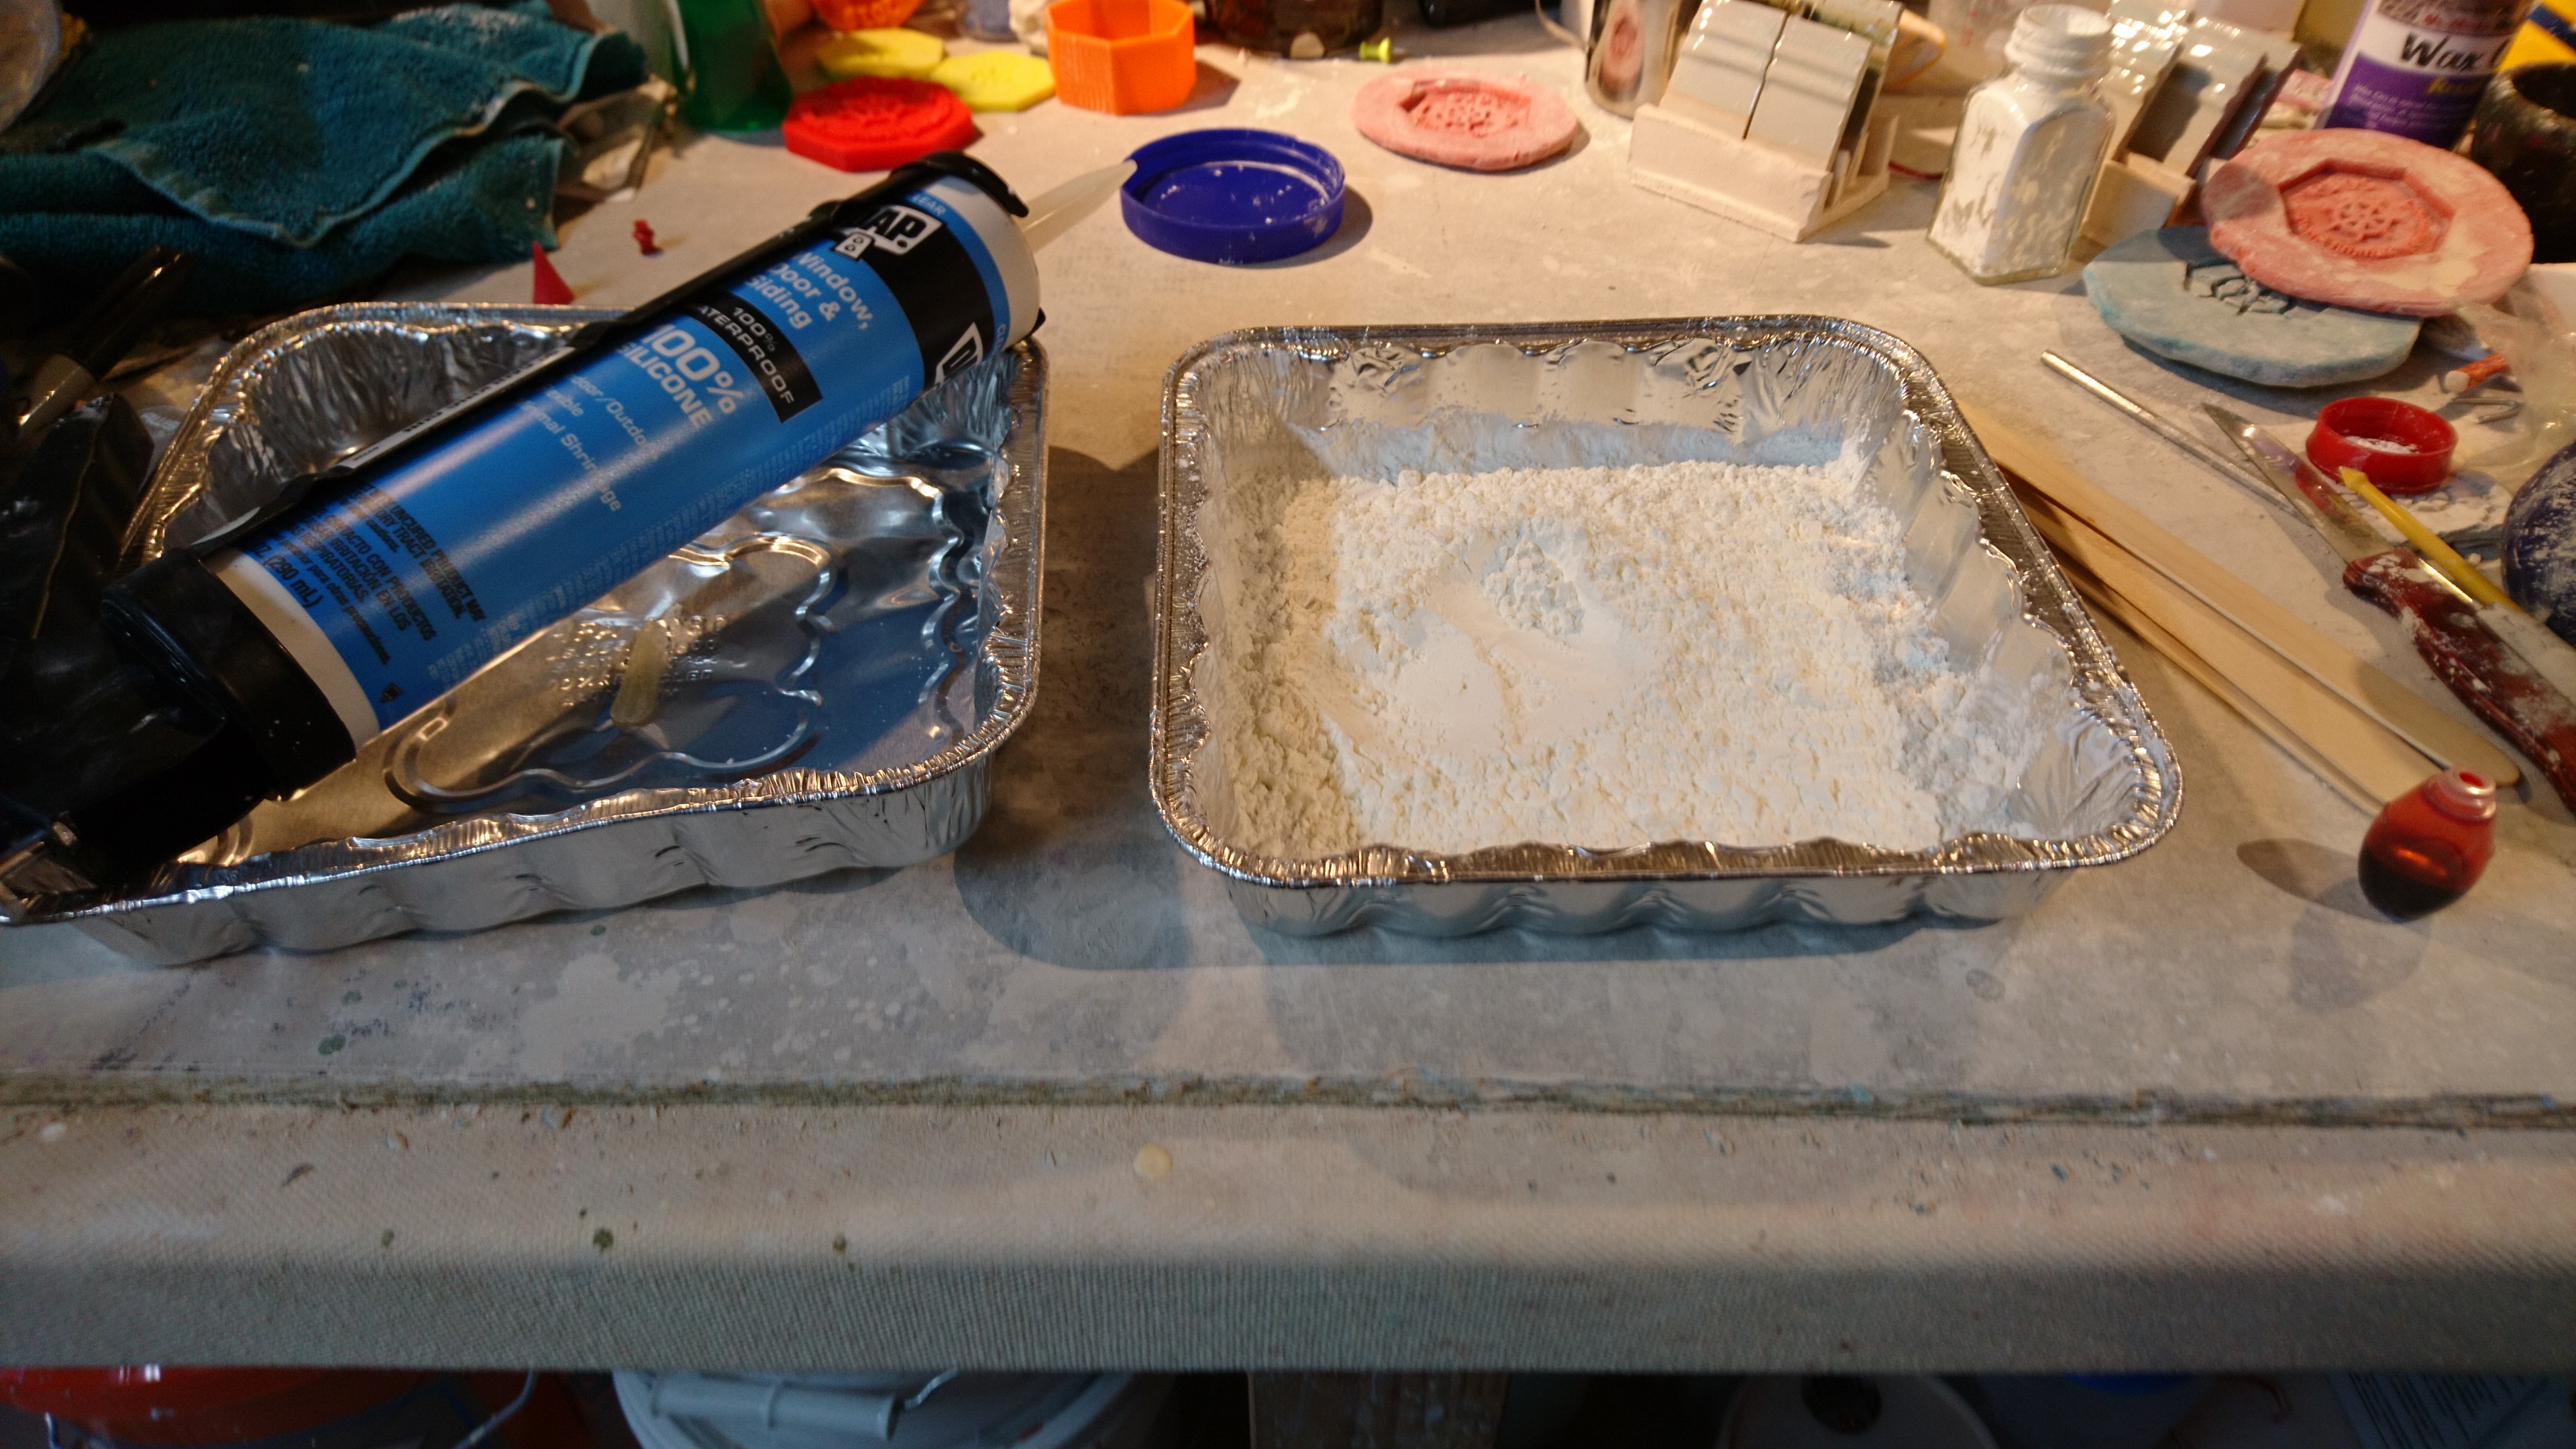
Now, on to make the silicone mold(s). This will require 100% silicone caulk (and a caulking gun), some liquid food coloring (not gel), a whole box of corn starch, some disposable containers, and rubber gloves (you need these). You're making proto-putty per the video. Watch that for the method, which is to mix a couple teaspoons of food coloring into the silicone, then mix the sticky gel with the cornstarch until you can handle it.
There's another method of making moldable silicone using dish soap, but I haven't tried it. Lemme know if you do.
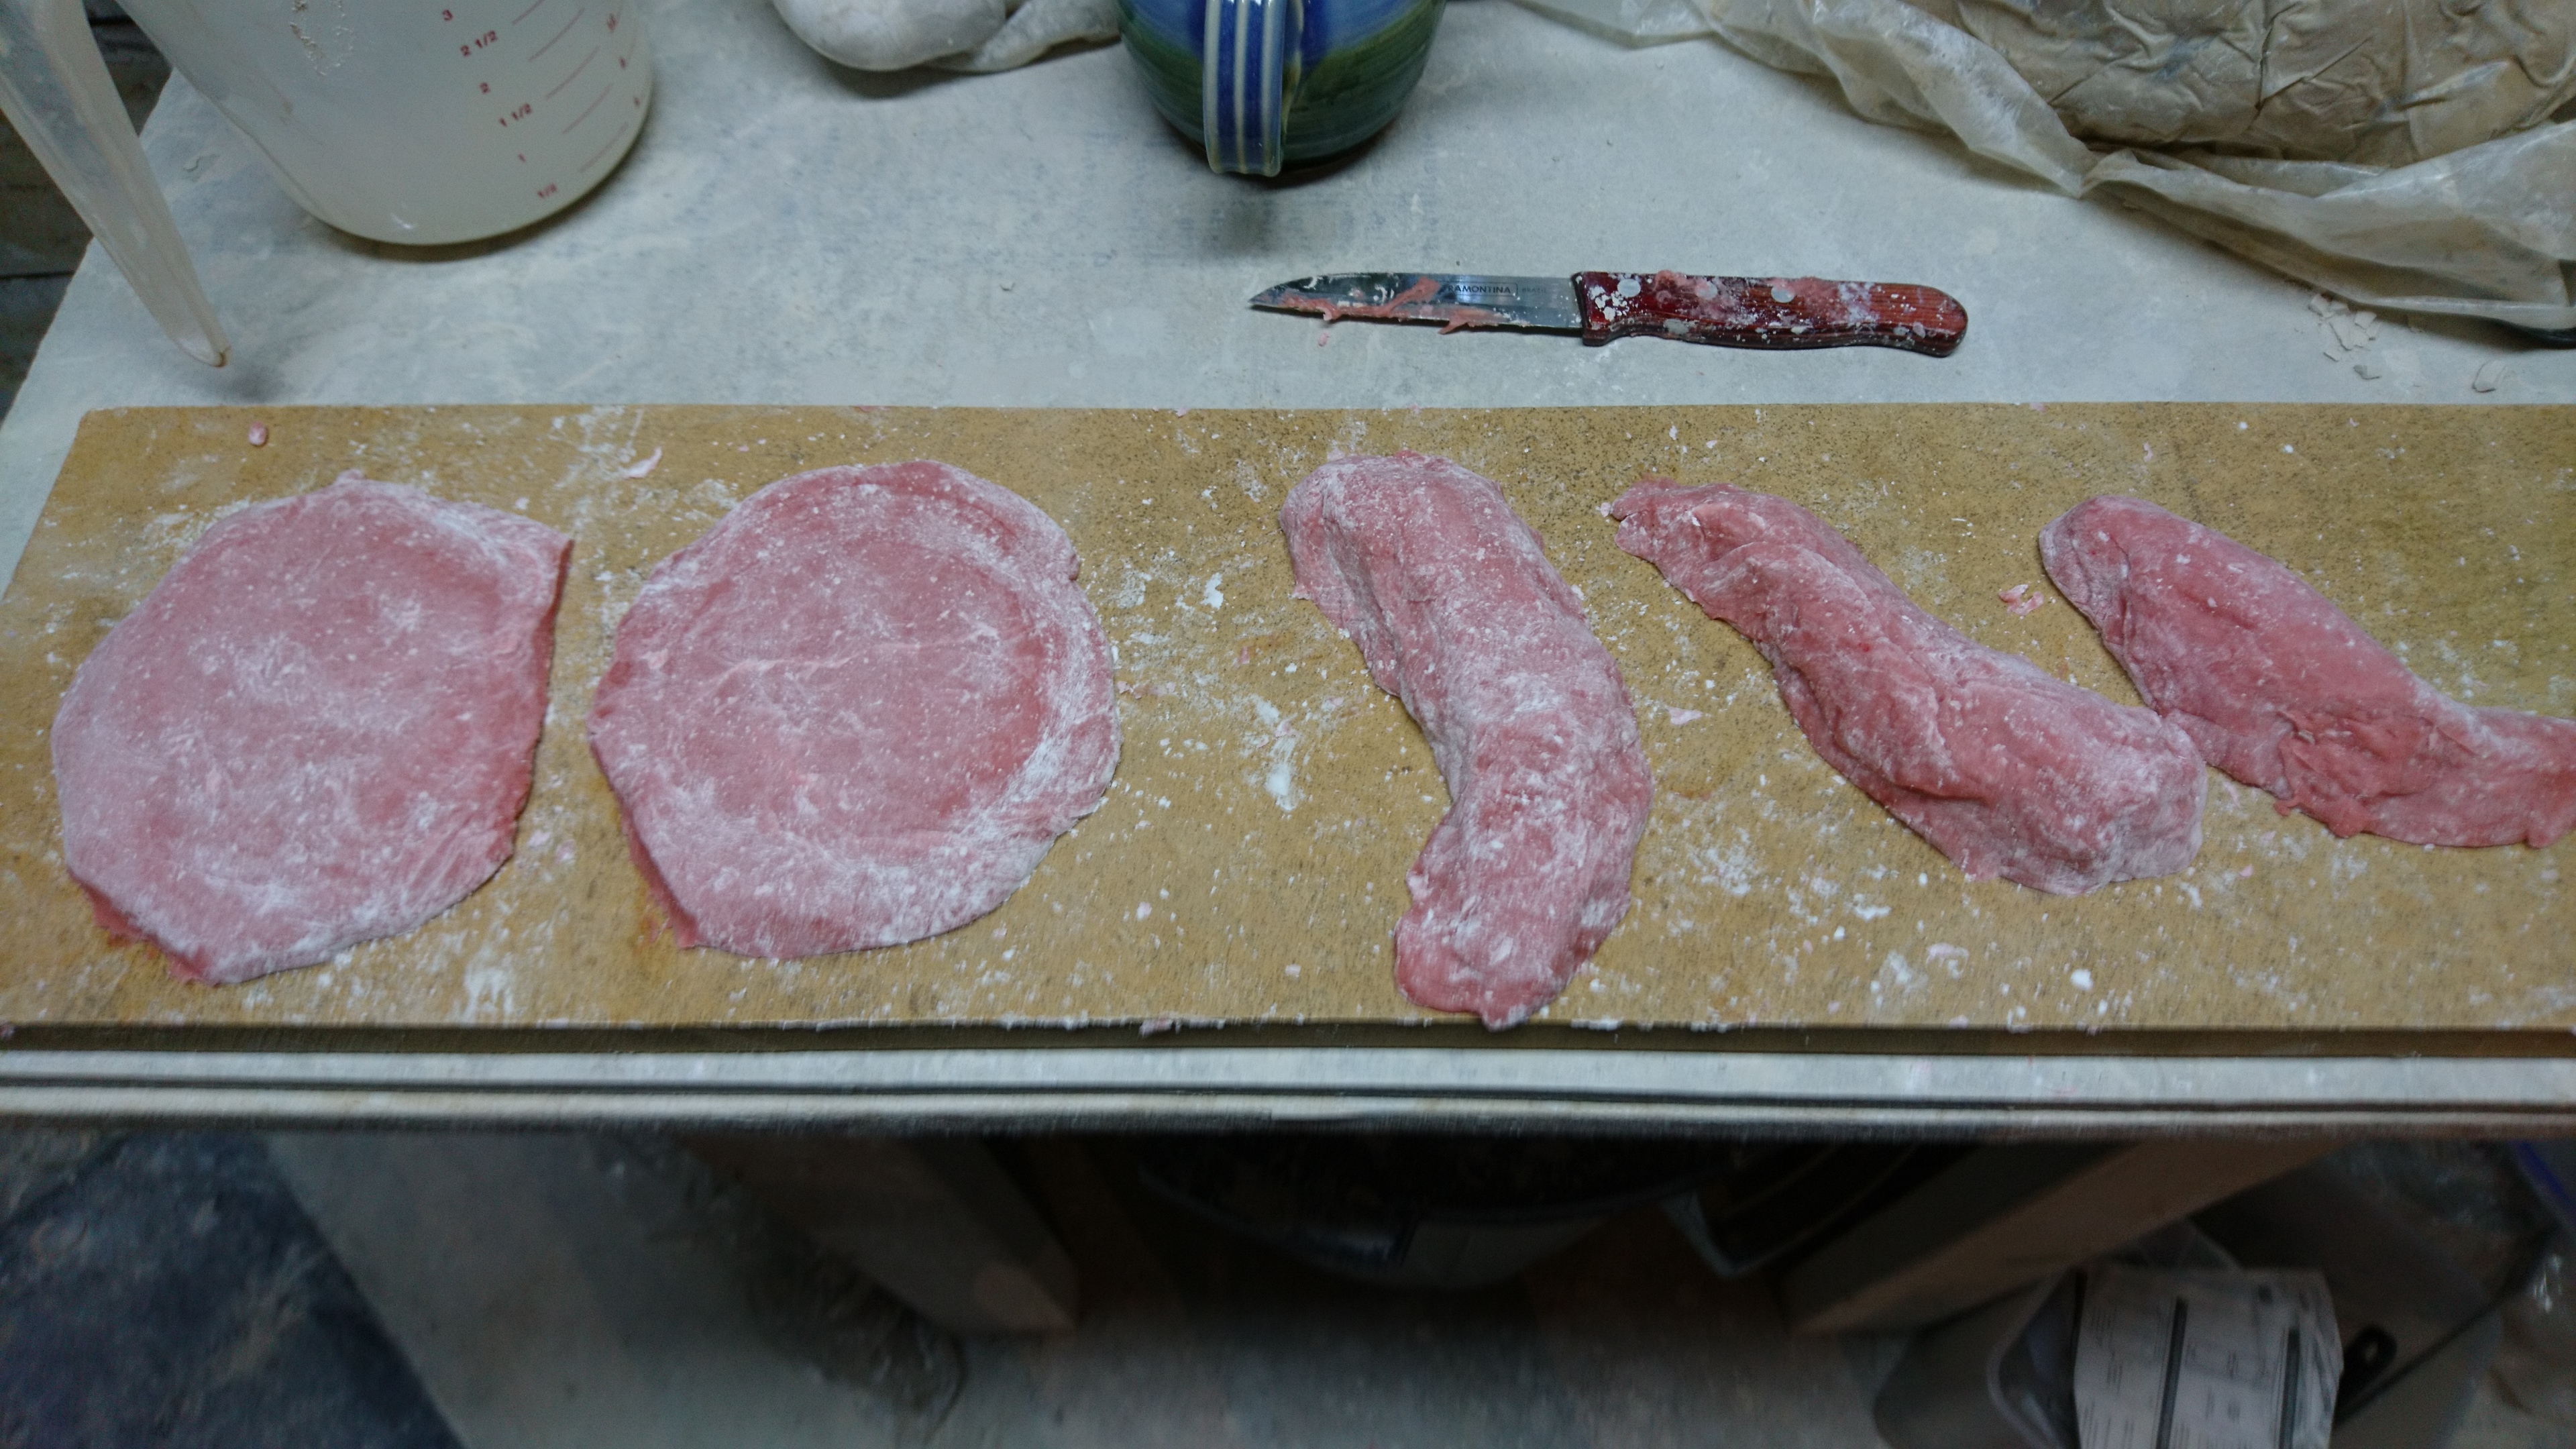
Then you press the moldable silicone, like clay, onto the objects you're casting. You need to move fast, because you have 10 minutes from the time you add the food coloring to work with it. You also have the tricky task of making the molds thick enough to be sturdy, but thin enough to be flexible. This is relatively easy with flat shapes like a logo sprig, but can be challenging with complex shapes like the slugs.
Then, you wait for it to set and harden. You can pry the objects out of the molds after only about an hour, which is useful to see if you got a big air bubble or similar and need to re-cast one. You should wait at least 12 hours before using any of the molds for clay, though. Once the molds are hard, you can also trim them with a serrated knife.
Now you come to the main drawback of using silicone: clay sticks to it. This means you need to powder the molds generously with more cornstarch before each use to get the clay to release. This can cause "stippling" on the molded design, so I'm looking at trying out some actual mold release agents instead, but for now I know cornstarch works.
After this, you should rough your pottery and the bottom of the molded clay with a toothbrush and some deflocculant like magic water, and then you stick the sprig directly on the pottery, bending the mold around the curve of the pot. That's the big advantage to silicone molds; you stick sprigs directly on your pots, eliminating prying & drying, and getting a better attachment & seal onto the pot in the bargain. It'll take you a few trials to get how to press the mold onto the pot (as well as keeping it oriented), so have some test pots to play with.
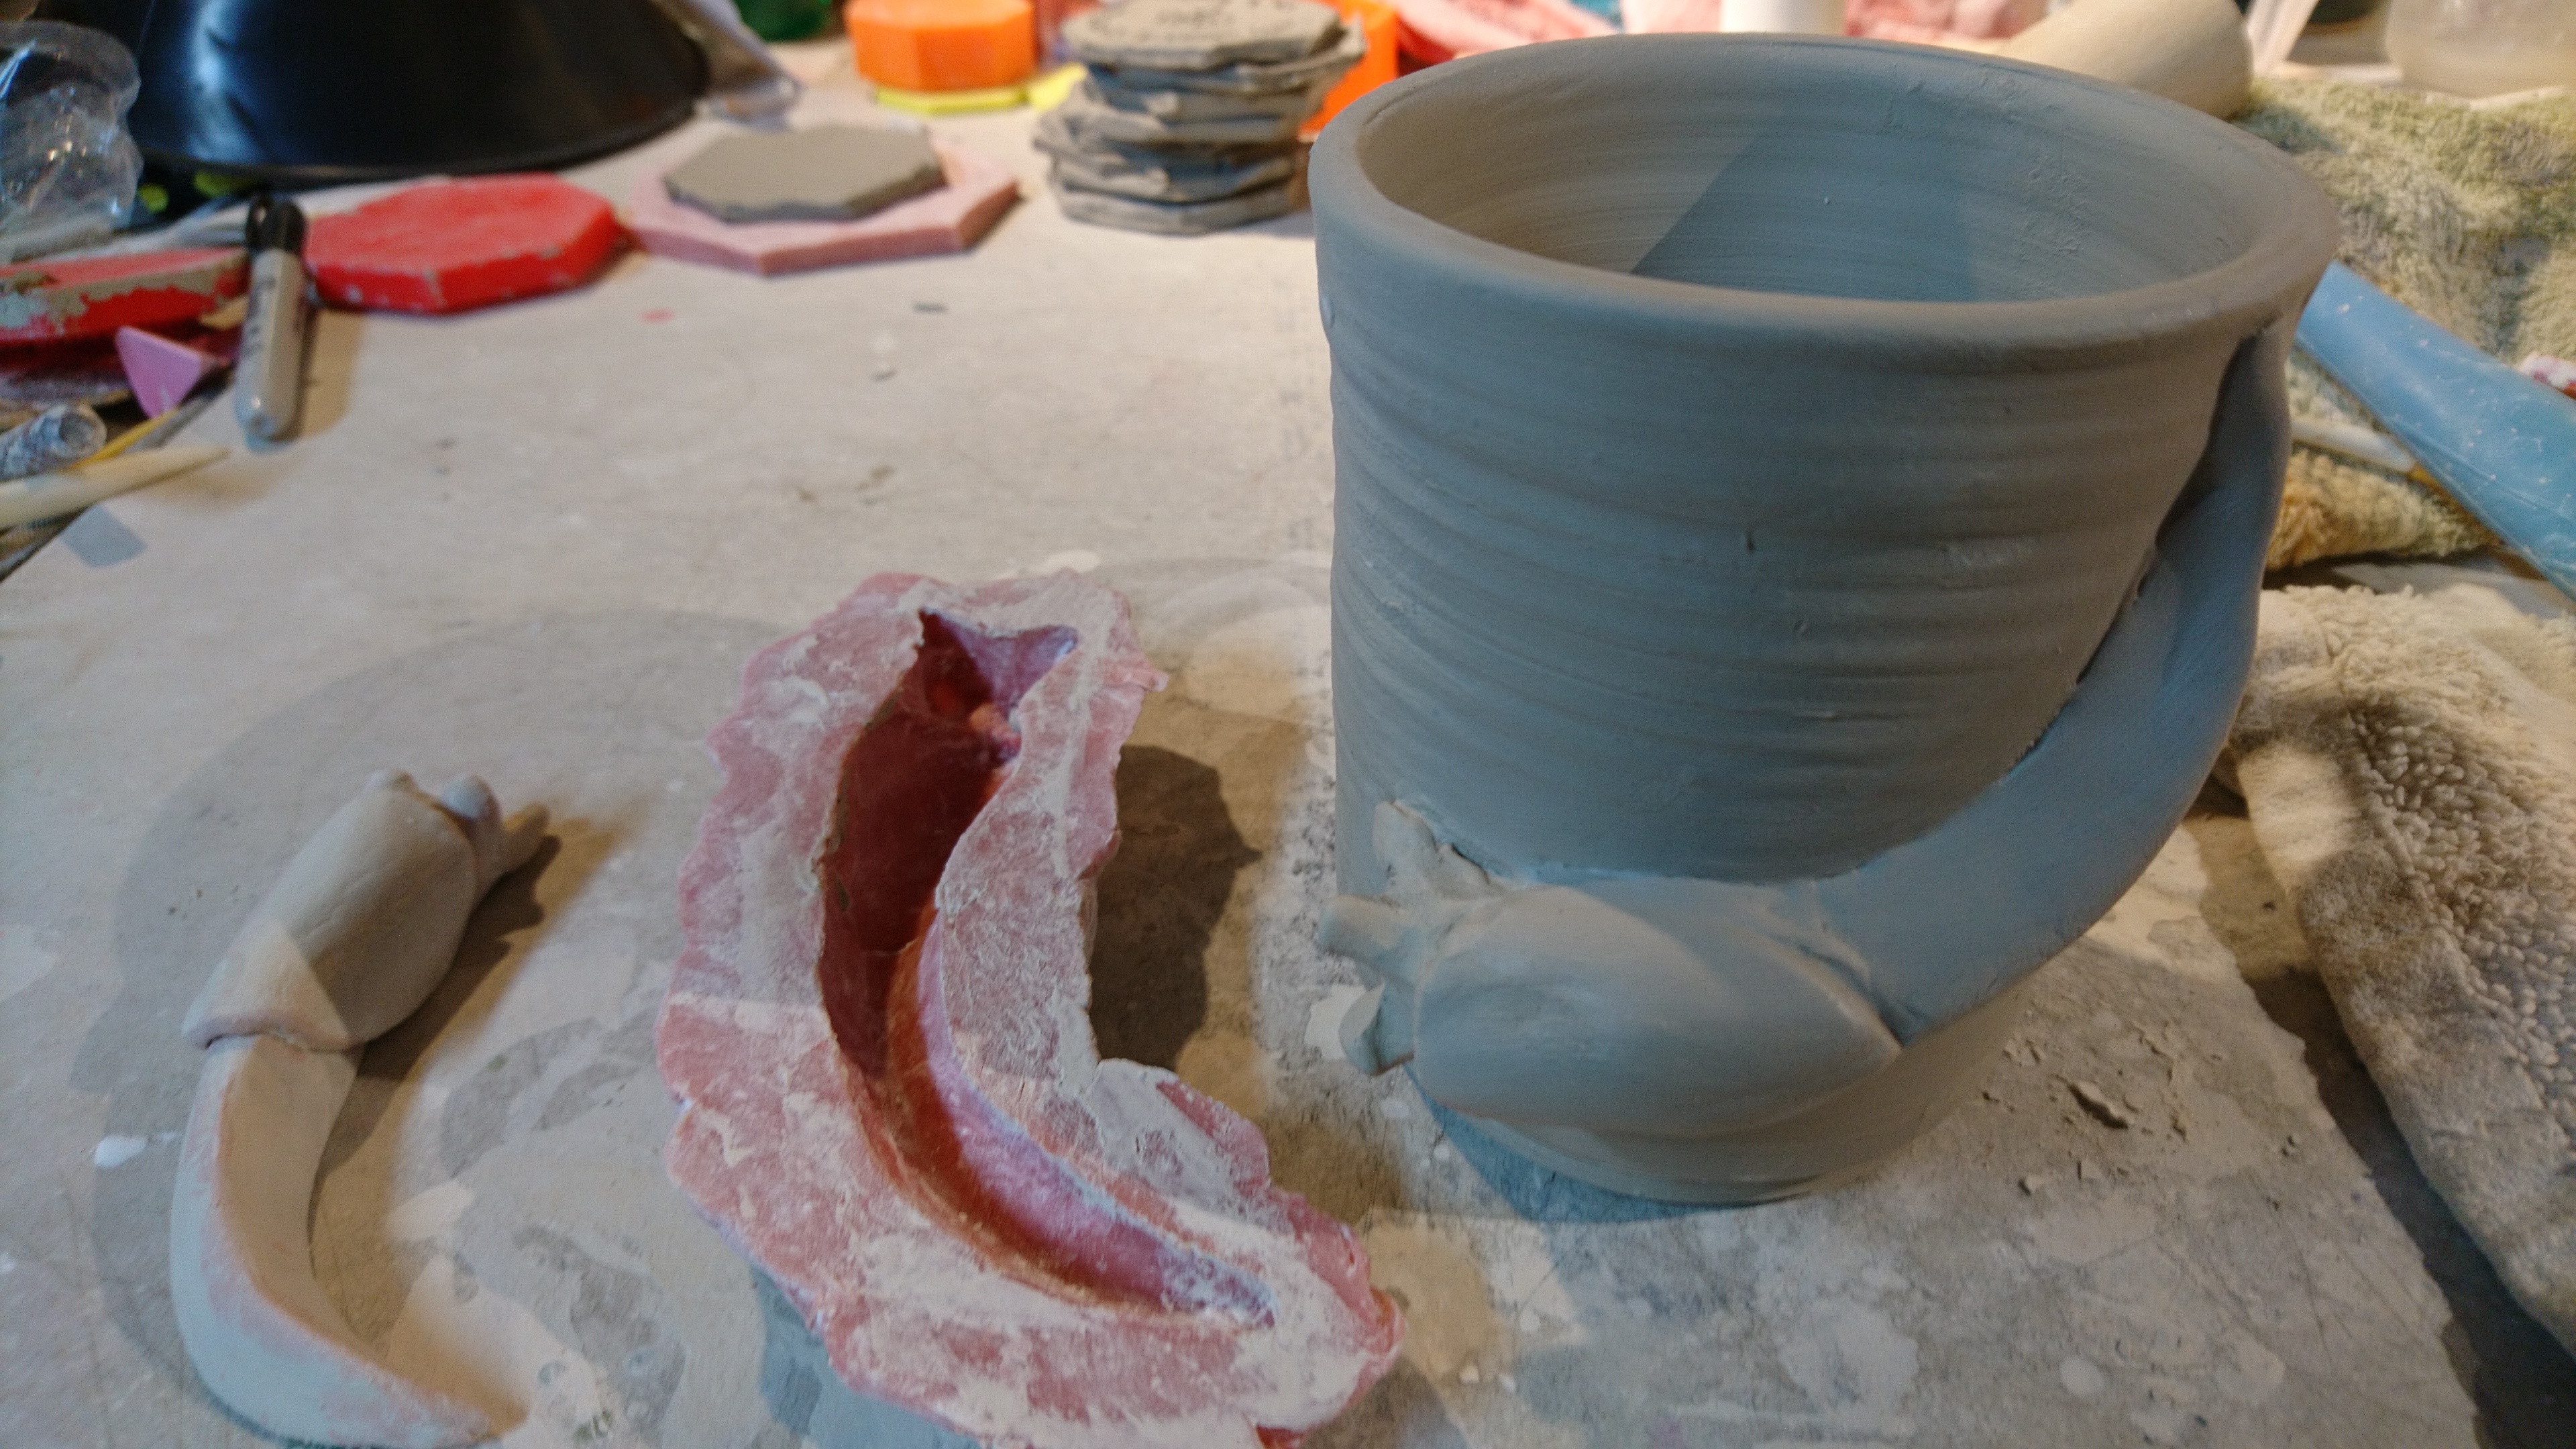
This works particularly well with decorations that need to be curved, like my infamous banana slugs: you're attaching them while the clay is wet and workable, so no cracking, and you can even pry up the edges so that undercuts (like the slug's mantle) come clear.
All of this was very easy to get started doing, and has completely replaced my old ways of doing sprigs. I hope it helps you too.
Oh, and if you want to buy one of those slug mugs, meet me at The OPA Holiday Sale this November 30th.